Greek Inspirations

Reminiscing on a trip to the stunning Greek Isle of Santorini. This well known “honeymoon spot” was already on the top of my bucket list but when I heard it hosts one of the best sunsets in the world, I immediately packed my bags.

Santorini did not disappoint. The scenery is remarkable with white washed houses and windmills overlooking the rich blue Aegean Sea.

DSC_2294 - Version 2Even the restaurants are picturesque tucked into the island cliffs. I’m obsessed with the detail inside this little outdoor nook. The drift wood flower pot and mirror reflecting the award winning sunset behind me – um can I go back now?

I might have interrupted a few dining couples to capture these beautiful pops of color but it was well worth it!

Ice Cream Cookie Cups

IMG_0506

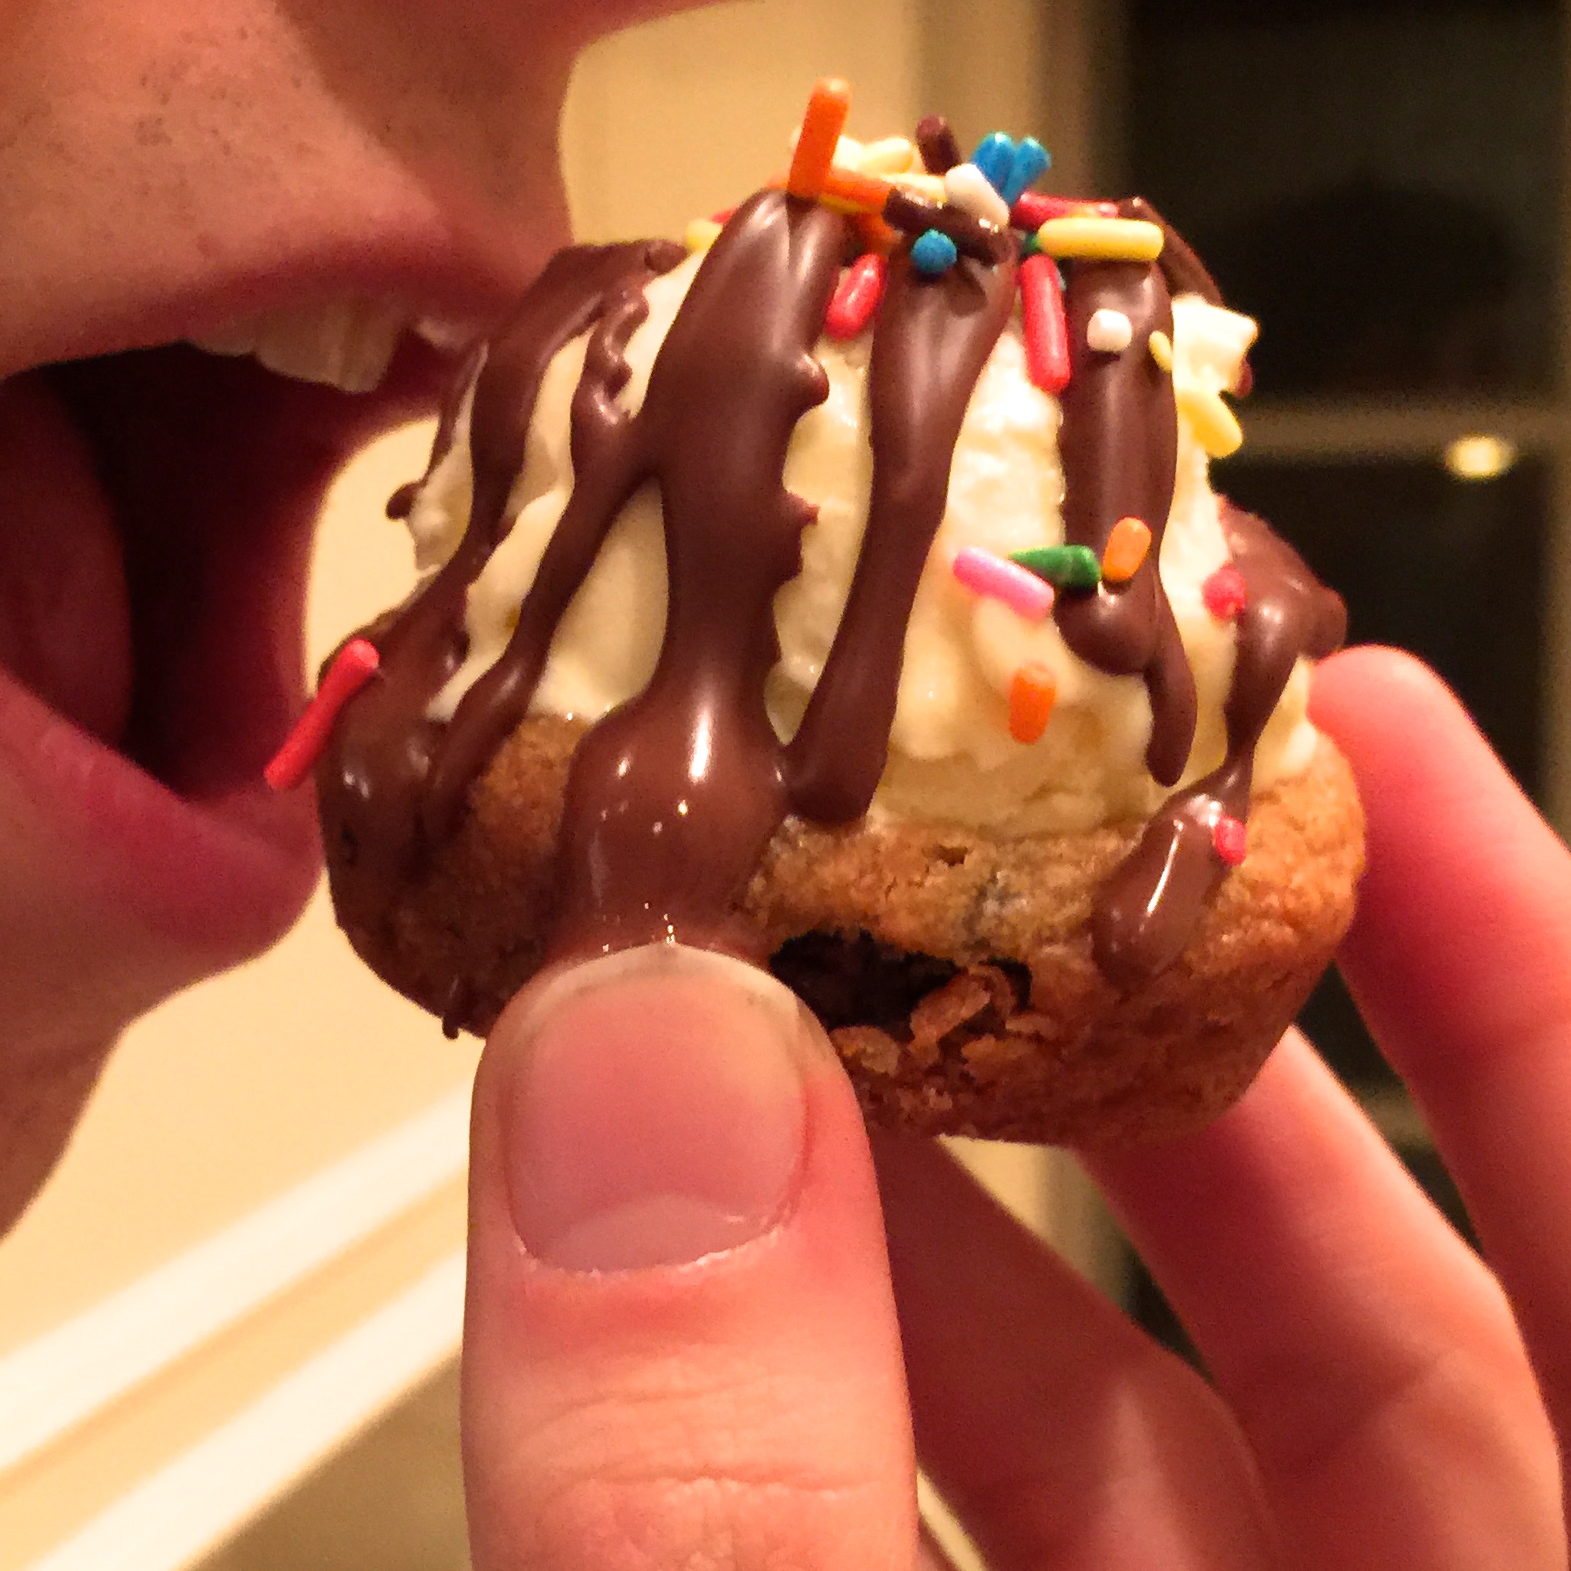
Day 1 of a new juice cleanse and I’m drooling looking back on these scrumptious ice cream sundae cups I made last weekend.

Cookie + ice cream + melted chocolate.. I think the mouthwatering picture says it all.

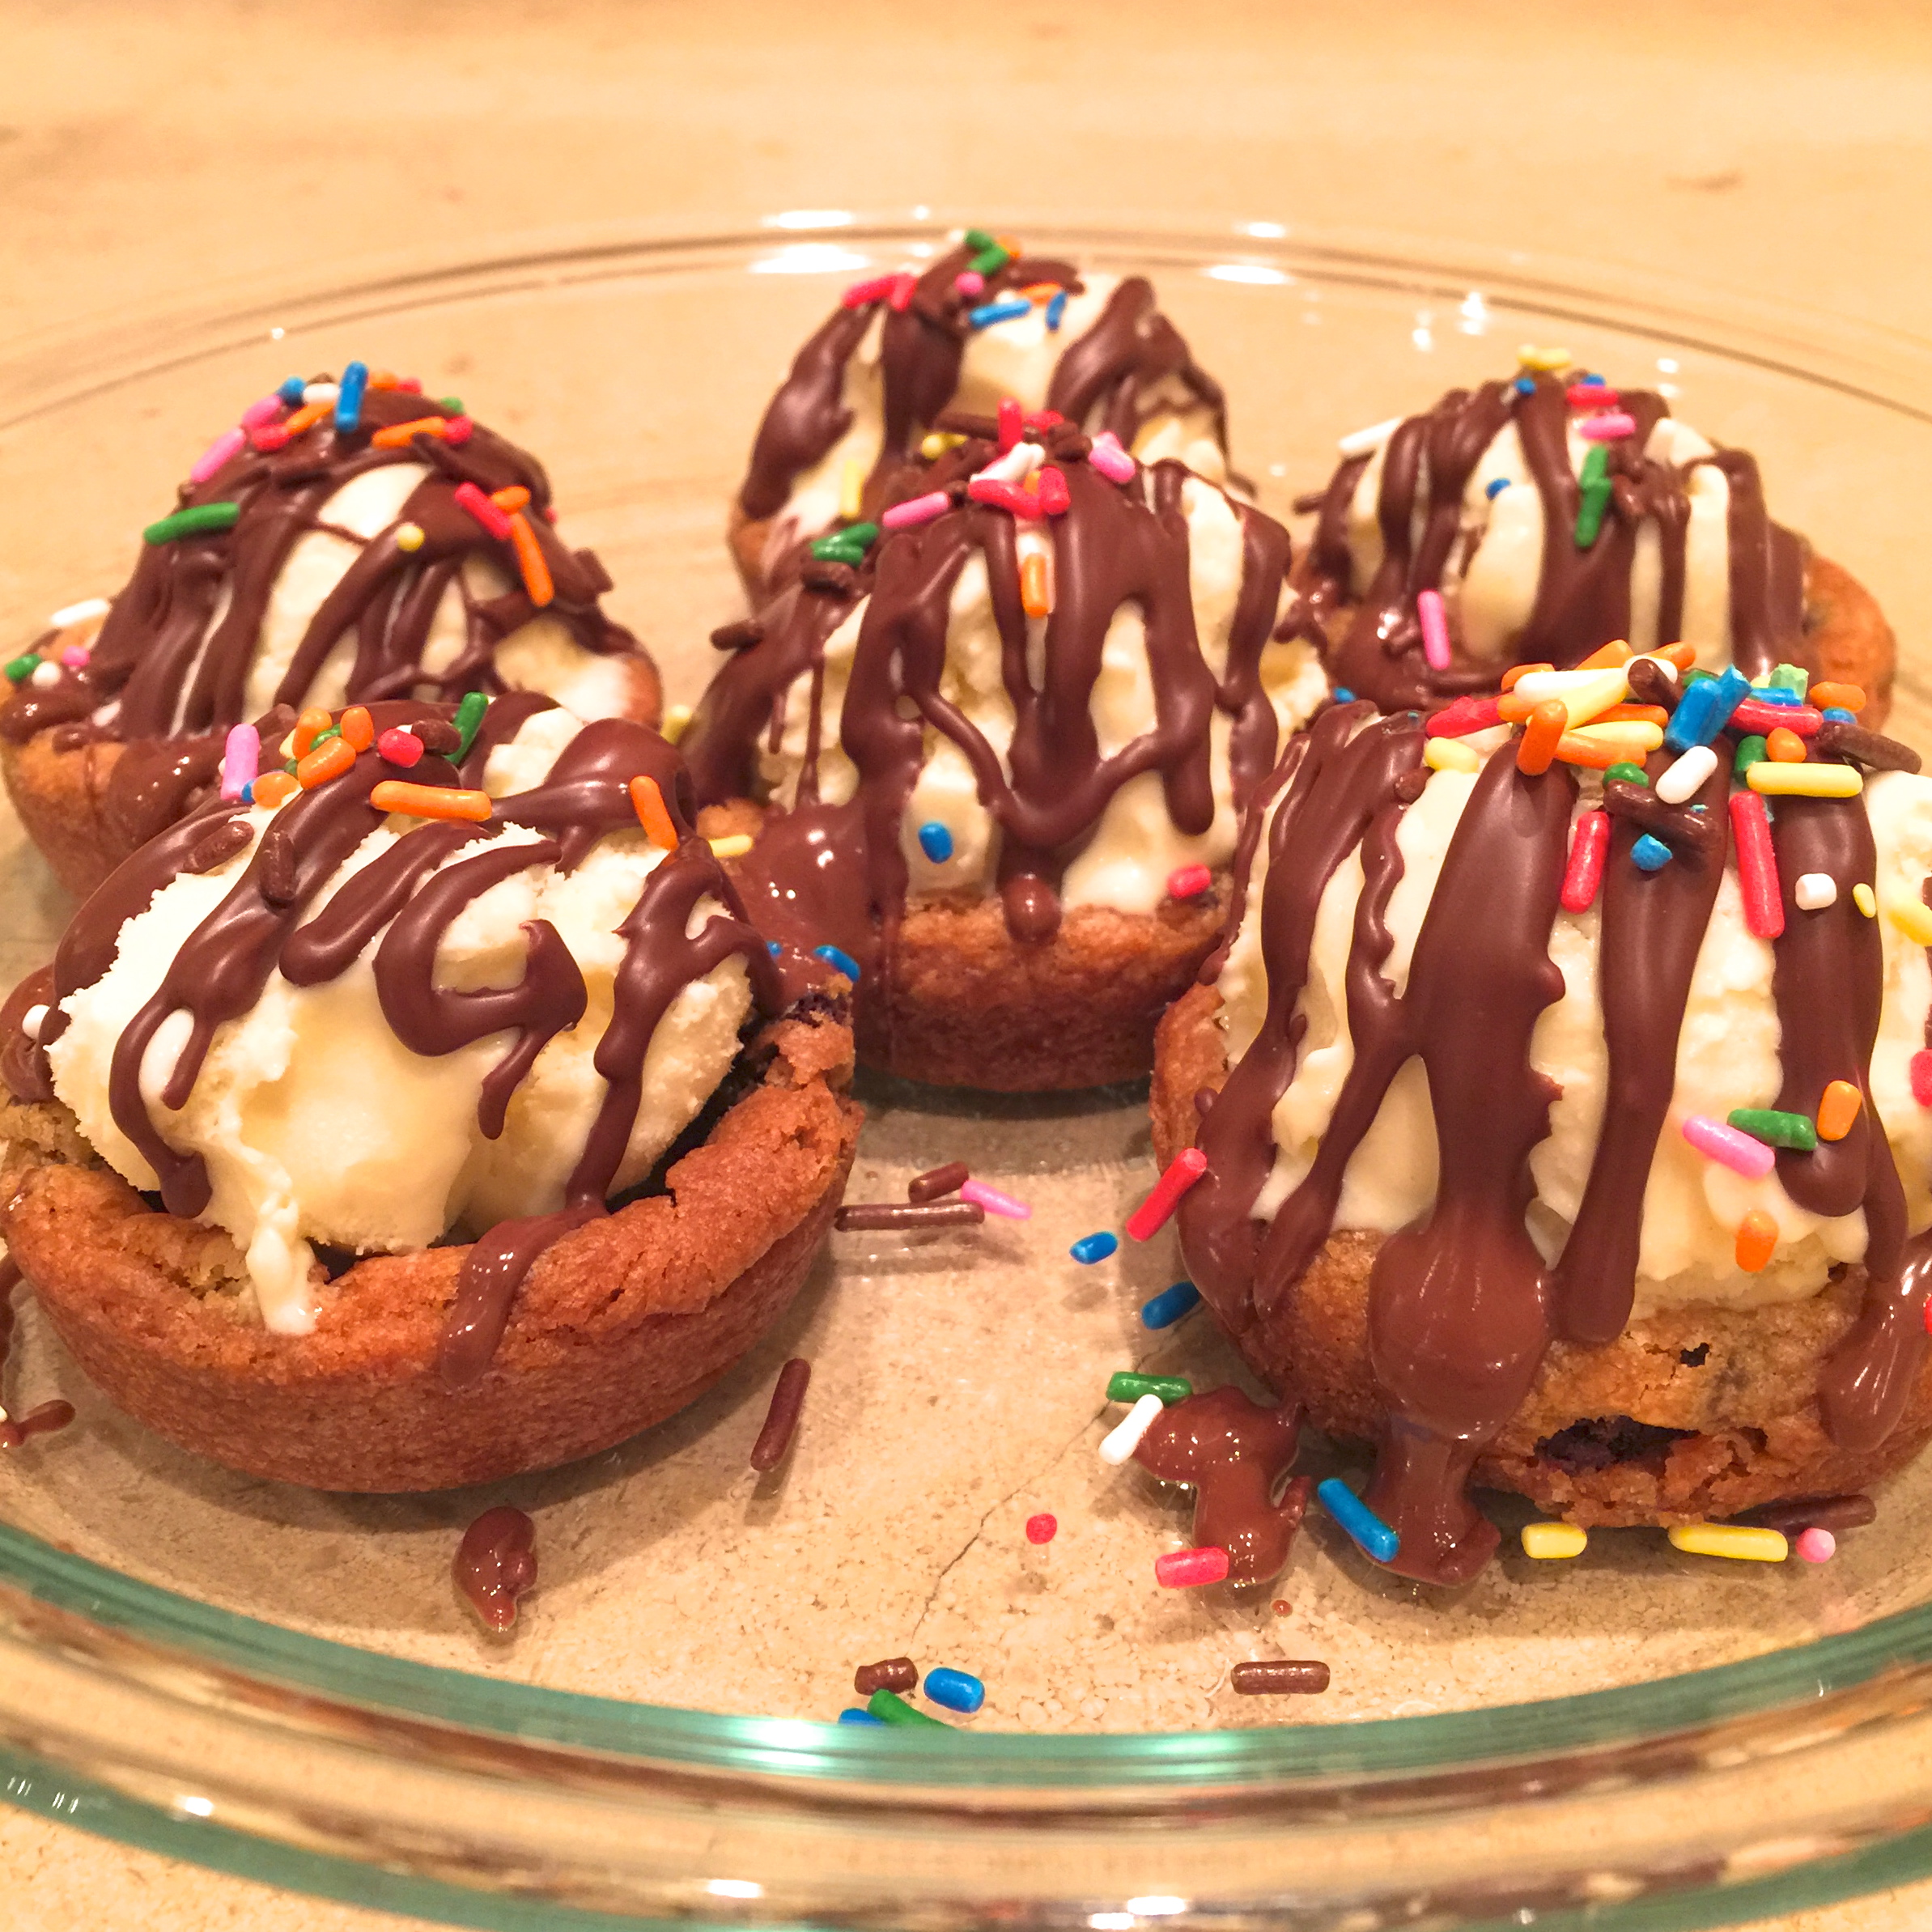
One of the best parts about this dessert is that it’s not supposed to be super “pretty” or clean cut – the messier, the better! So pile on as many marshmallows and M&M’s as your little heart desires.


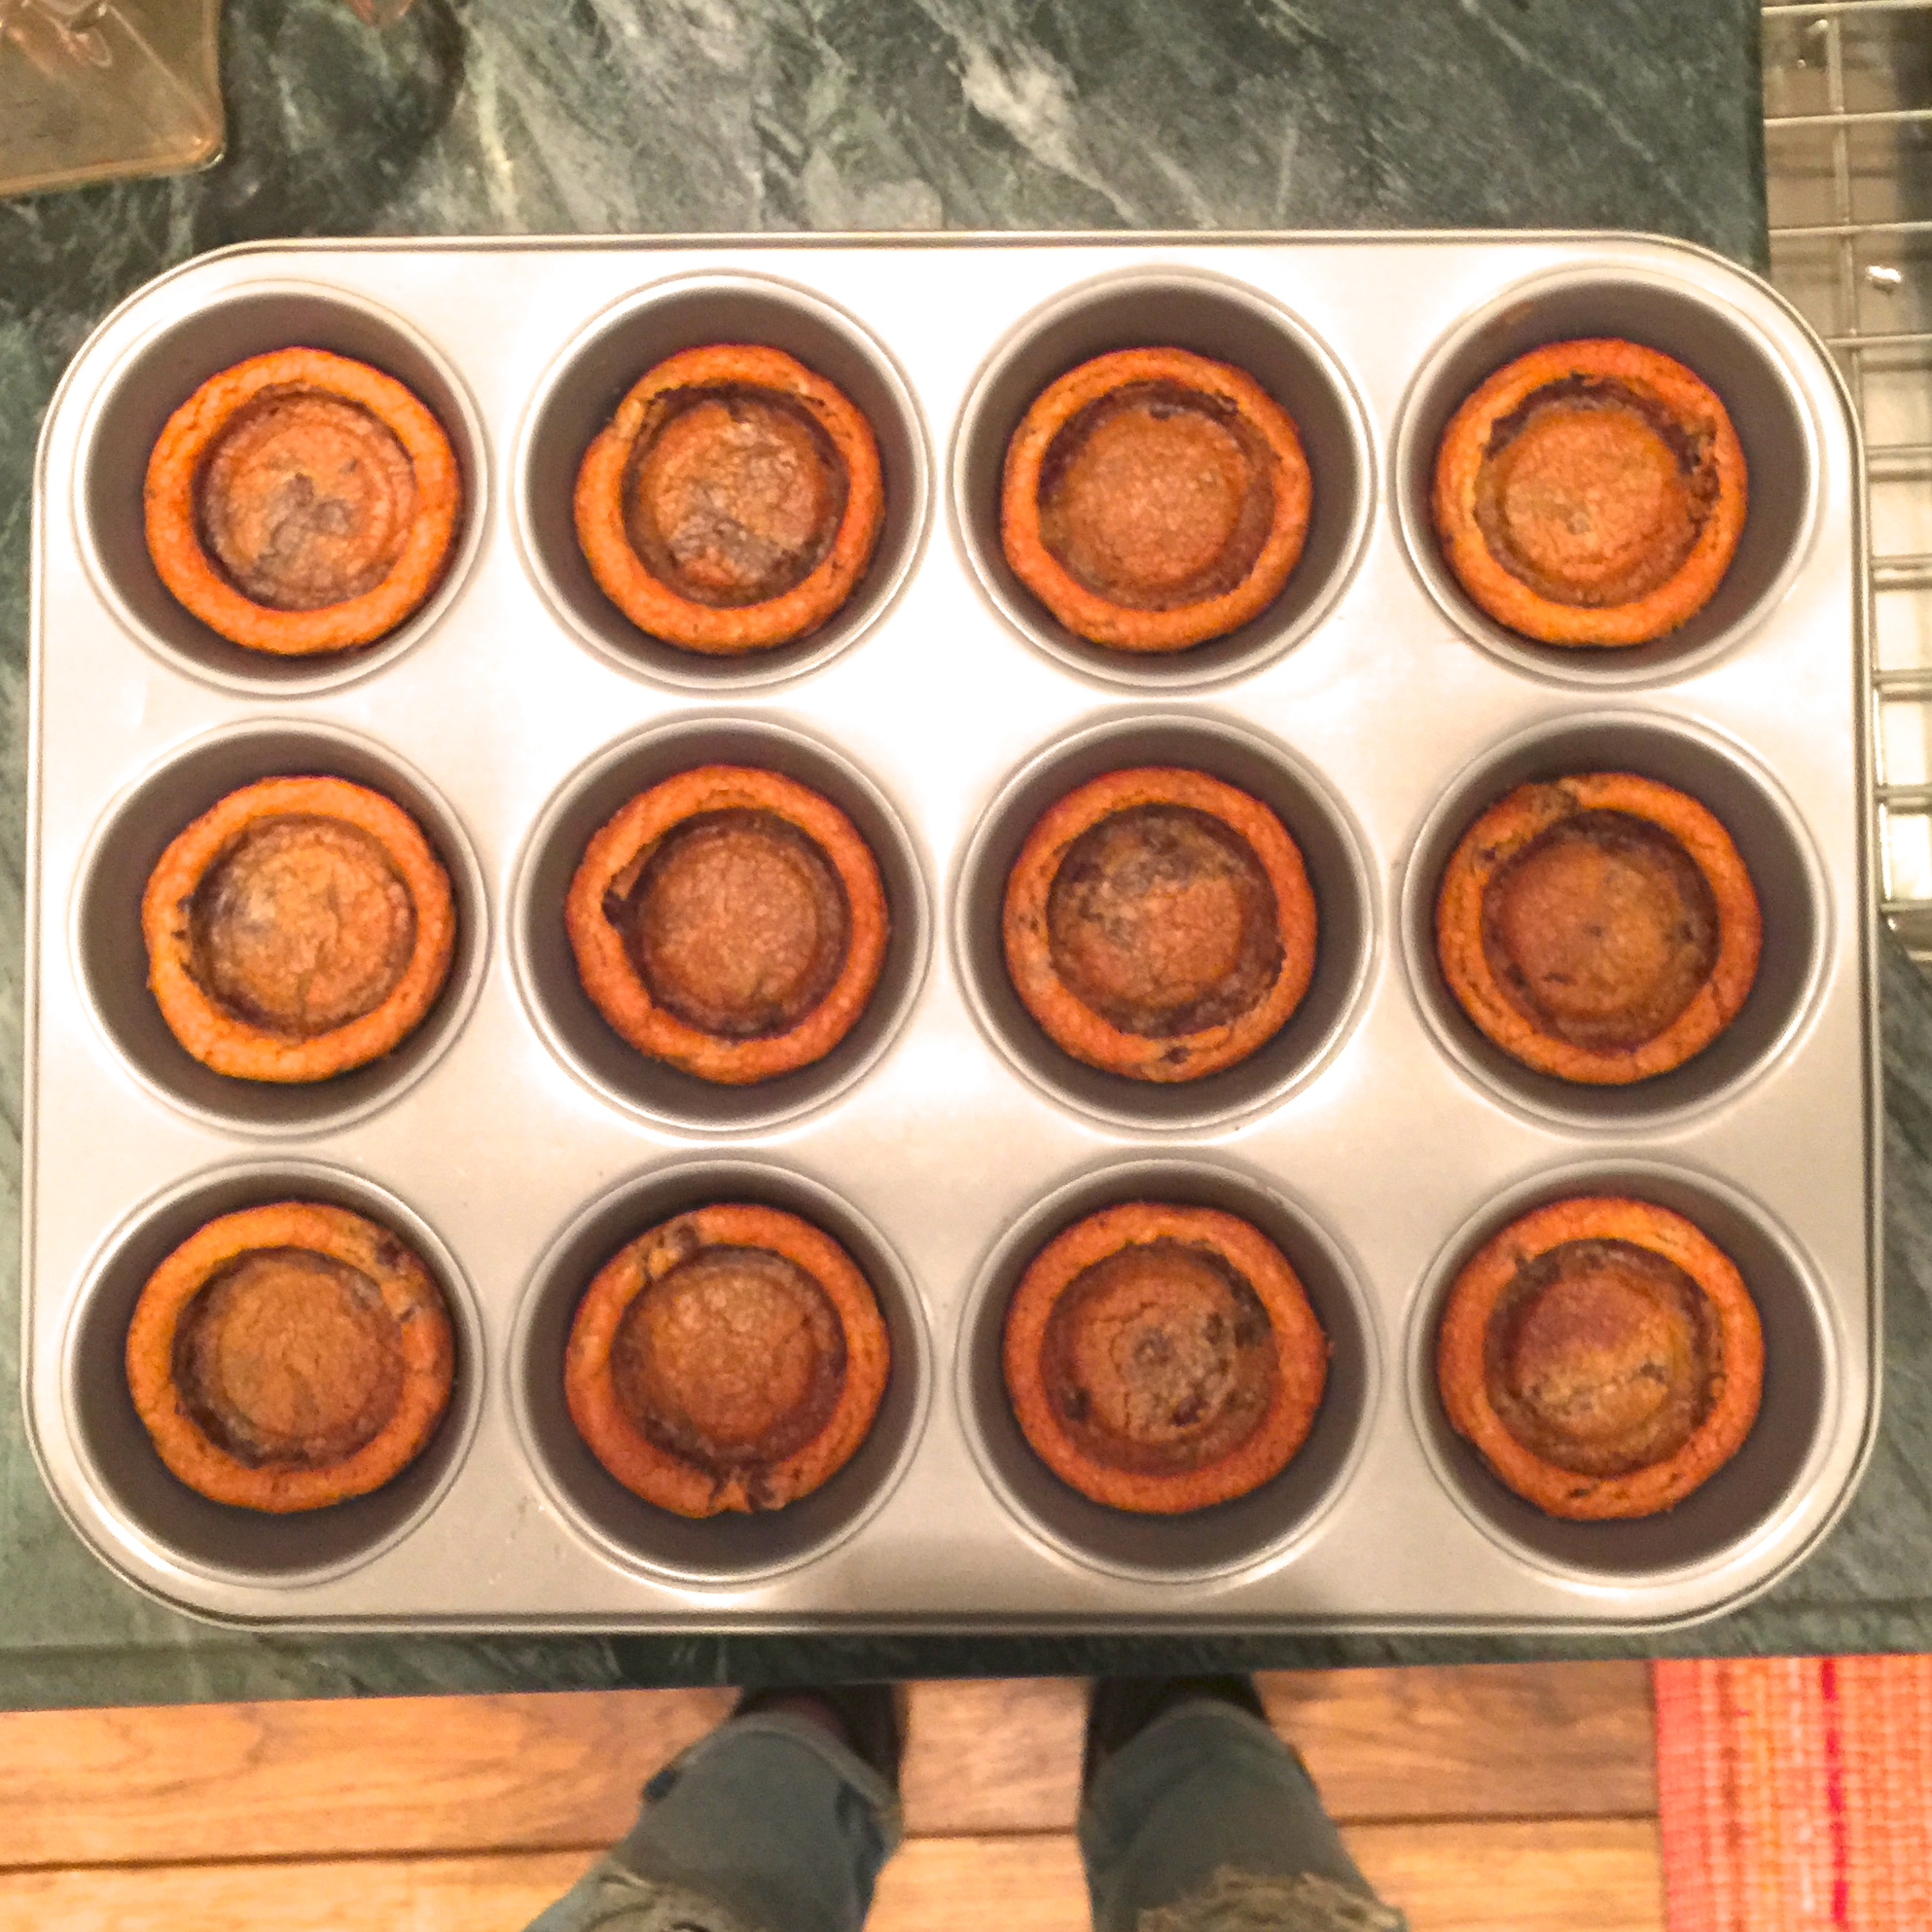
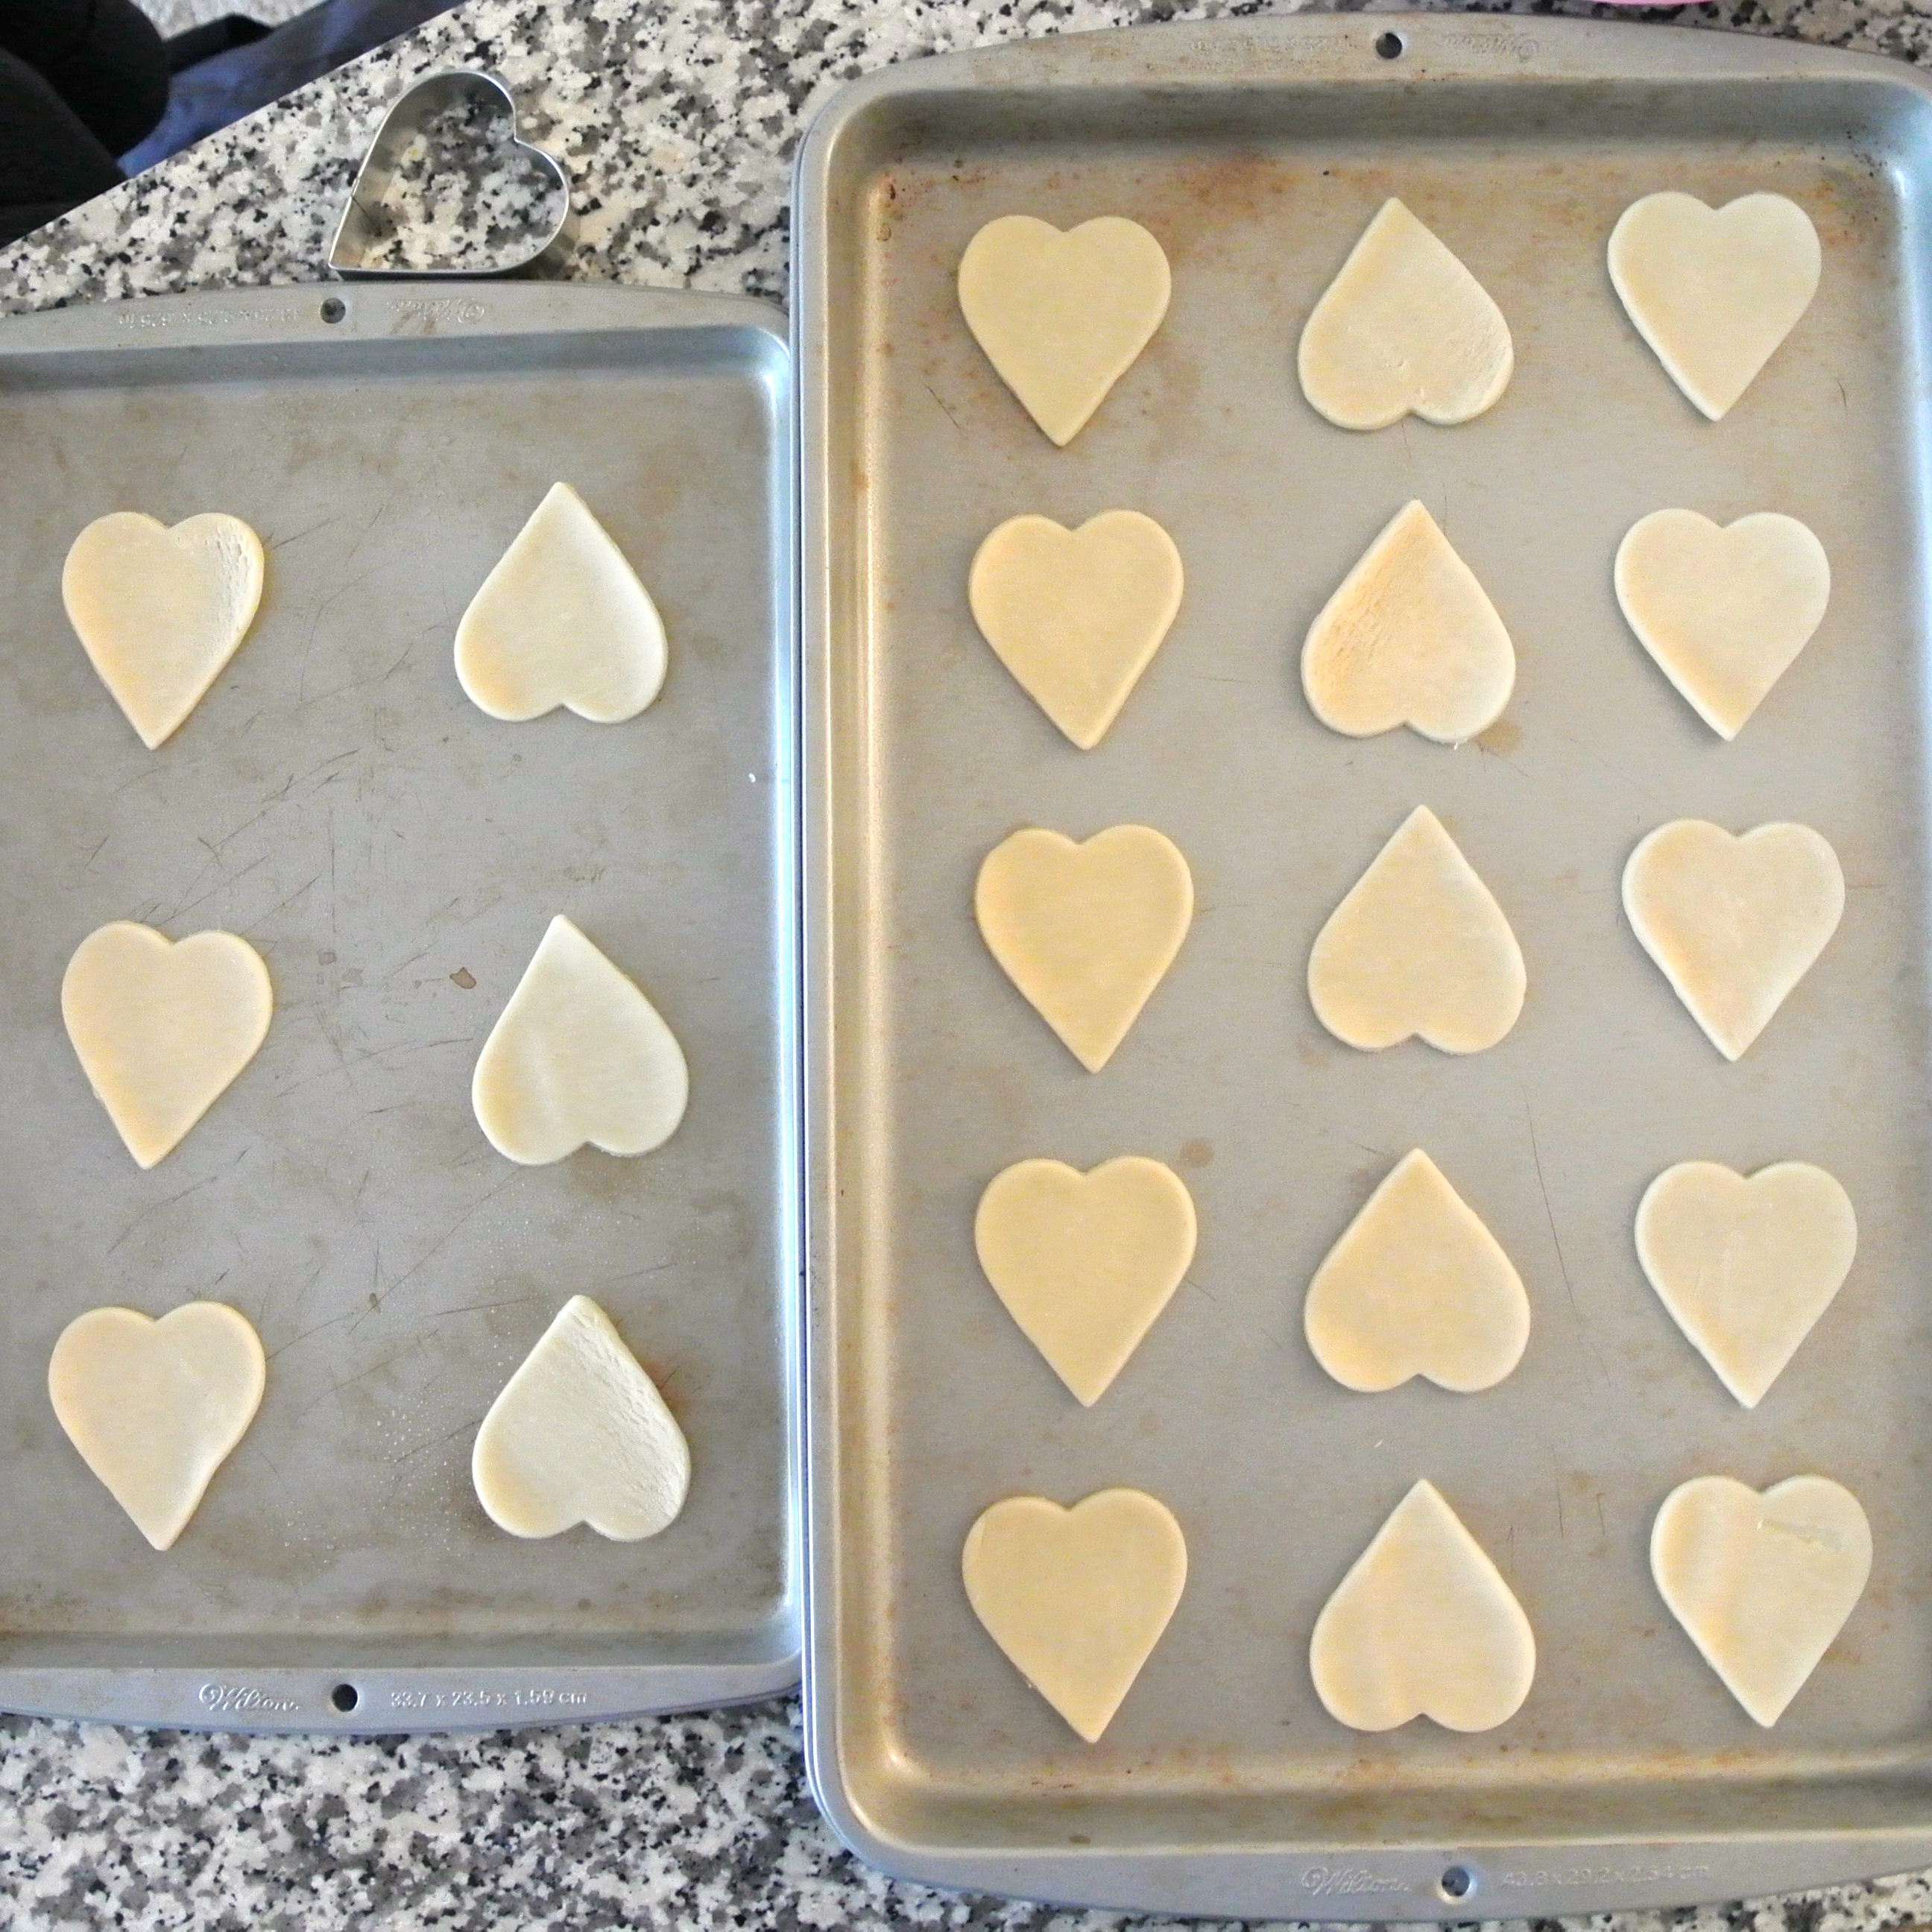
1. Preheat oven to 350°. Combine 3-4 generous tablespoons of cookie dough into a ball and place into a non-stick muffin tin. Roll the remaining dough and distribute until entire muffin tin is full.*Add more cookie dough for a thicker cookie cup.

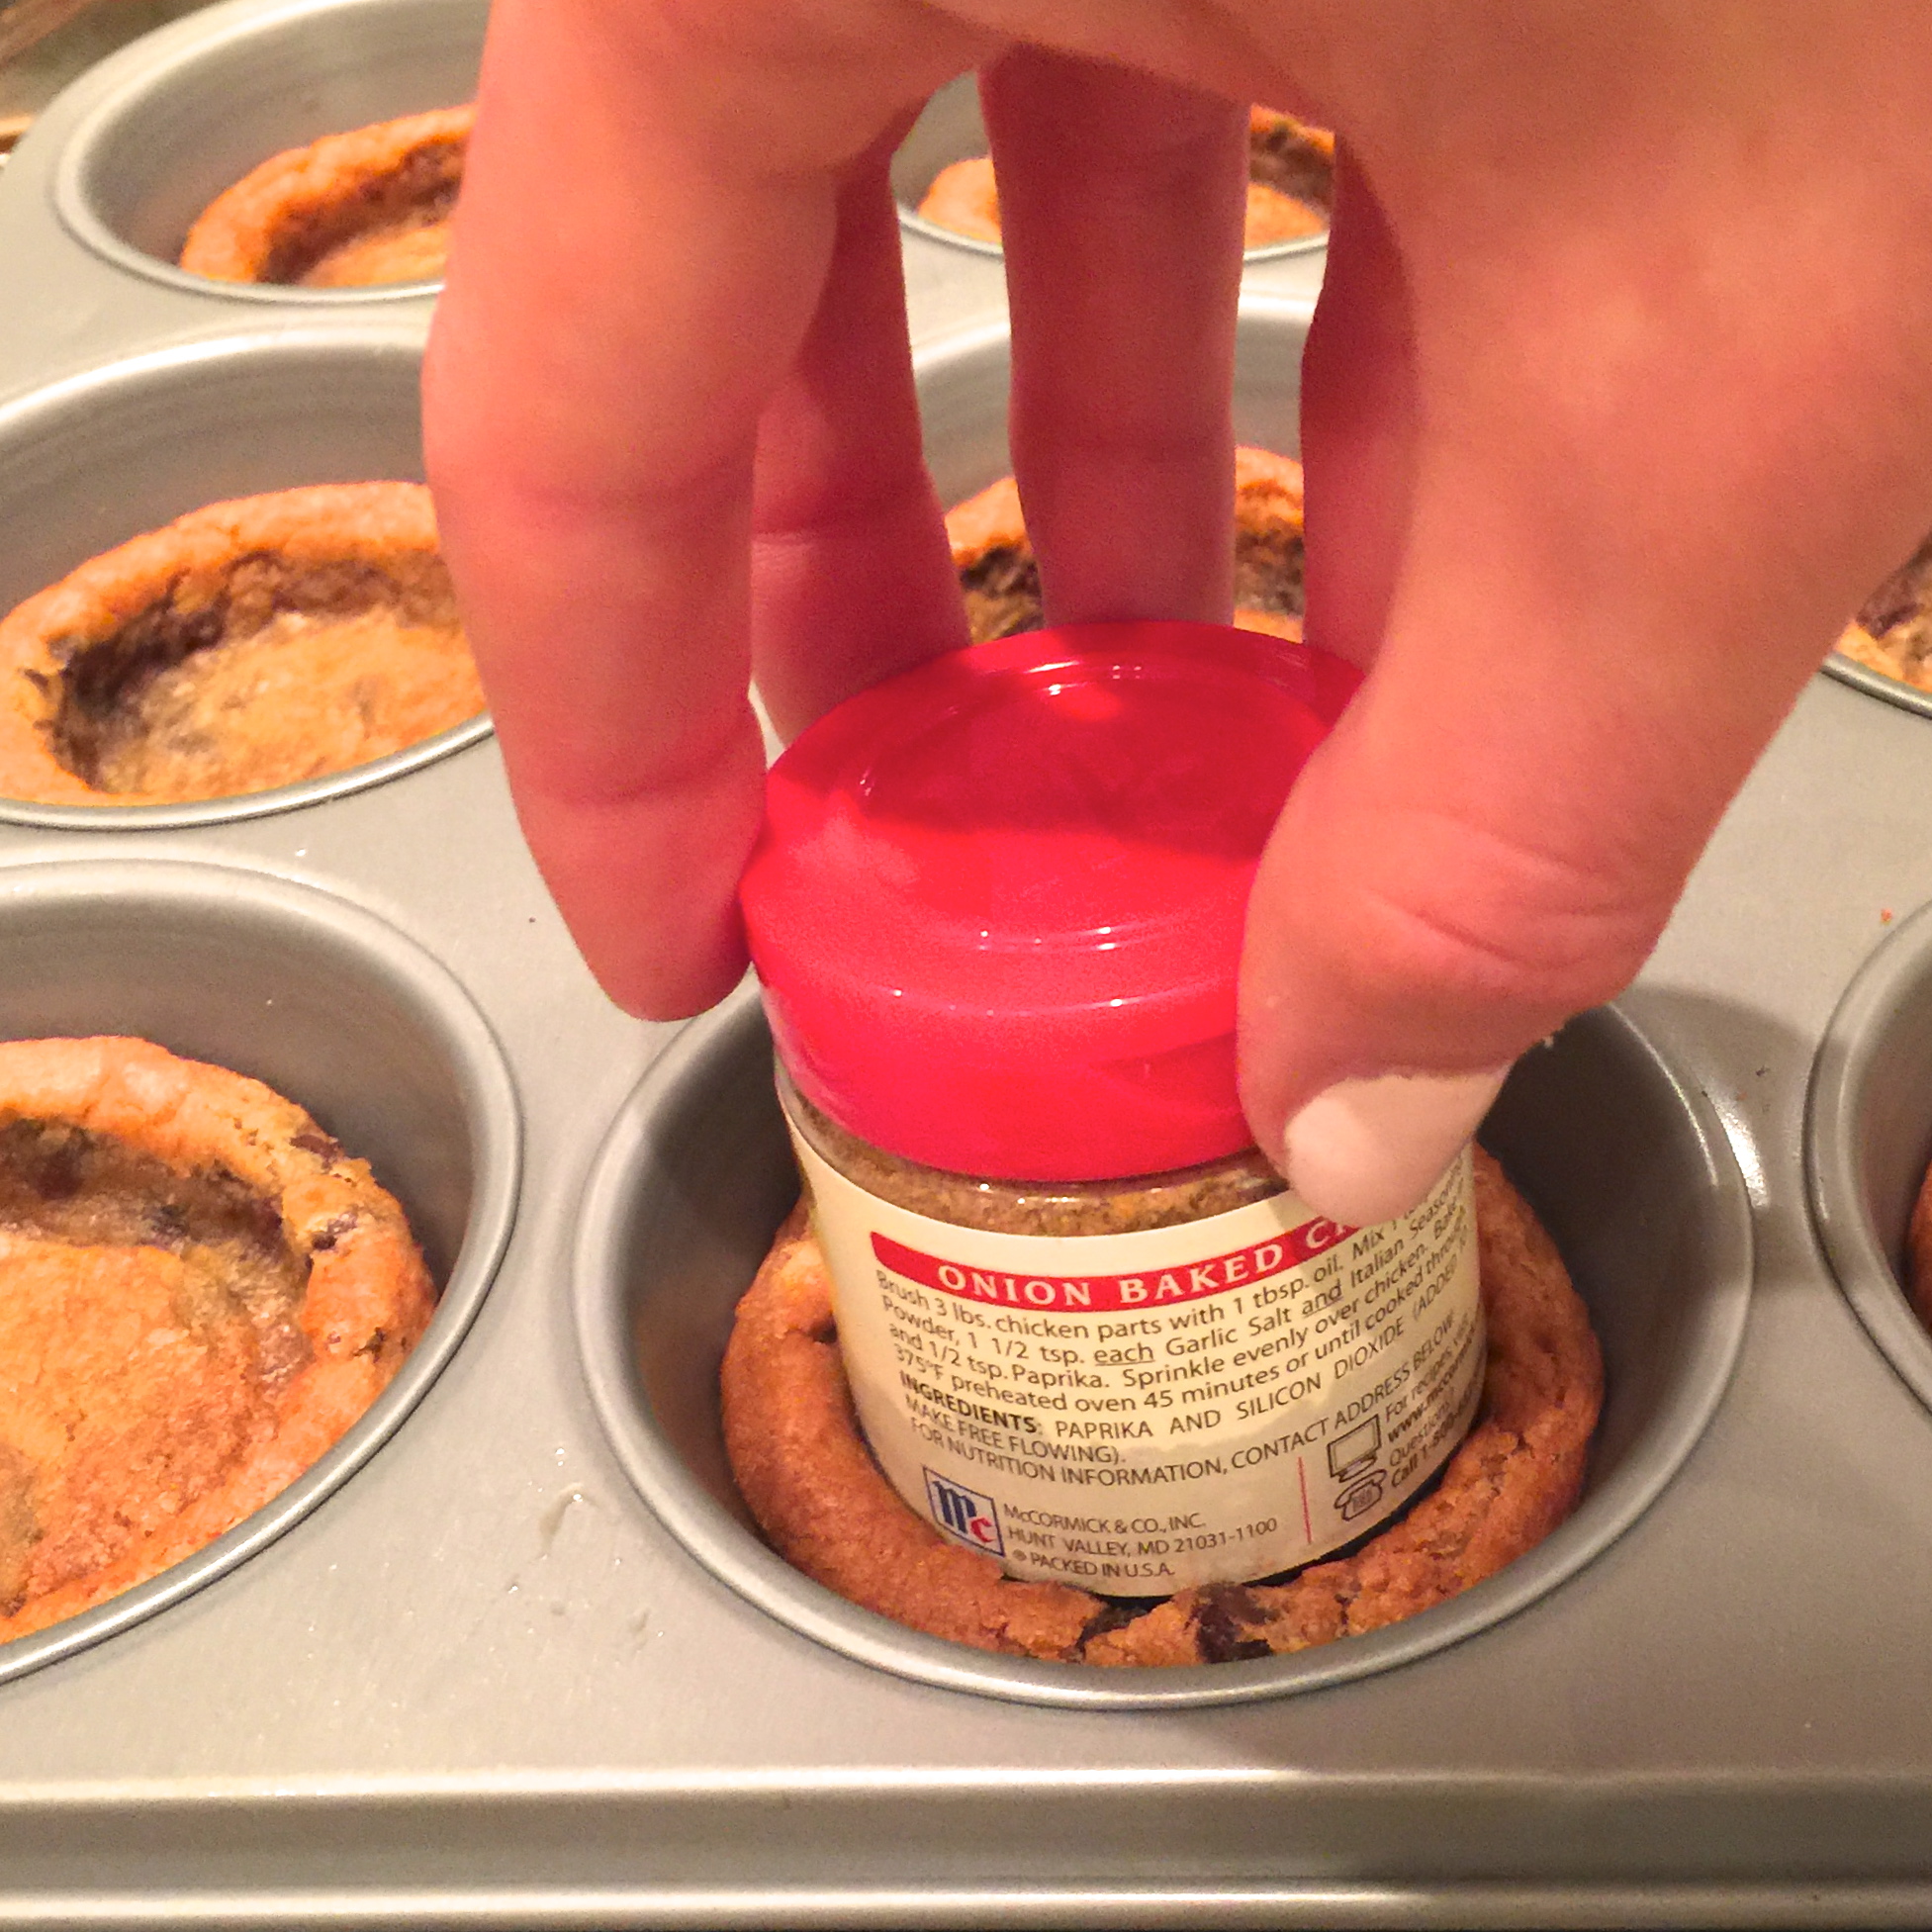
2. Bake cookie cups for about 13 minutes or until golden brown. Pull your tray out and immediately take a spice jar and gently press into each cookie. This should form a little “crater” where the ice cream will sit.

IMG_0499

IMG_0498


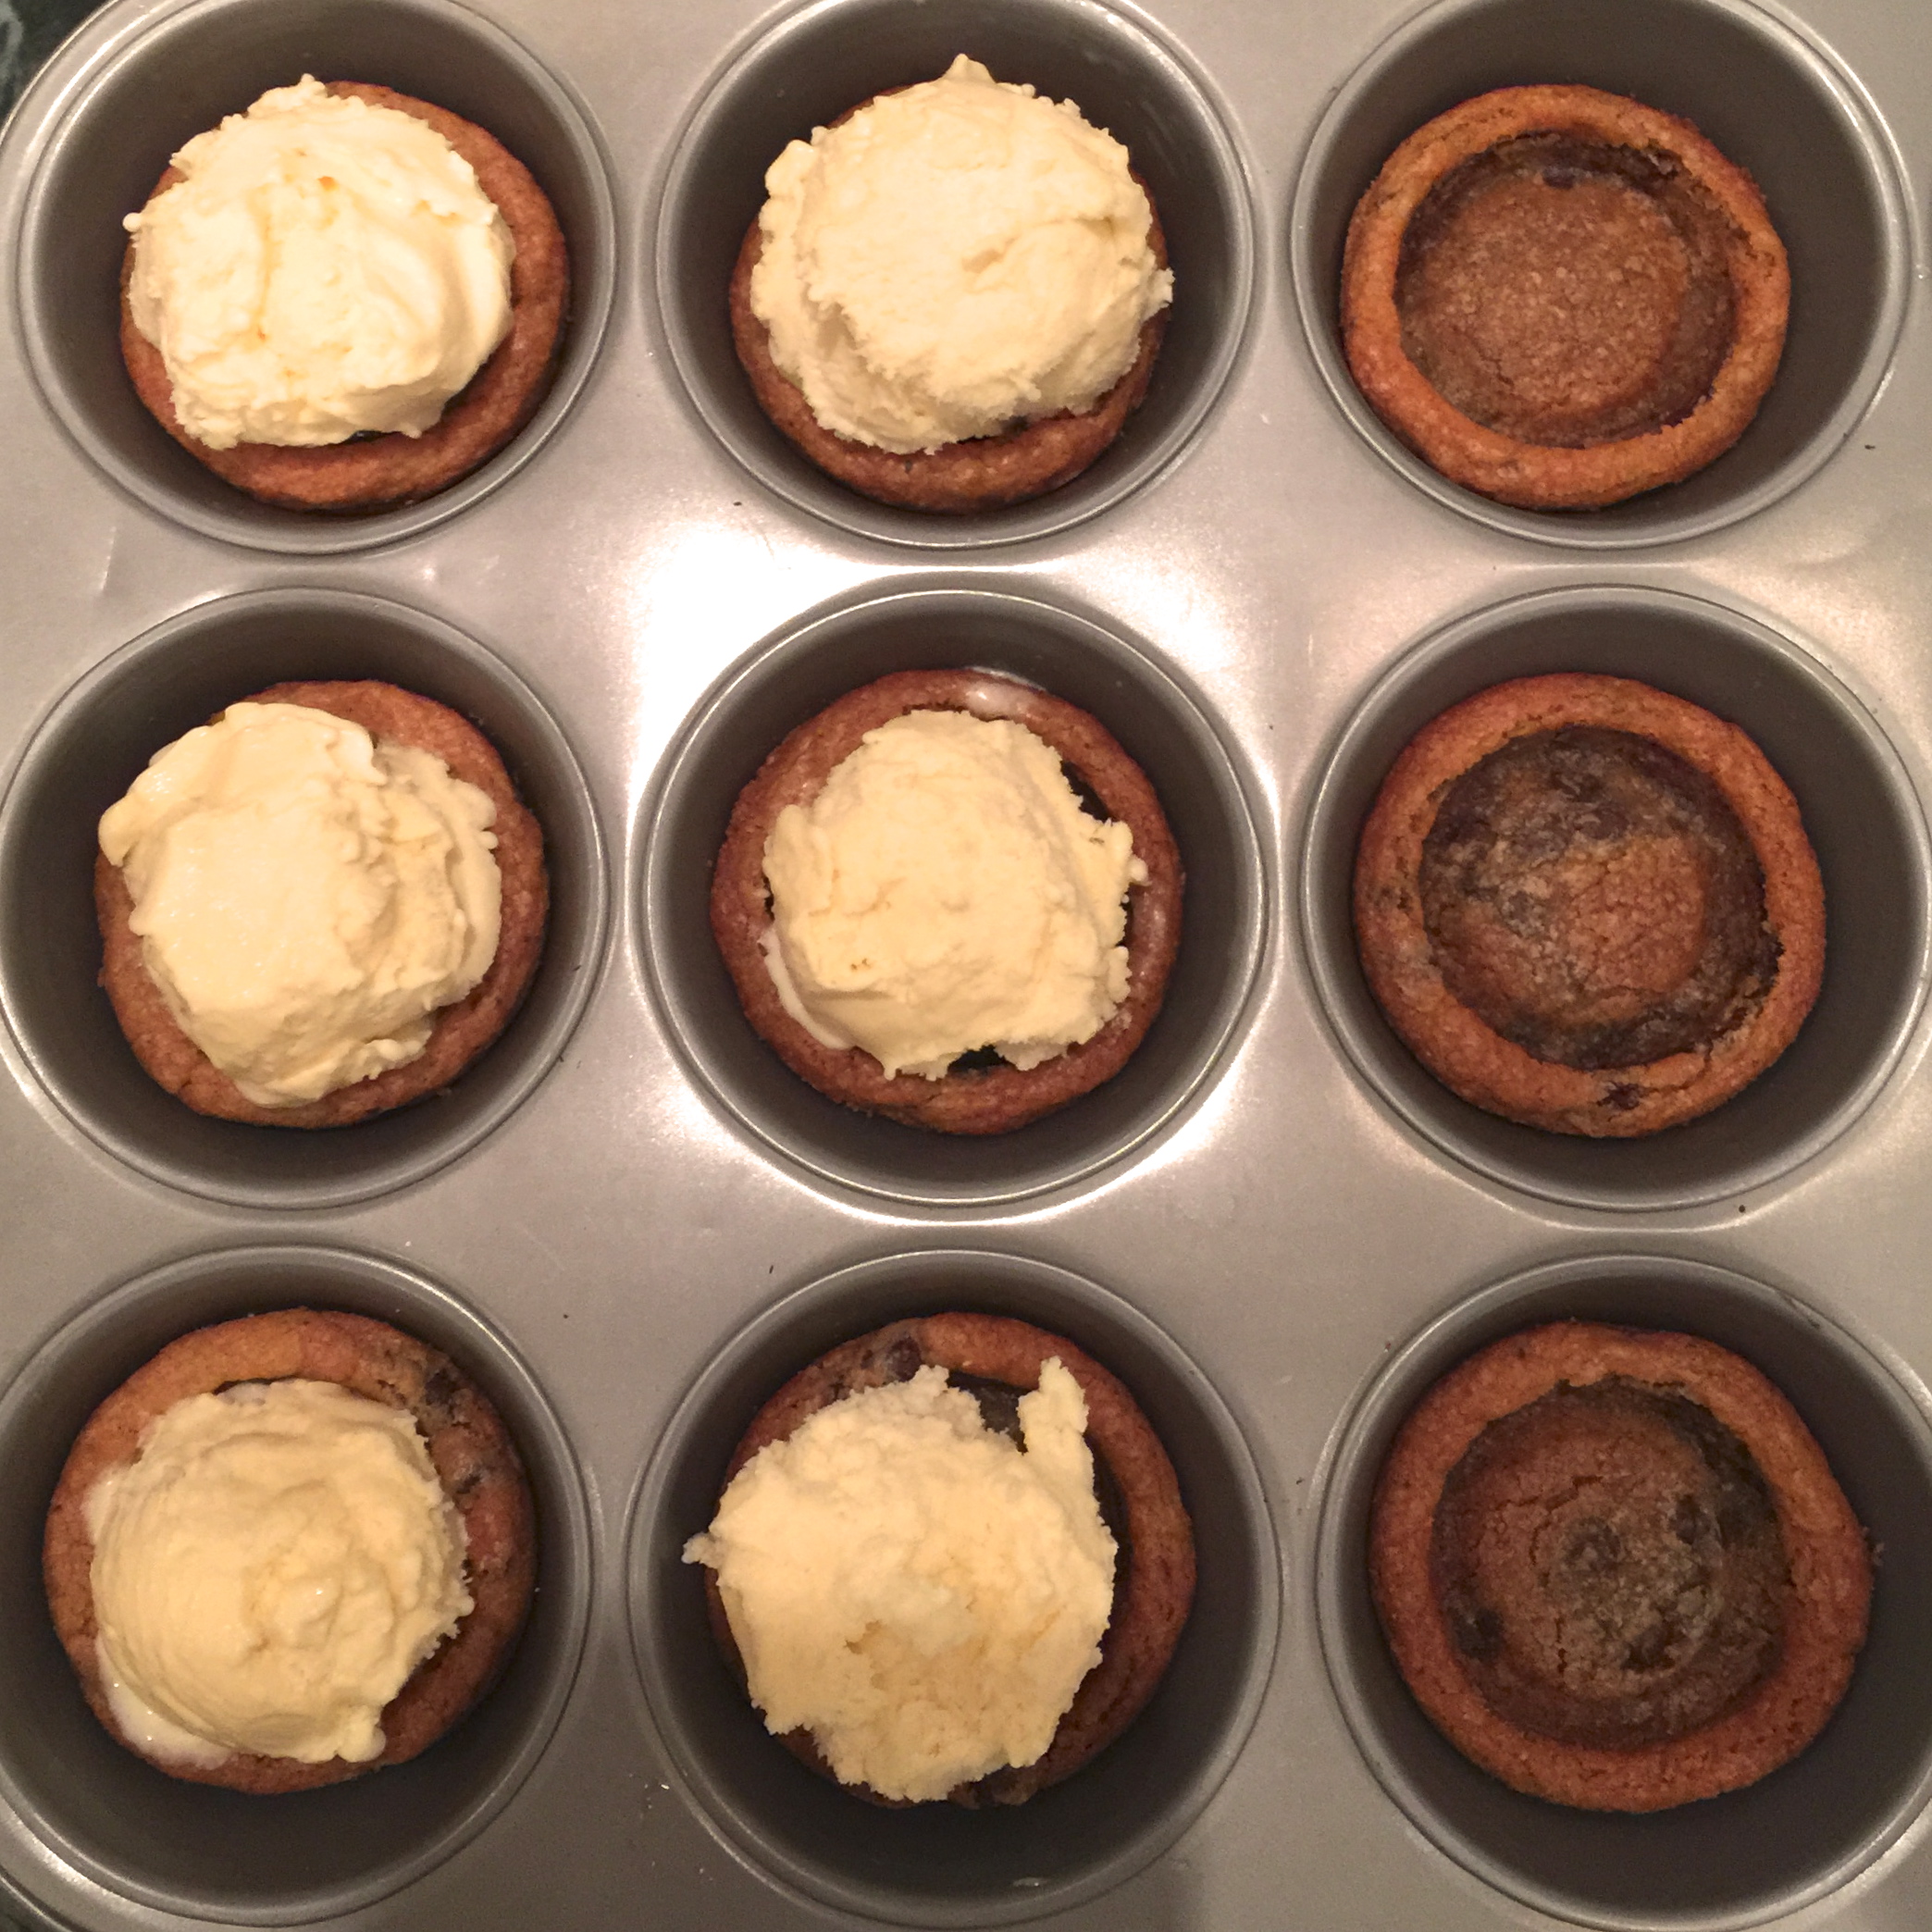
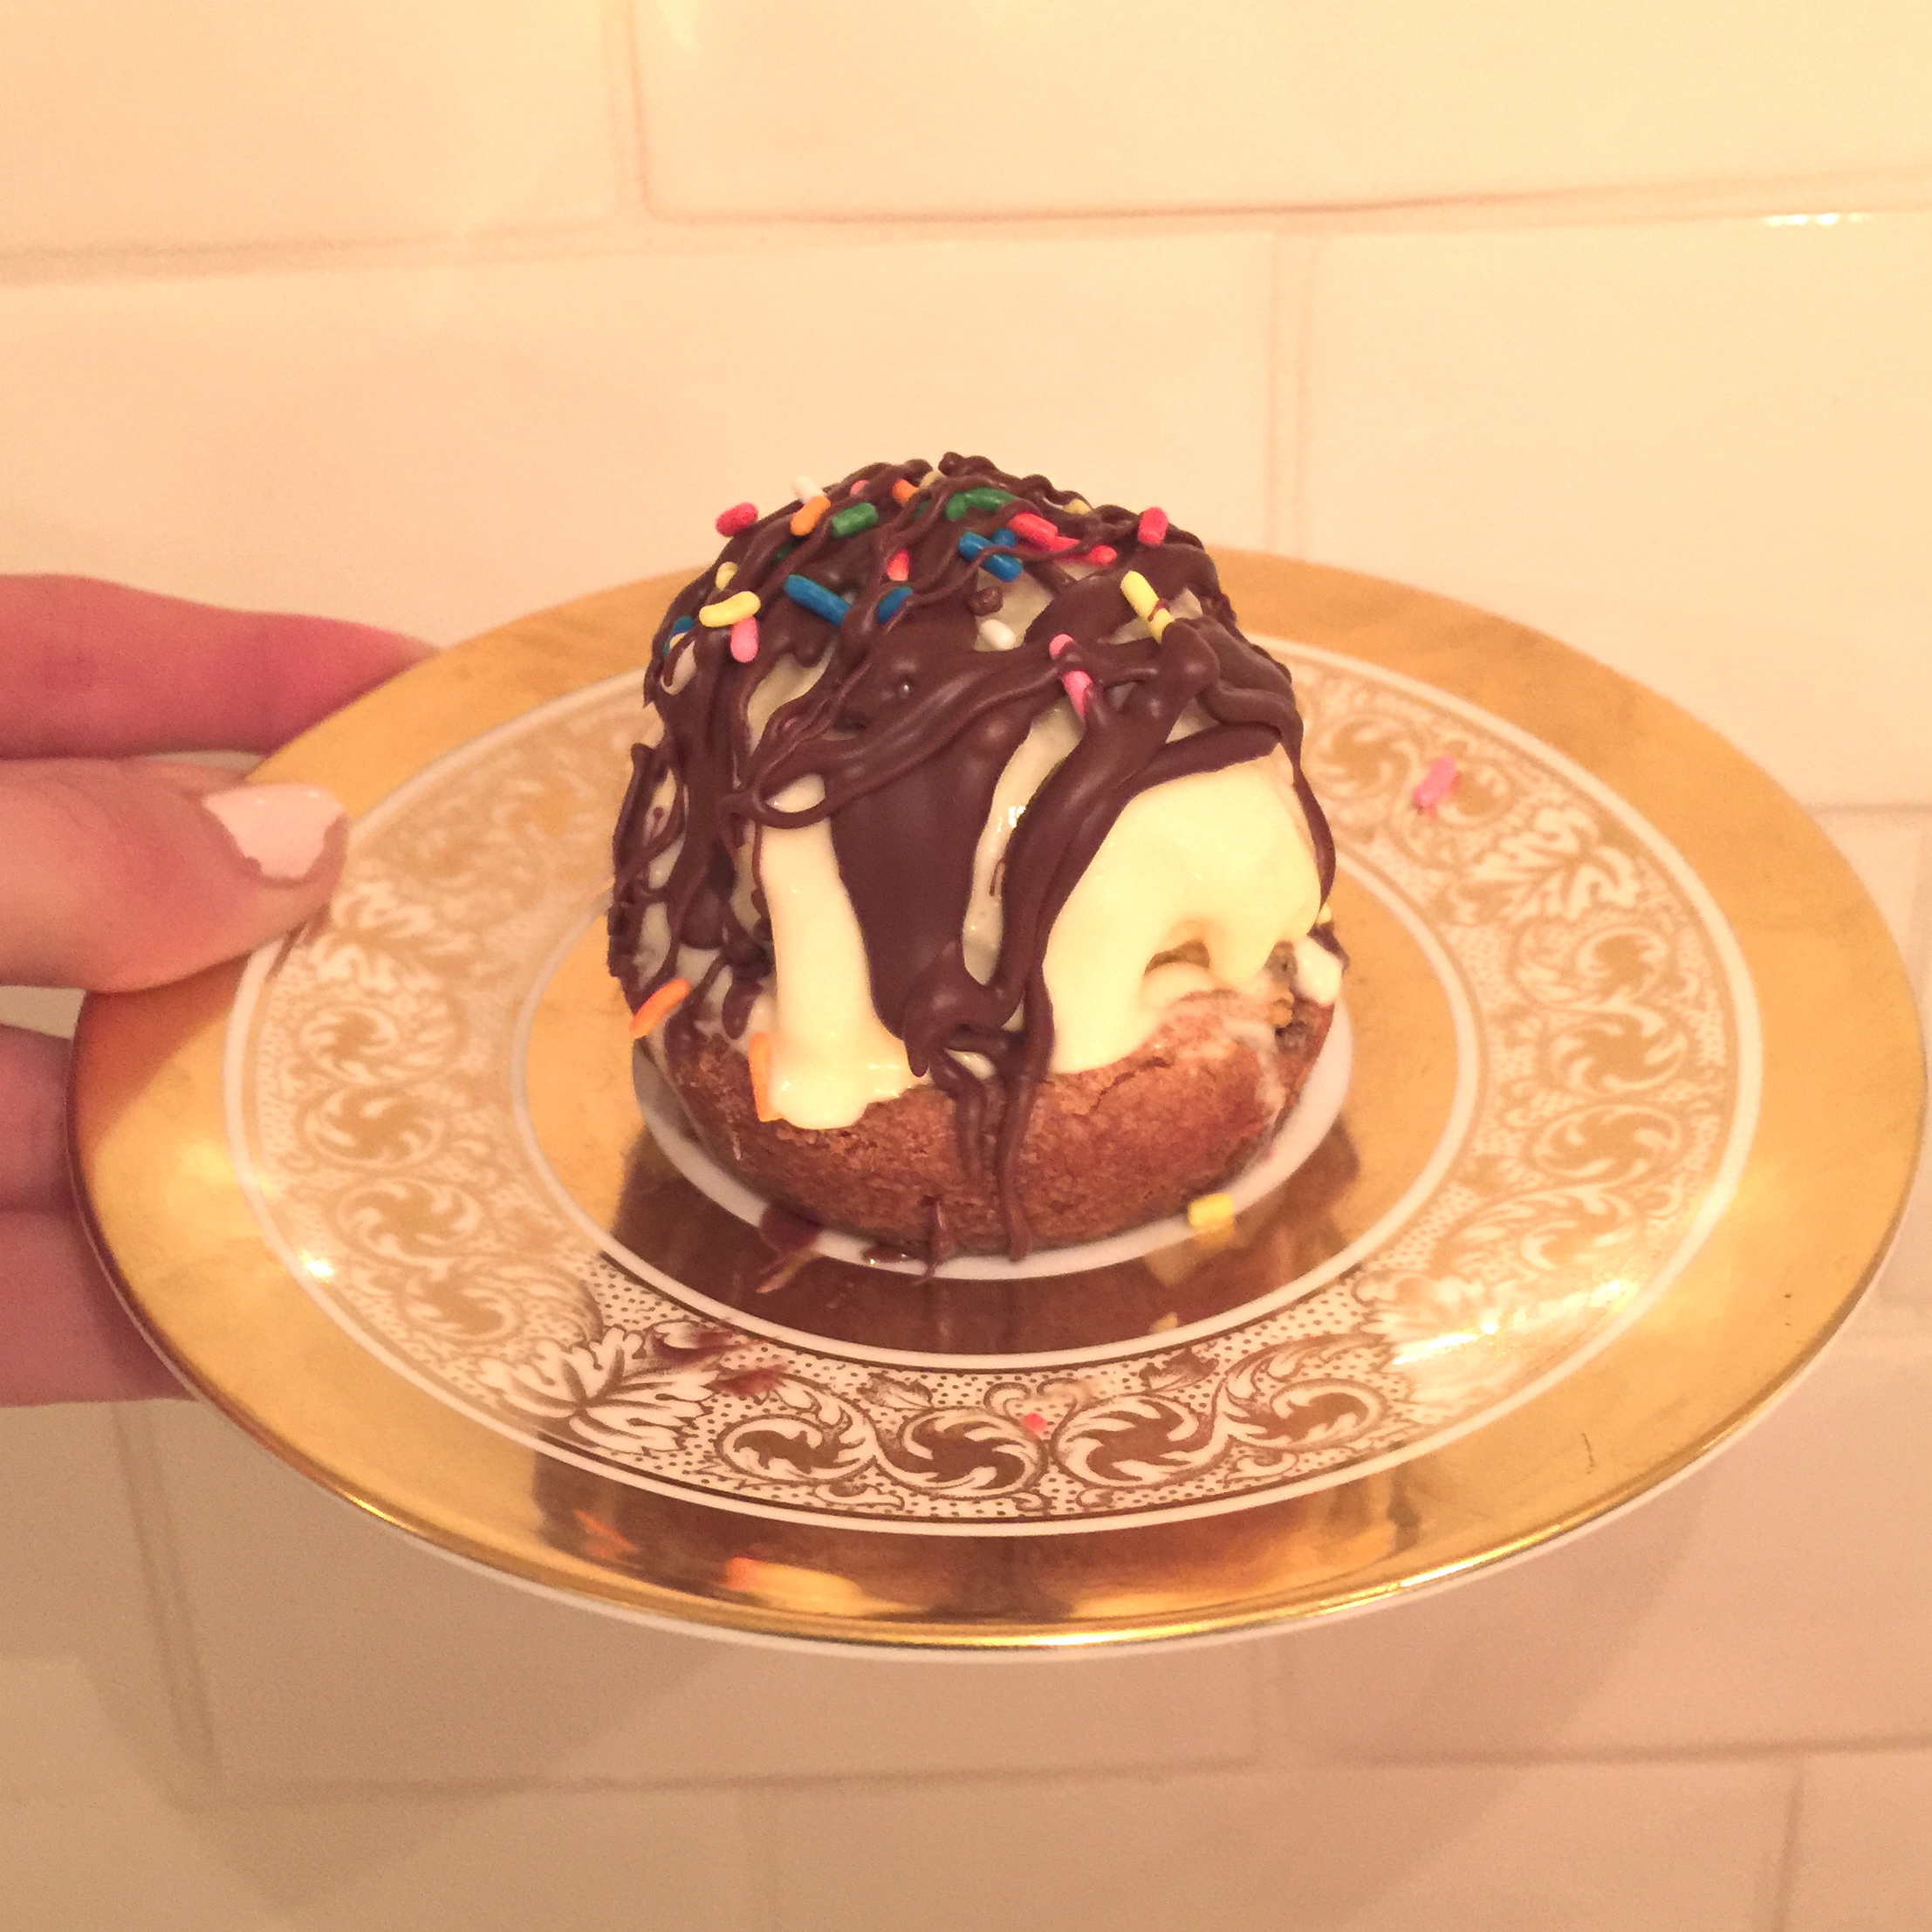
3. Let the cups cool for 10 minutes. Take your ice cream of choice and place a mini scoop in the cookie cup. My ice cream started to melt pretty fast so after I scooped all the ice cream I stuck the tray in the freezer for about 10 minutes before adding my toppings.

IMG_0502

4. Before taking the tray out of the freezer make sure your chocolate is melted and all toppings are laid out. To make things easier, pull out each cup and set on a flat plate or pan before decorating.

5. Take a spoon and drench your ice cream cookie cups with chocolate and as many toppings as you can find! When finished, place desserts in the freezer for an additional 10 minutes before serving. – that is if you can get that far before sticky little fingers grab them : )

IMG_0507

IMG_0503

Enjoy!IMG_0510

You will need:

– Roll of cookie dough
– Ice cream
– Melting chocolate + toppings of choice

Cook time 13 minutes
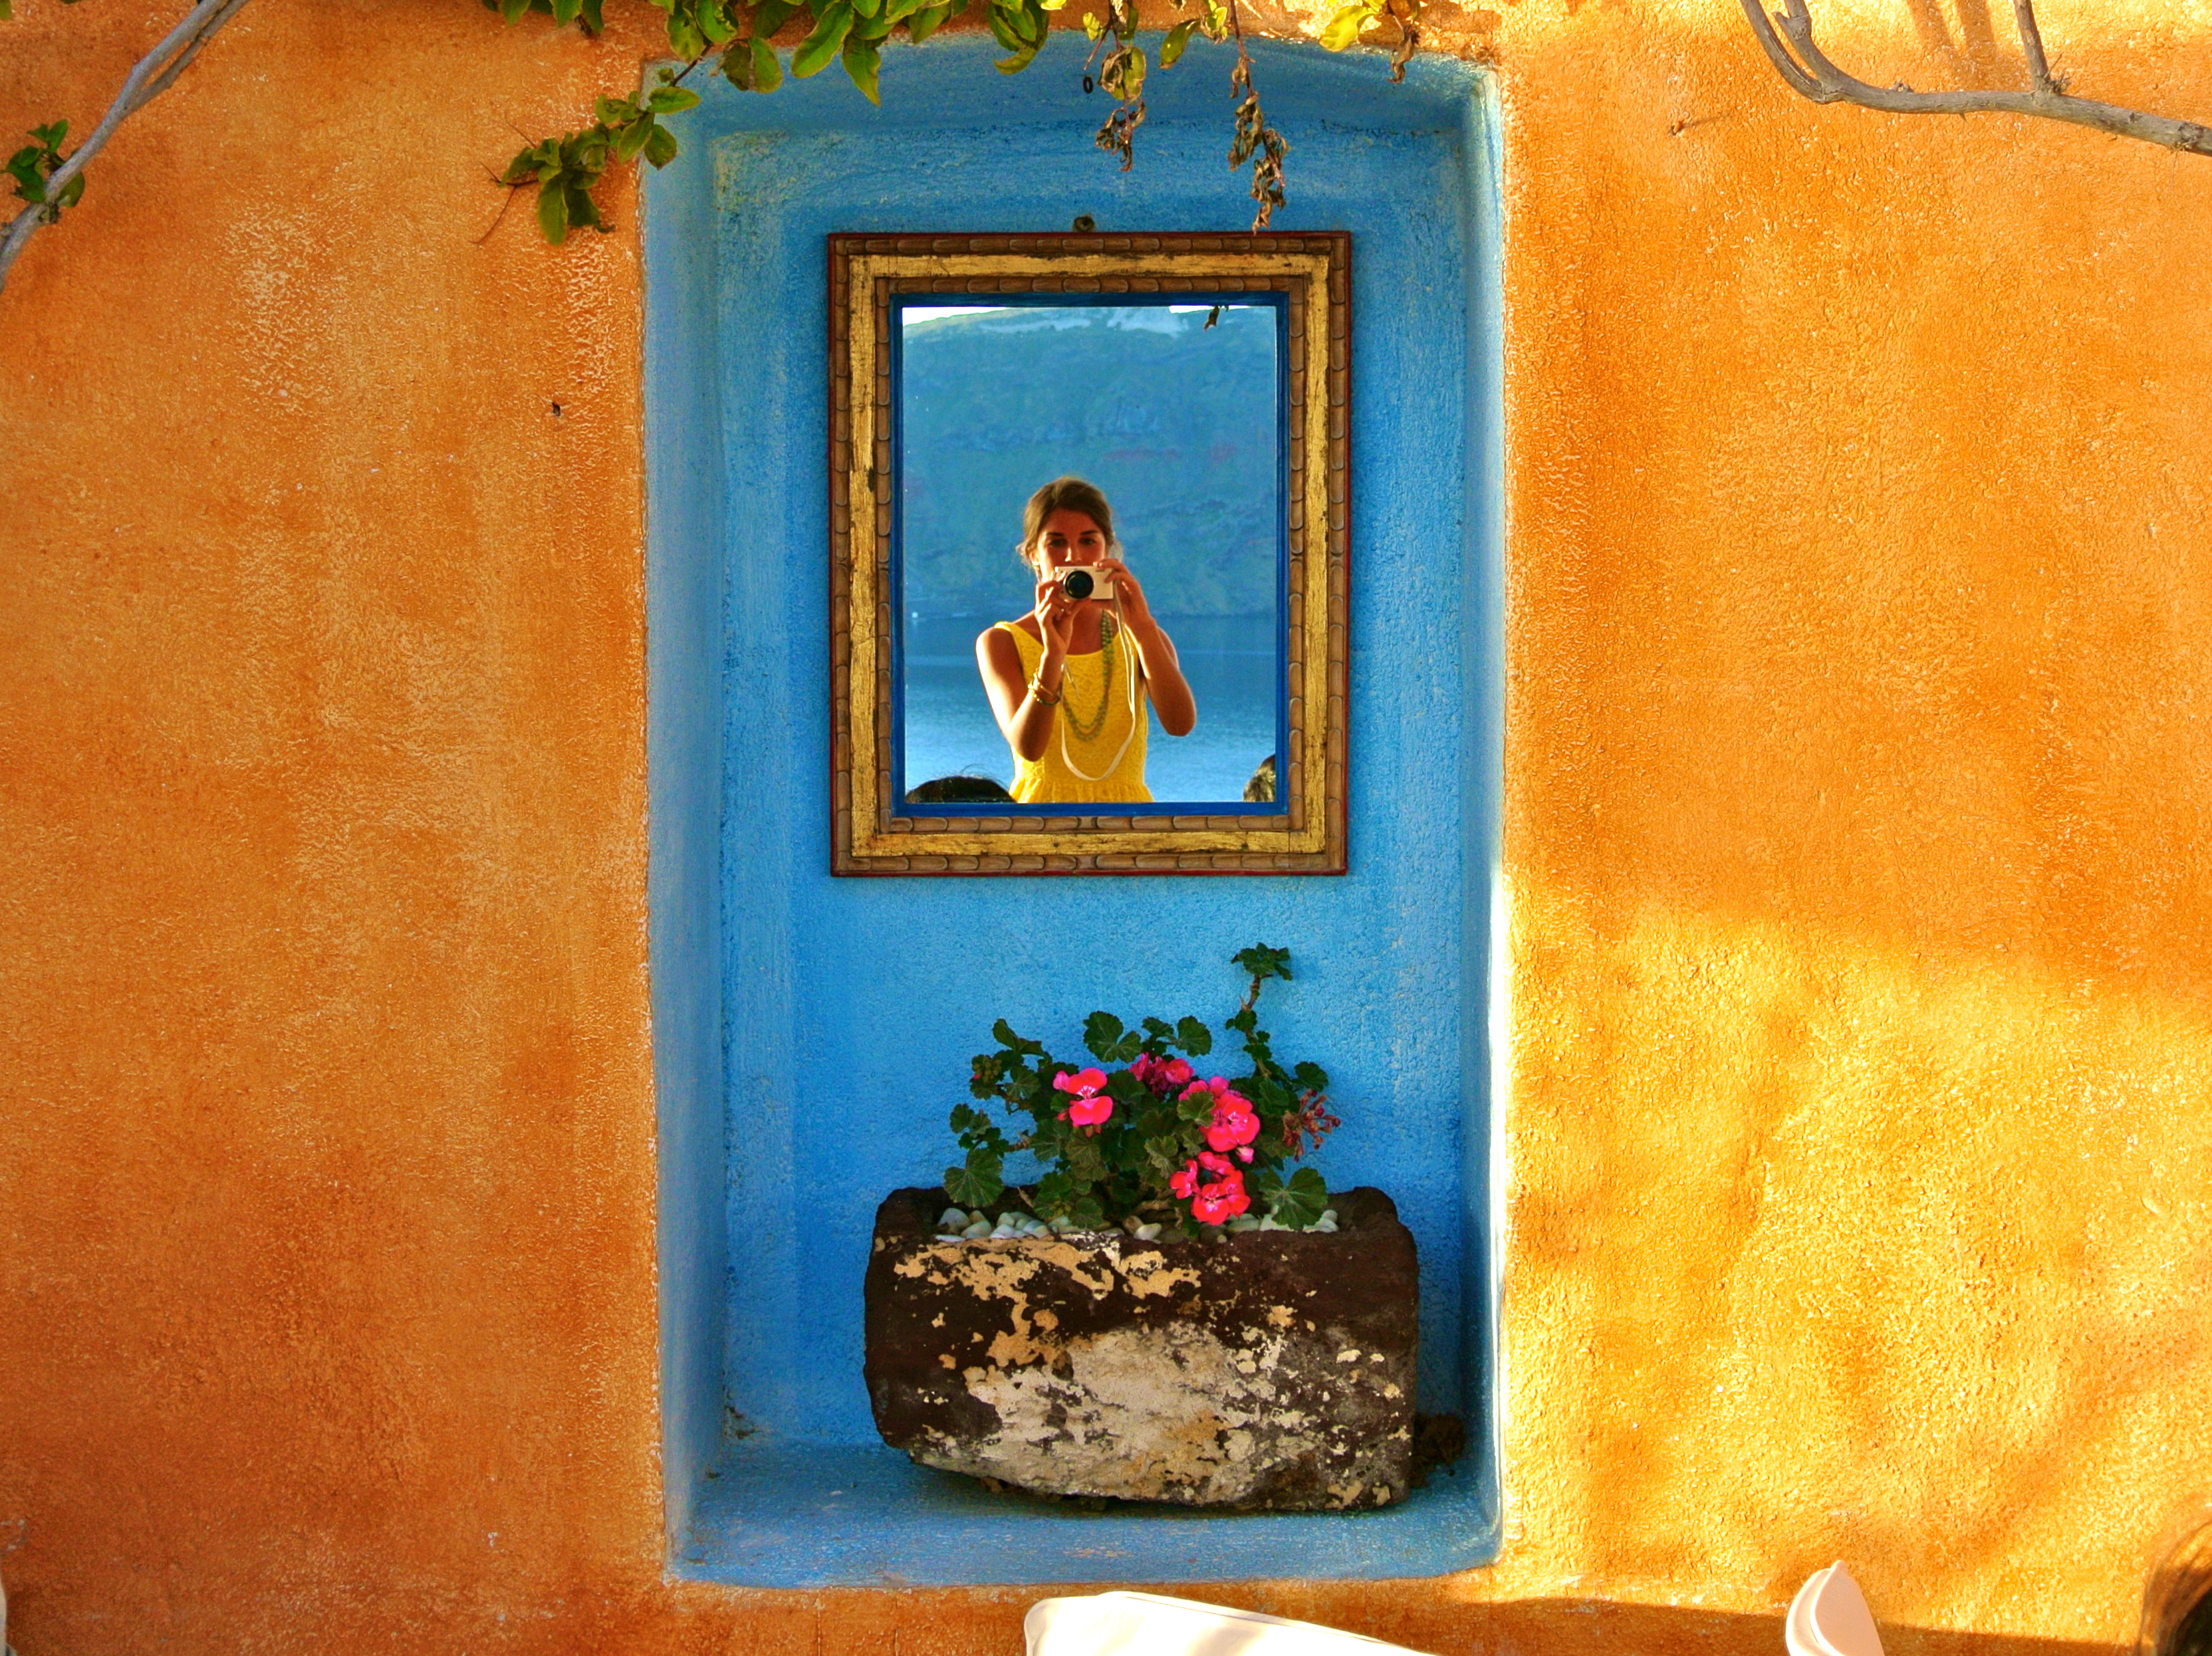
Heart Strung Garland

IMG_0485This Valentine’s DIY is super cute and a budget friendly way to add color to any small space.  Very little brain power is required and it’s likely you already have the materials shoved in the back of your junk drawer.

IMG_0418

Start by separating the hearts and diamonds from the rest of the deck. Then use a hole punch or pin to poke 2 holes through the top corners of the cards. IMG_0420

Dip a paint brush in glue and brush over the hearts and diamonds. Make sure to leave room around the hole punches so the string can still get through. Use glitter of your choice to sprinkle over the glue.

Let dry before stringing the cards together. The excess glitter will likely stick to the static on the card so I recommend using a dry paint brush to sweep it off the card.

DSC_3167

Take your thread/string/ribbon and weave it through the cards. Leave a little space between the cards so you can tie extra ribbon on the garland for more color and pazazz.

DSC_3161 DSC_3162

DSC_3168
DSC_3164

You will need:

– 1 deck of cards
– Hole punch or pin
– Glue
– Paintbrush
– Glitter
– String/ribbon

Nutella pop-hearts

DSC_3141

If you’re like me, anything with “Nutella” in the title already has my attention. These cutie patooties are so simple to make and only contain TWO ingredients! (or three ingredients if you’re getting fancy)

You can easily make these the day of a party and “wow” your guests when they bite through the buttery crisp of the pie crust to the ooey gooey Nutella center.


Preheat oven to 350°. Roll out the pie sheets and use the cookie cutter to cut out an even number of hearts. Place half of the shapes onto a cookie sheet. It’s okay if the shapes are close together because they won’t spread when you cook them.
DSC_3123DSC_3124

Put a big scoop of Nutella into a plastic bag. Cut the corner of the bag and squeeze a generous amount of Nutella onto half of the hearts. Make sure to leave enough space around the edges so chocolate doesn’t ooze out the edges when you press them together.

DSC_3125 DSC_3127

DSC_3129Using a fork, gently press the edges of the heart together. This will help hold the dough together as it cooks.

DSC_3132 DSC_3134

Bake for 10-13 minutes or until golden brown. Let cool for 10 minutes before decorating.

DSC_3136
DSC_3147

DSC_3178

Prep time 10 minutes, bake time 10 minutes.

You will need:

– 2 pie crusts
– Heart shaped cookie cutter
– Jar of Nutella
– Icing/melting chocolate optional

Makes 21 pop-hearts


“LOVE”

Happy February 1st!

LOVE (literally) my new pillow decor that is just in time for Valentine’s Day! Aren’t little gifts from Mom always the best?

IMG_0465

Cynthia Rowley blanket, Serena and Lily diamond quilt pillow, blue diamond, LOVE, and pearl pillows from Home Goods