Funfetti Cookies

IMG_1152

Funfetti.. a childhood staple notorious for elementary school birthday treats. I’m all for baking from scratch but why mess with a perfectly packaged recipe?

This week’s dessert goes out to an office birthday. The biggest problem I have when making treats for friends is packaging them up without smearing icing or melting the perfectly drizzled chocolate.

Solution: cookie sandwiches. These guys are super easy to pile into a box and no fork or knife needed!

Take a bite down memory lane and surprise your friends with a new take on a childhood treat.

IMG_1151


You will need:

1 box Funfetti cake mix

1/3 cup vegetable oil

2 eggs

Icing of choice

Makes 31 cookie sandwiches

1. Preheat oven to 375°F.

2. Combine cake mix, oil and eggs in large bowl.

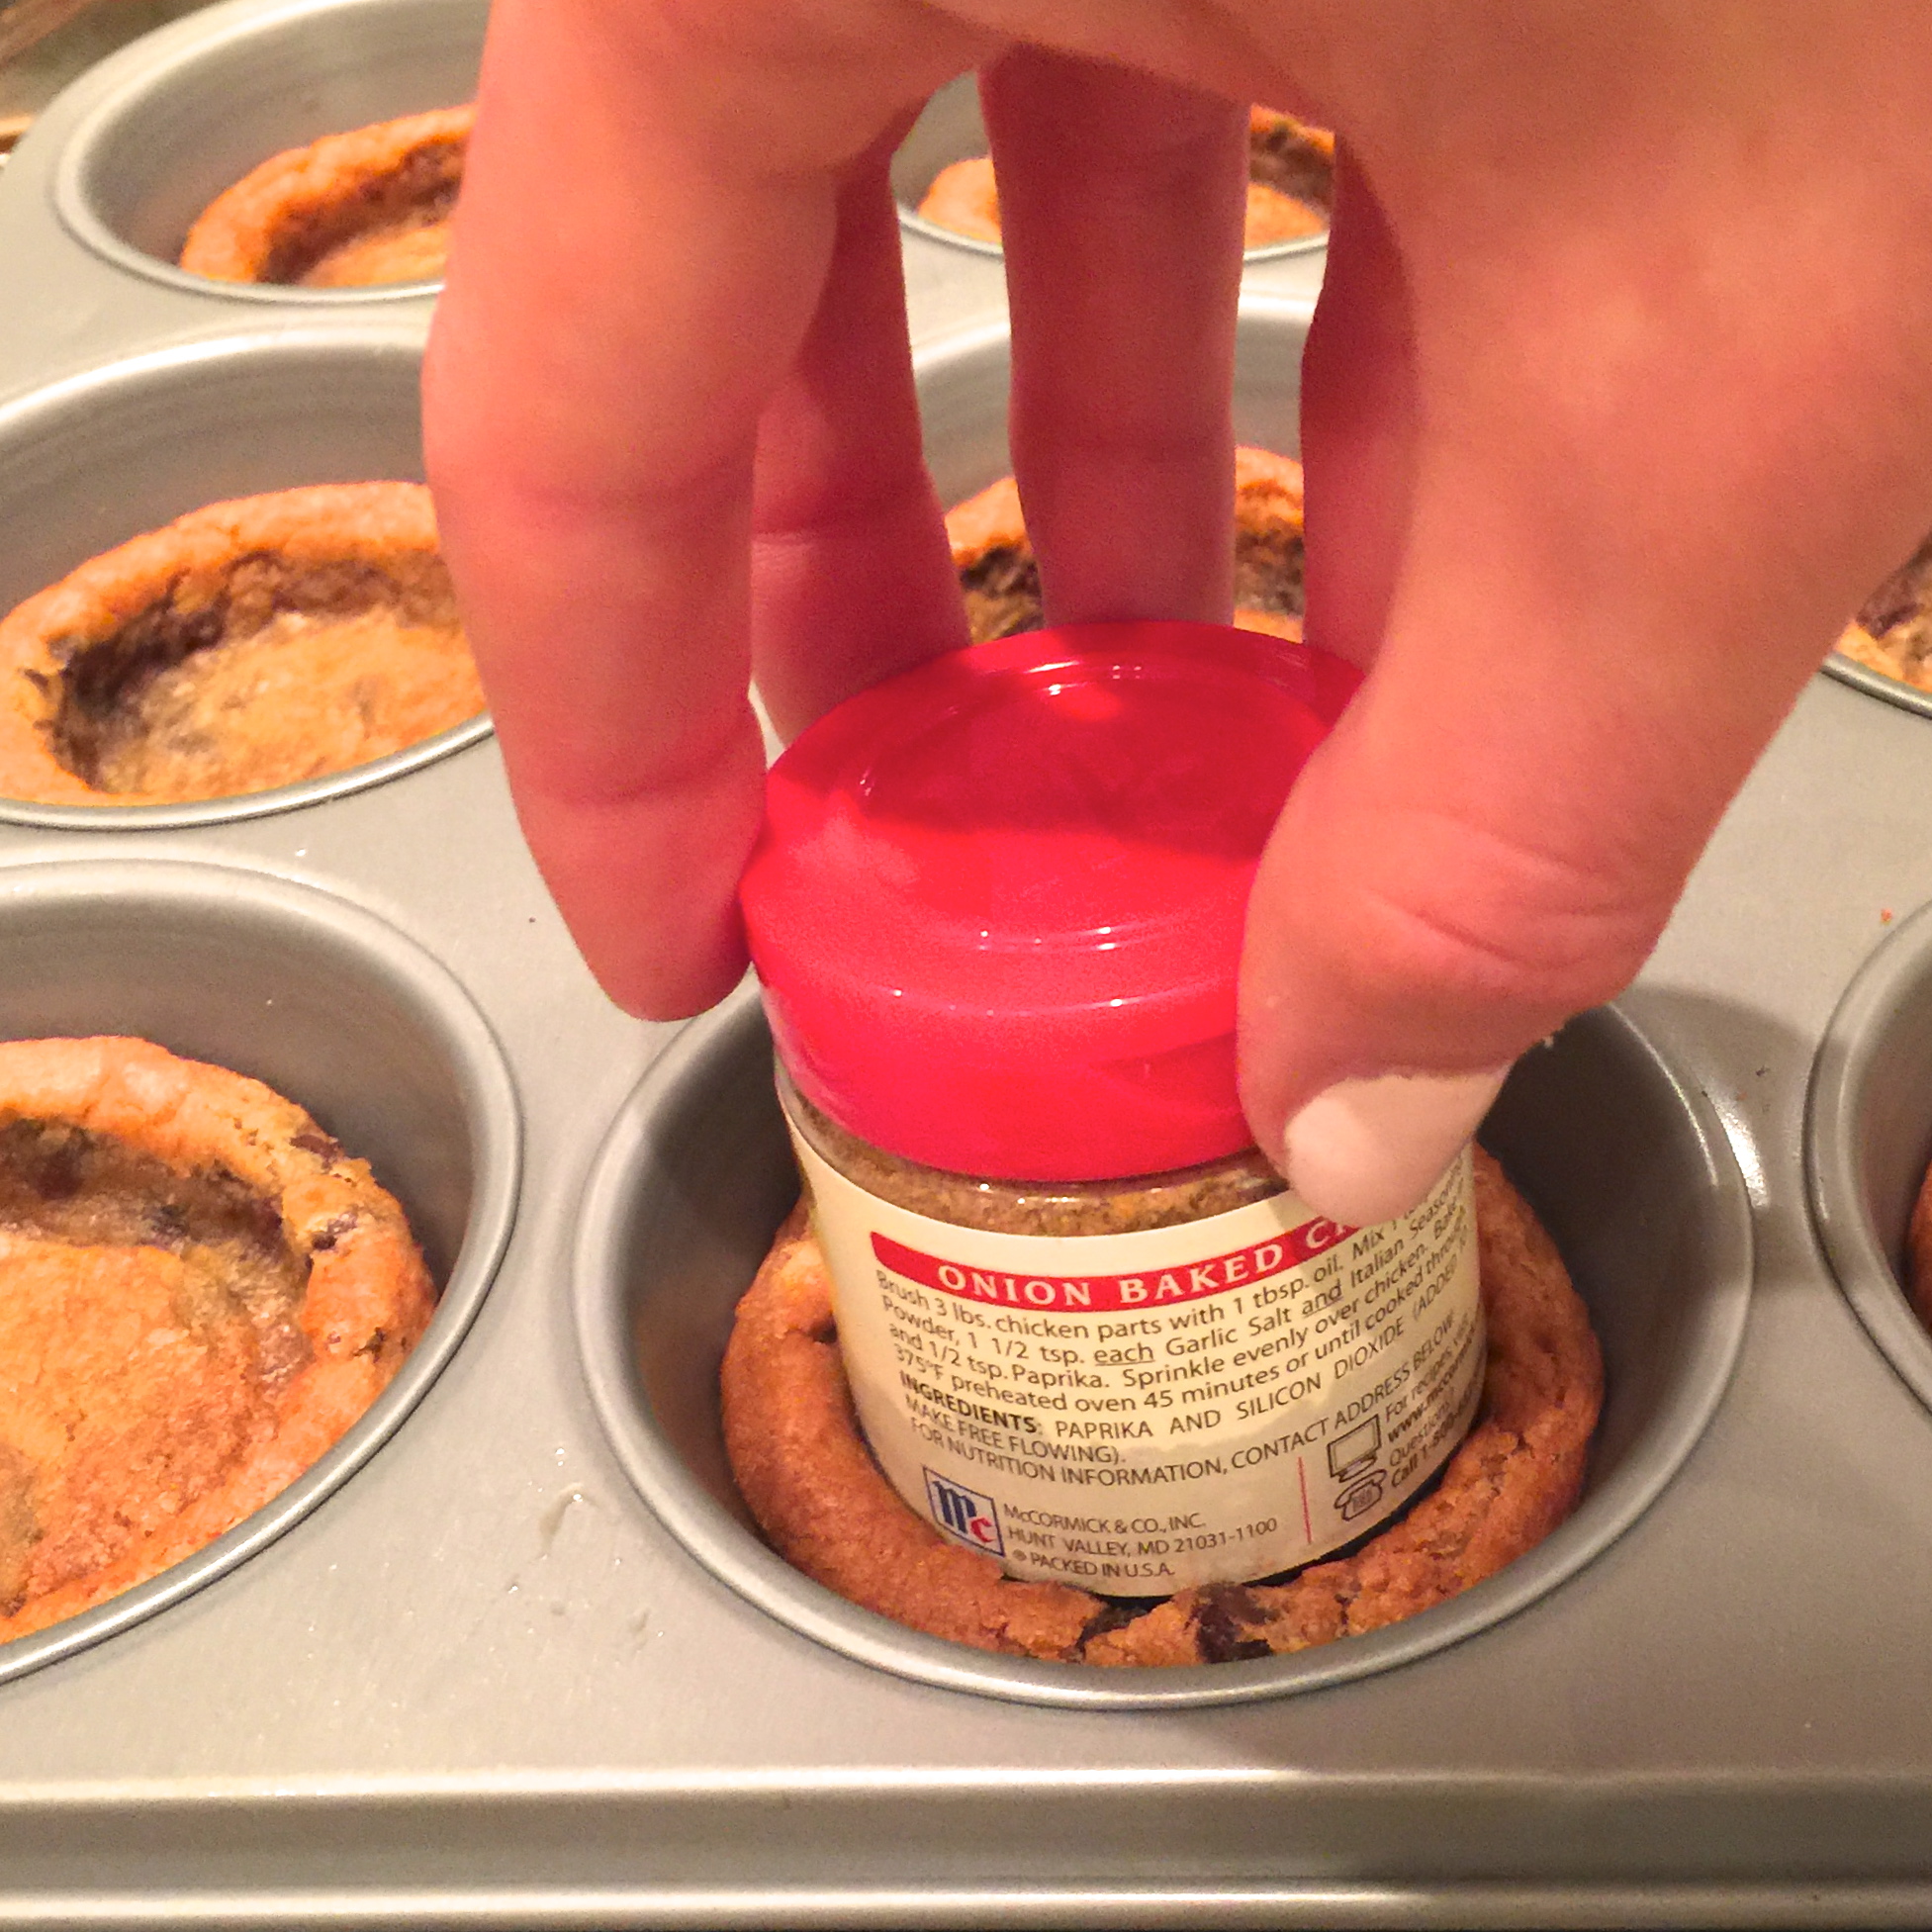
3. Shape dough into 1-inch balls and space 2 inches apart on baking sheet. Use the bottom of a glass to flatten the dough to 1/4 inch thickness.

4. Bake for 6-8 minutes and let cool before icing.

Enjoy!

Spring party cookies

IMG_1056

It’s that’s time of year again – mapping out your calendar for wedding showers, derby parties and Mother’s Day brunch. These dainty treats can be made for any springtime celebration and you won’t have to sacrifice your precious Saturday locked in the kitchen.

– Use two circle cookie cutters of different sizes to make the hat.

– Once the cookies have cooled, place a dollop of icing on the bottom of the small circle and “glue” it to the middle of the larger circle.

– Melt icing and drizzle over top. Let icing set and decorate!

IMG_1065

 If you think the cookie hats are “cute, but..” you have some fancy party guests to impress, try the cookies below. I saw these “painted” flower cookies on Pinterest and was amazed how simple it was!

– Use a small icing tip to form a flower on the chilled cookie.

– Using any type of super small brush, lightly brush the icing in a downward motion. This creates the smeared edges.

IMG_1069

For a step by step guide click to see one of the many tutorials I found on Pinterest.

Don’t wait for the next summer party to whip these up – you can buy store bought cookies and test out the painting technique too!

Ice Cream Cookie Cups

IMG_0506

Day 1 of a new juice cleanse and I’m drooling looking back on these scrumptious ice cream sundae cups I made last weekend.

Cookie + ice cream + melted chocolate.. I think the mouthwatering picture says it all.

One of the best parts about this dessert is that it’s not supposed to be super “pretty” or clean cut – the messier, the better! So pile on as many marshmallows and M&M’s as your little heart desires.


1. Preheat oven to 350°. Combine 3-4 generous tablespoons of cookie dough into a ball and place into a non-stick muffin tin. Roll the remaining dough and distribute until entire muffin tin is full.*Add more cookie dough for a thicker cookie cup.

2. Bake cookie cups for about 13 minutes or until golden brown. Pull your tray out and immediately take a spice jar and gently press into each cookie. This should form a little “crater” where the ice cream will sit.

IMG_0499

IMG_0498


3. Let the cups cool for 10 minutes. Take your ice cream of choice and place a mini scoop in the cookie cup. My ice cream started to melt pretty fast so after I scooped all the ice cream I stuck the tray in the freezer for about 10 minutes before adding my toppings.

IMG_0502

4. Before taking the tray out of the freezer make sure your chocolate is melted and all toppings are laid out. To make things easier, pull out each cup and set on a flat plate or pan before decorating.

5. Take a spoon and drench your ice cream cookie cups with chocolate and as many toppings as you can find! When finished, place desserts in the freezer for an additional 10 minutes before serving. – that is if you can get that far before sticky little fingers grab them : )

IMG_0507

IMG_0503

Enjoy!IMG_0510

You will need:

– Roll of cookie dough
– Ice cream
– Melting chocolate + toppings of choice

Cook time 13 minutes