
How could you not love this holiday with these pretty colors?
How could you not love this holiday with these pretty colors?
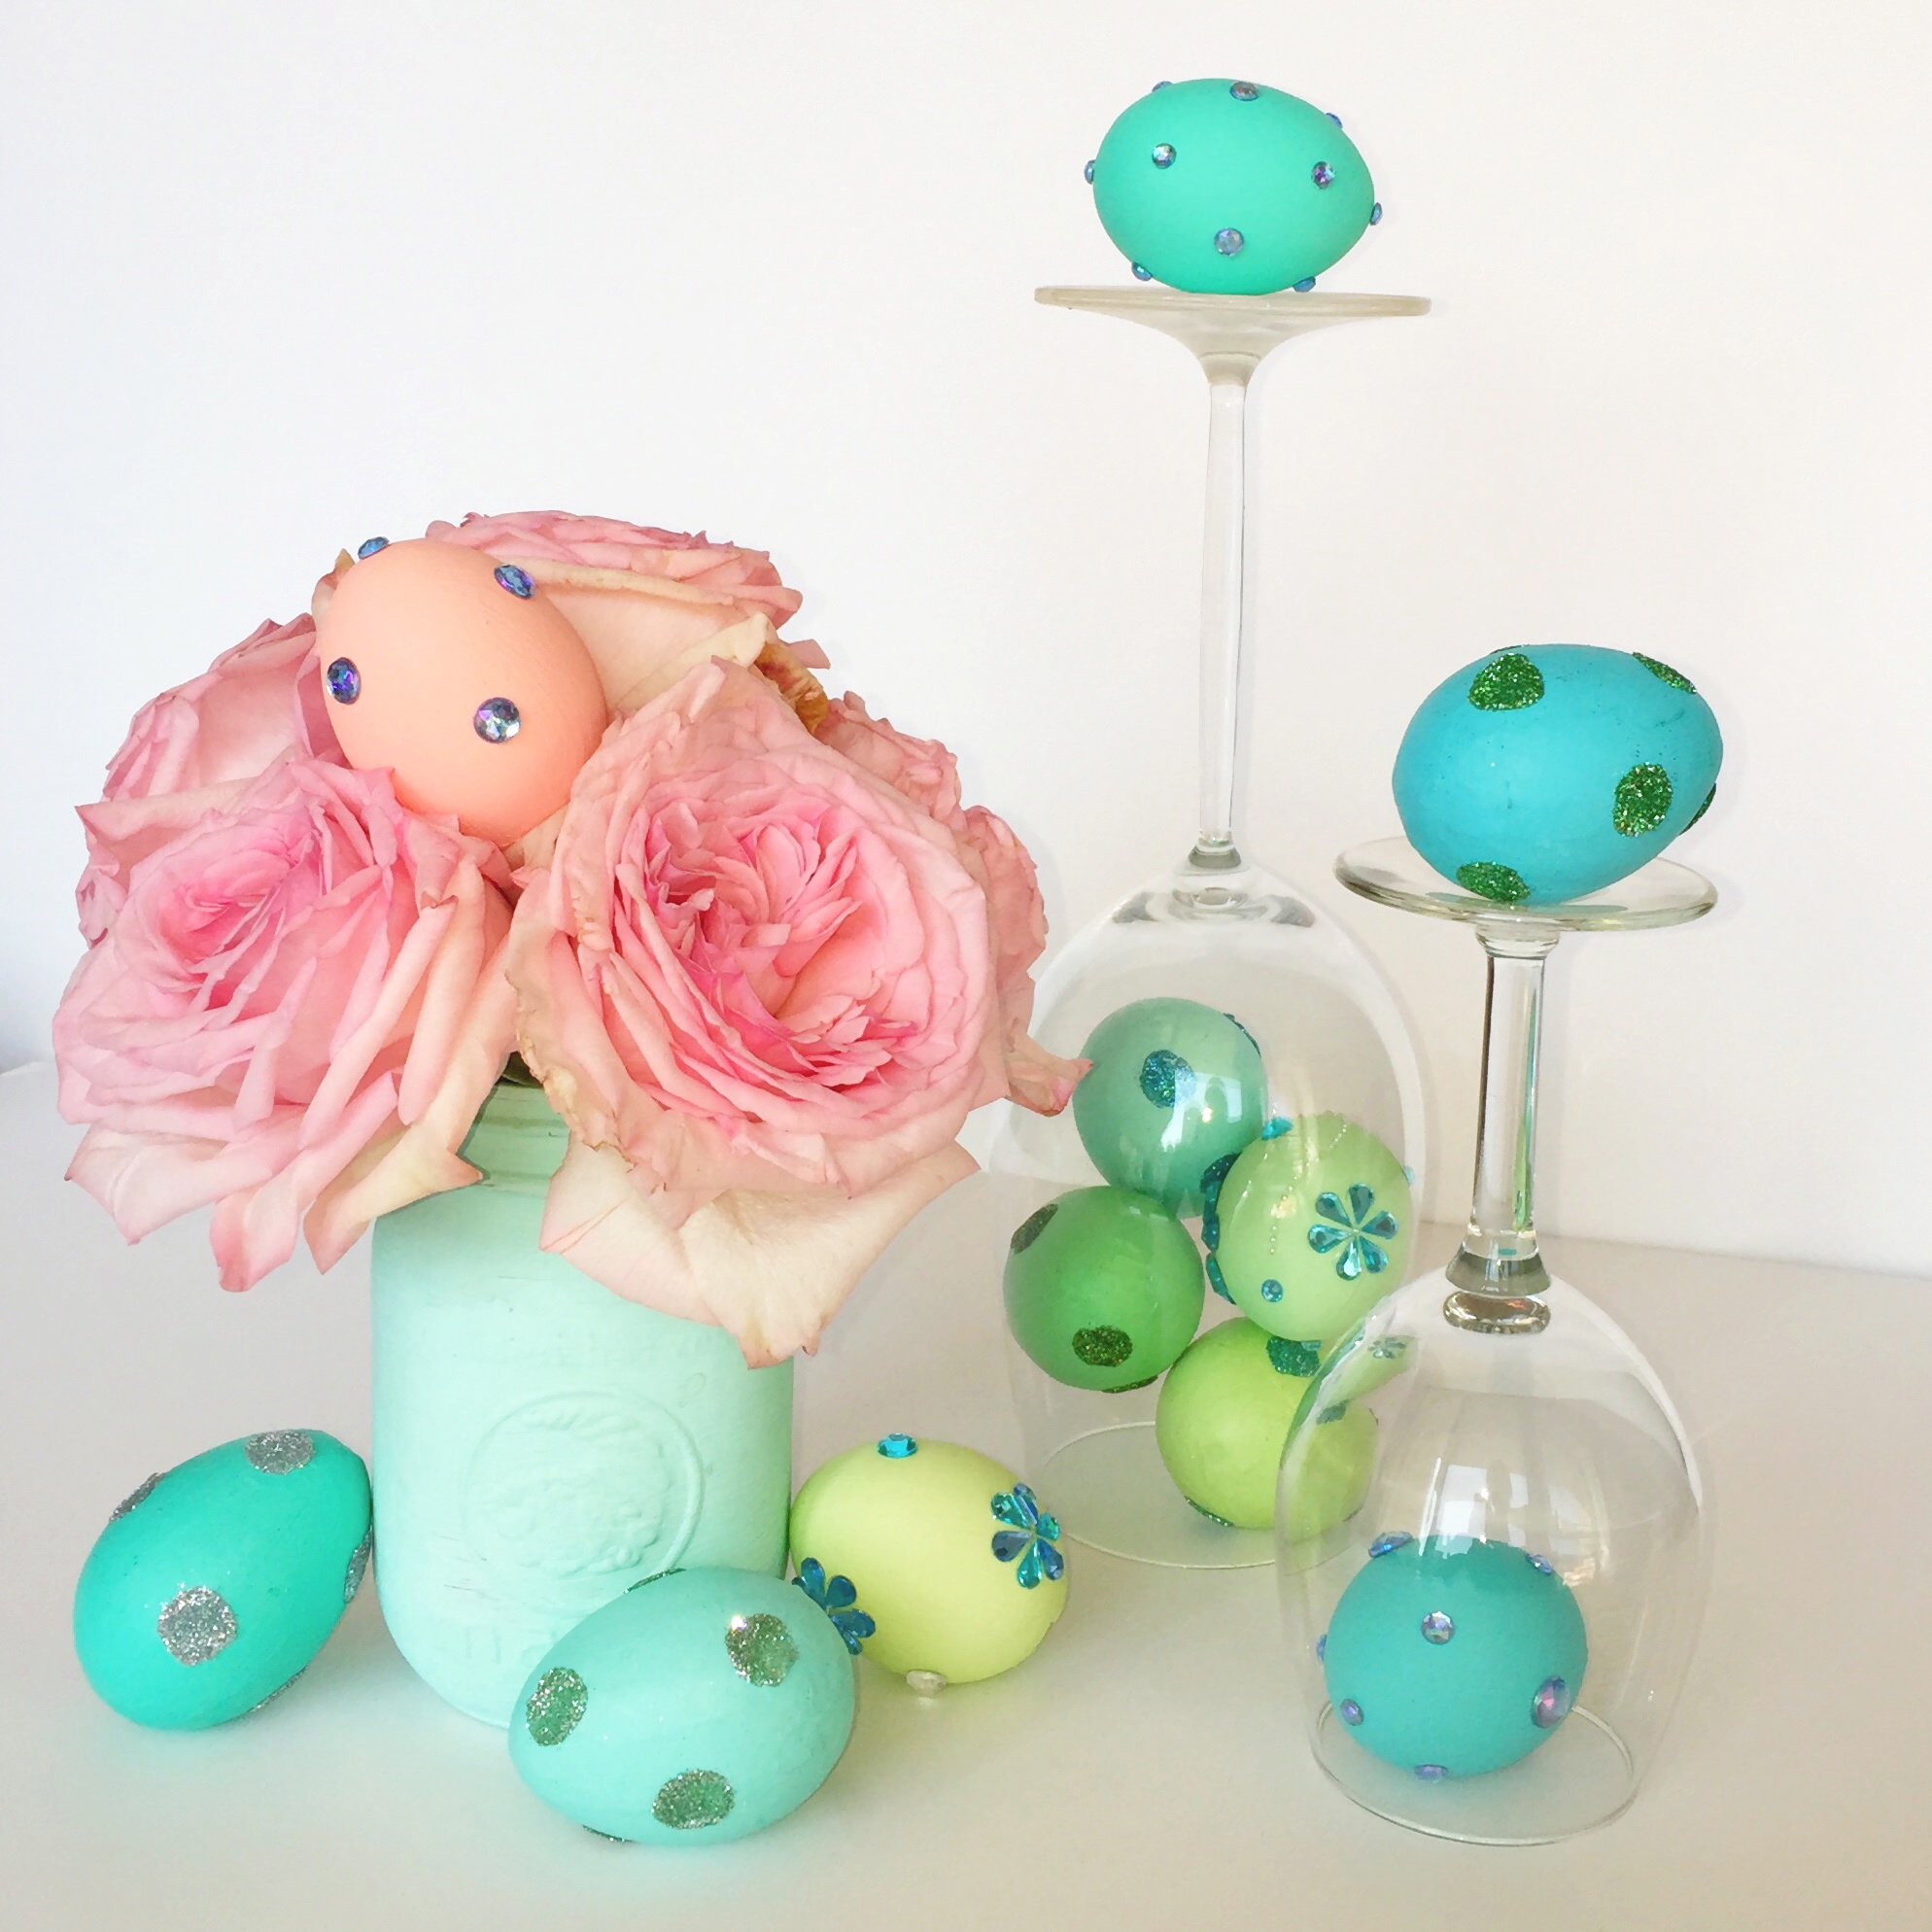
Easter is one of my favorite holidays to decorate for. I love its jelly bean colors, pastel patterned eggs and handfuls of chocolates. However, all of a sudden Easter is less than 2 days away and I haven’t had as much as a single jelly bean!
Instead of turning your home into an explosion of Alice & Wonderland whimsy, choose to highlight a few areas that are most visible by guests (ie. kitchen counter).
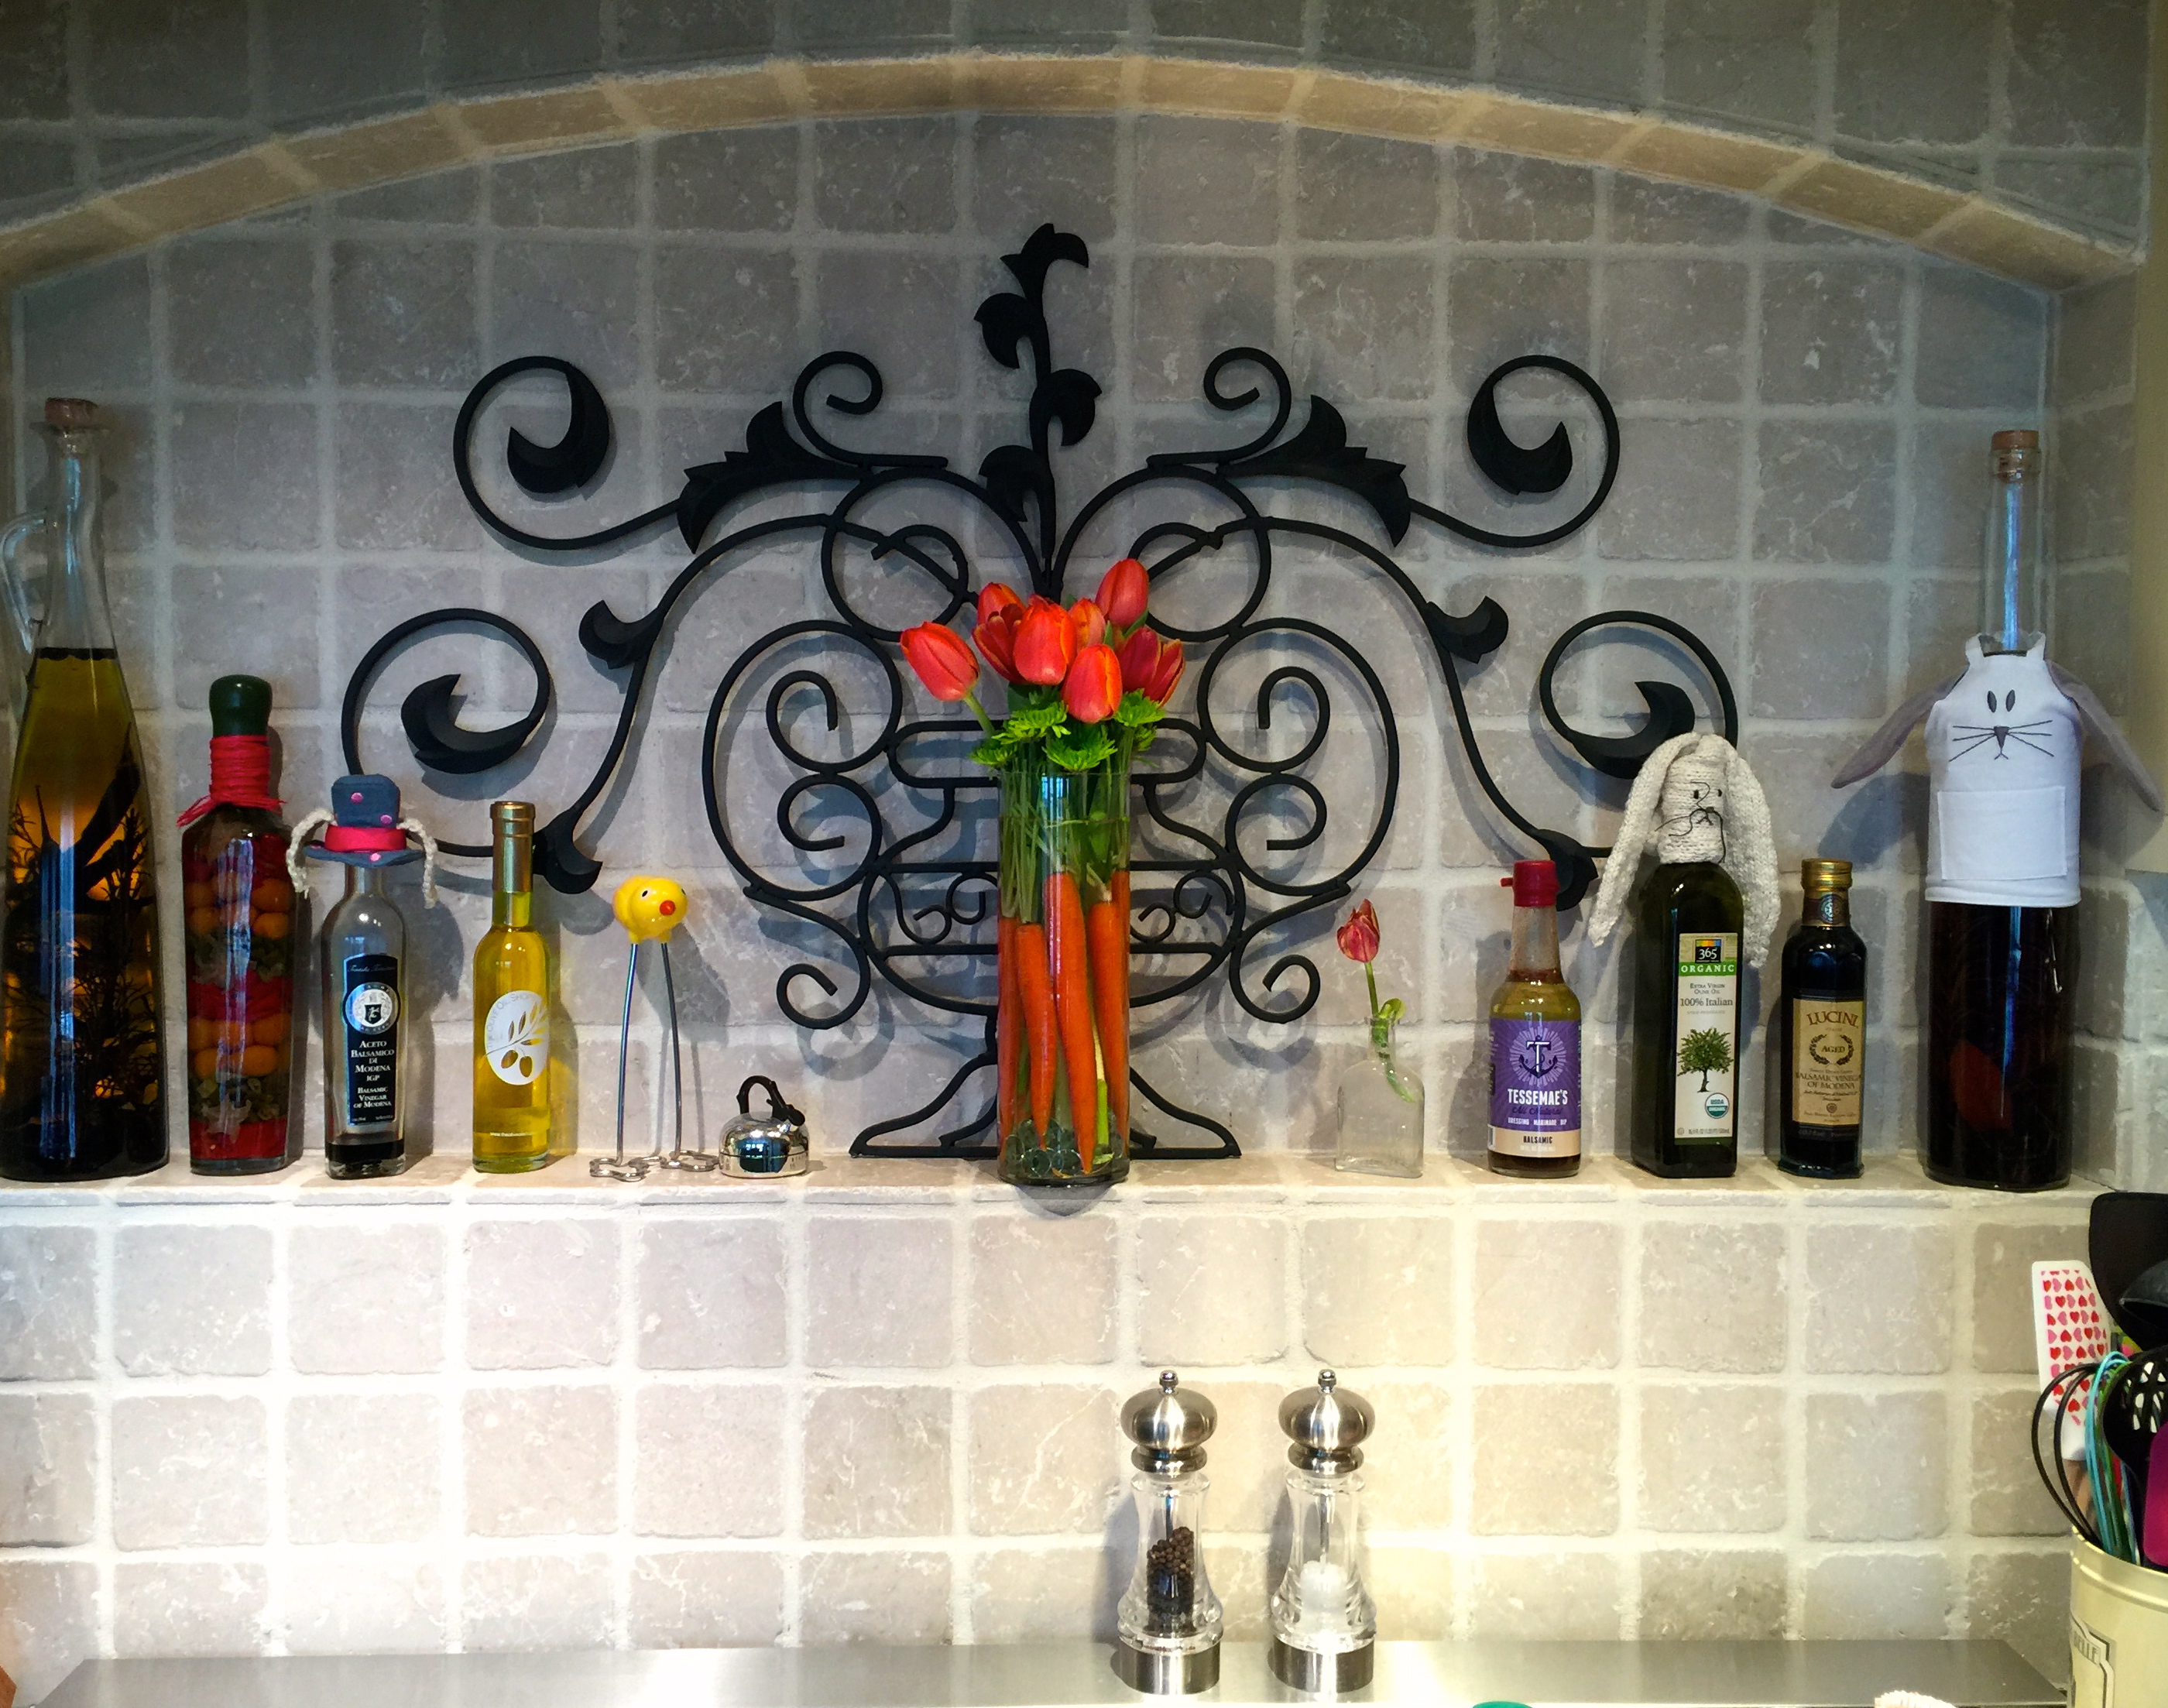
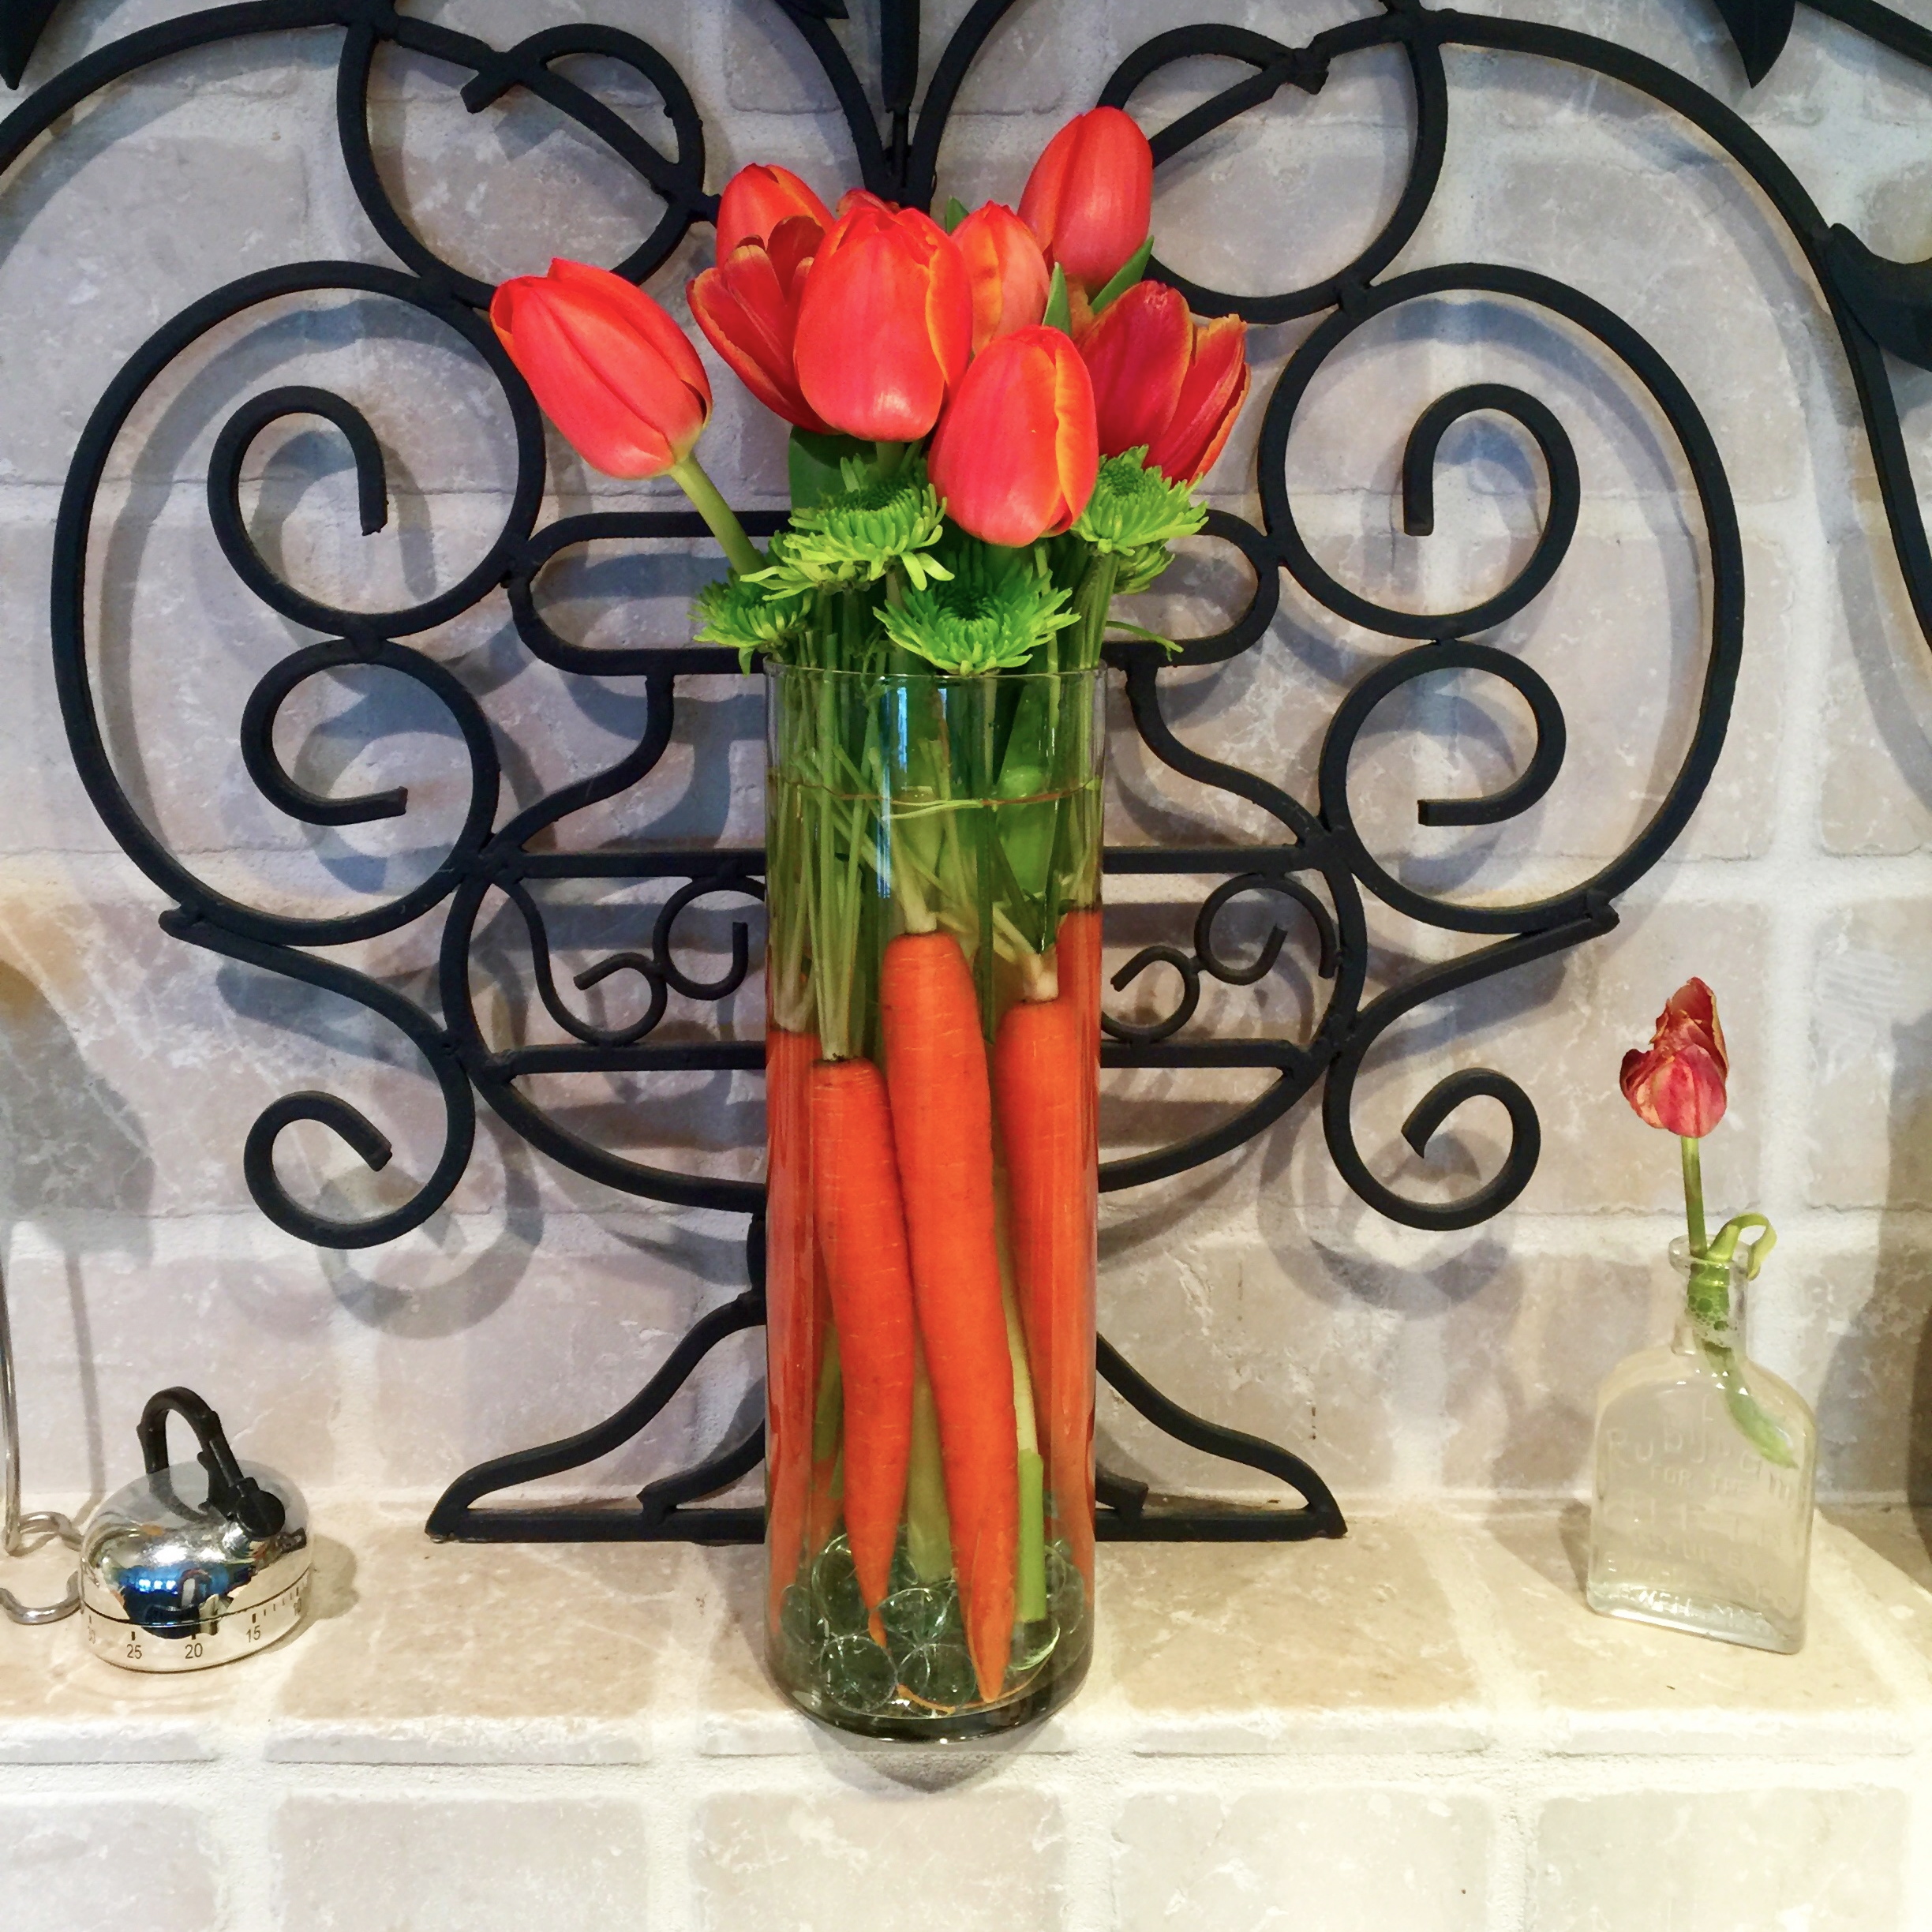
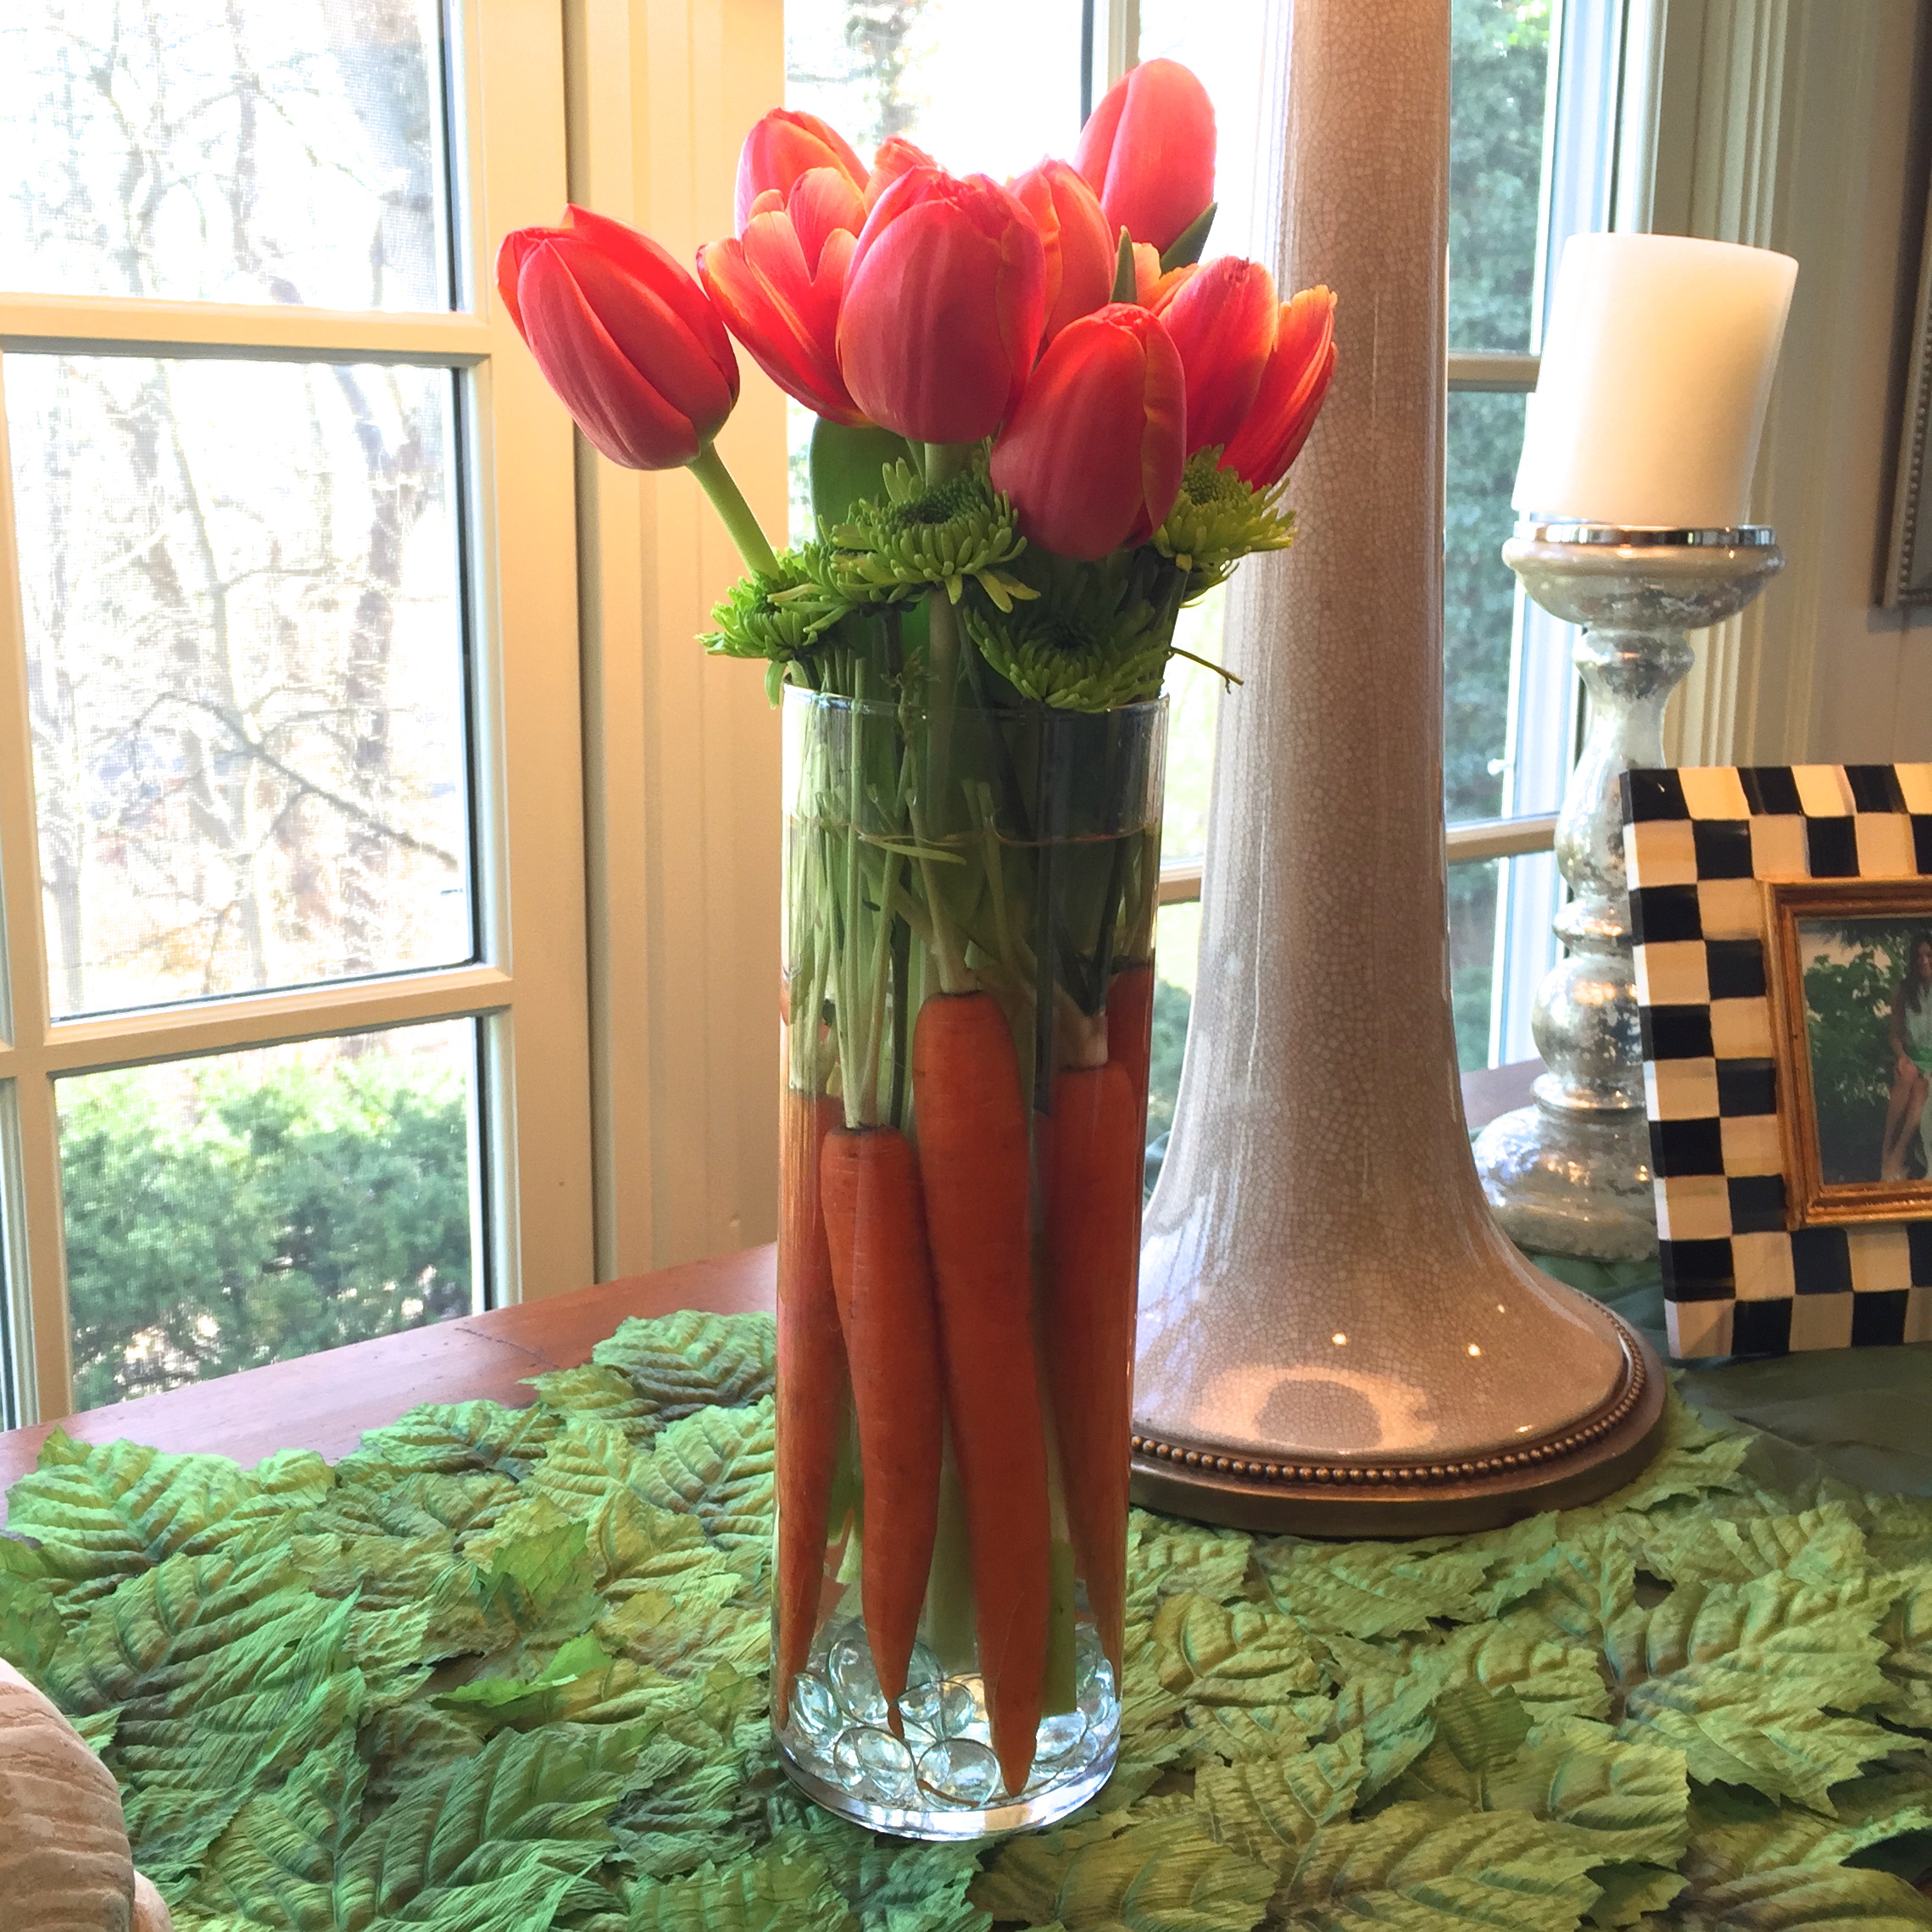
Put a spin on your every day flowers with this easy fix – snag a handful of carrots (stem included) and add them to your bouquet!
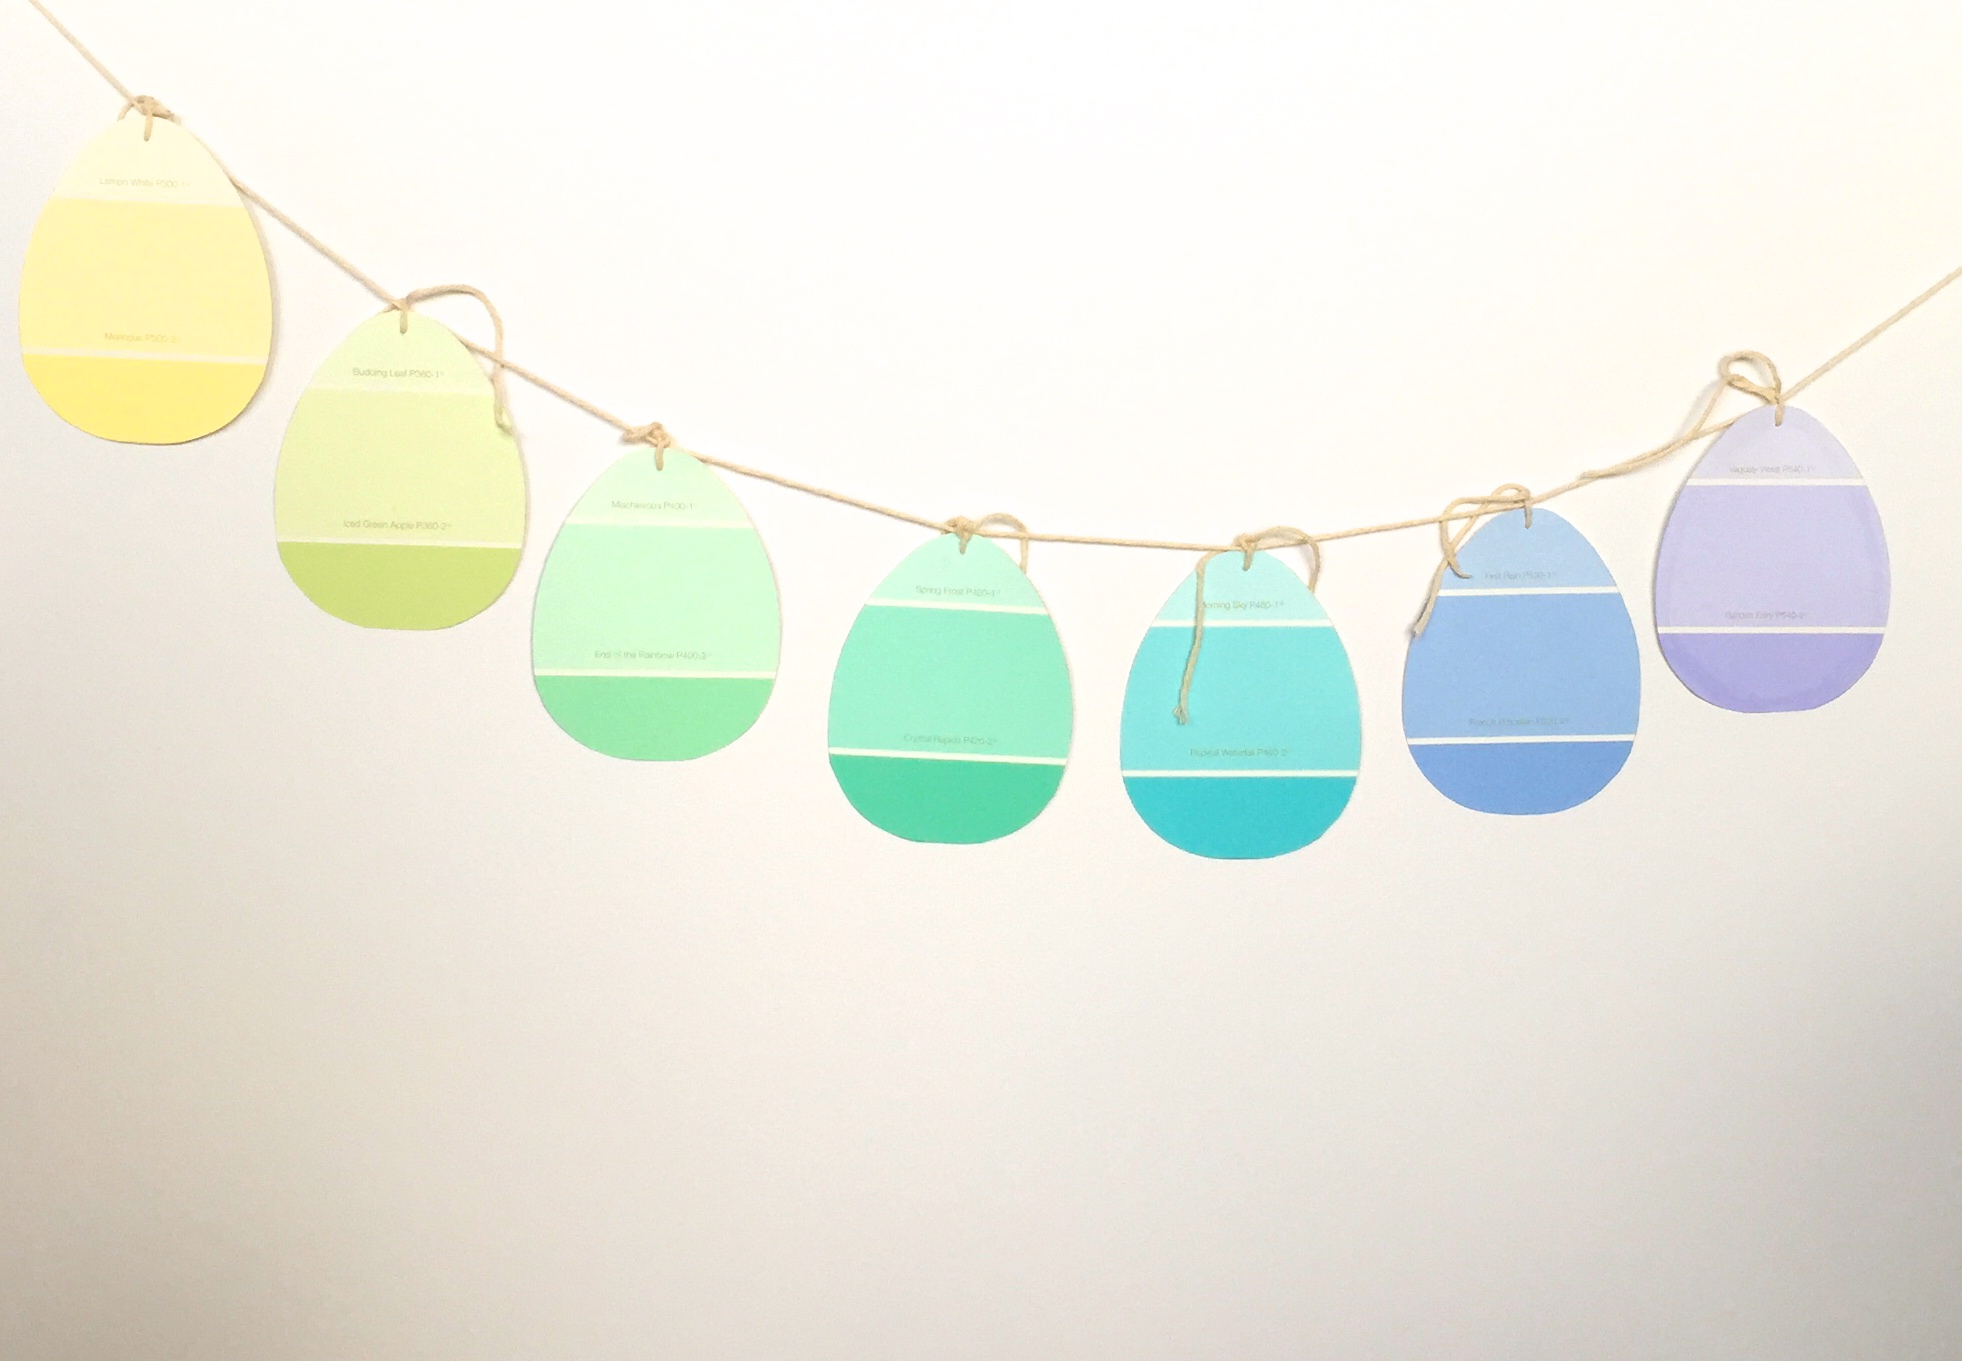
My all time favorite Easter decoration is this paint chip garland. I love that you can customize the colors to brighten up your space! (Directions to make Easter garland)

How cute are these bottle toppers?! They don’t take up any display space and are easy to store.
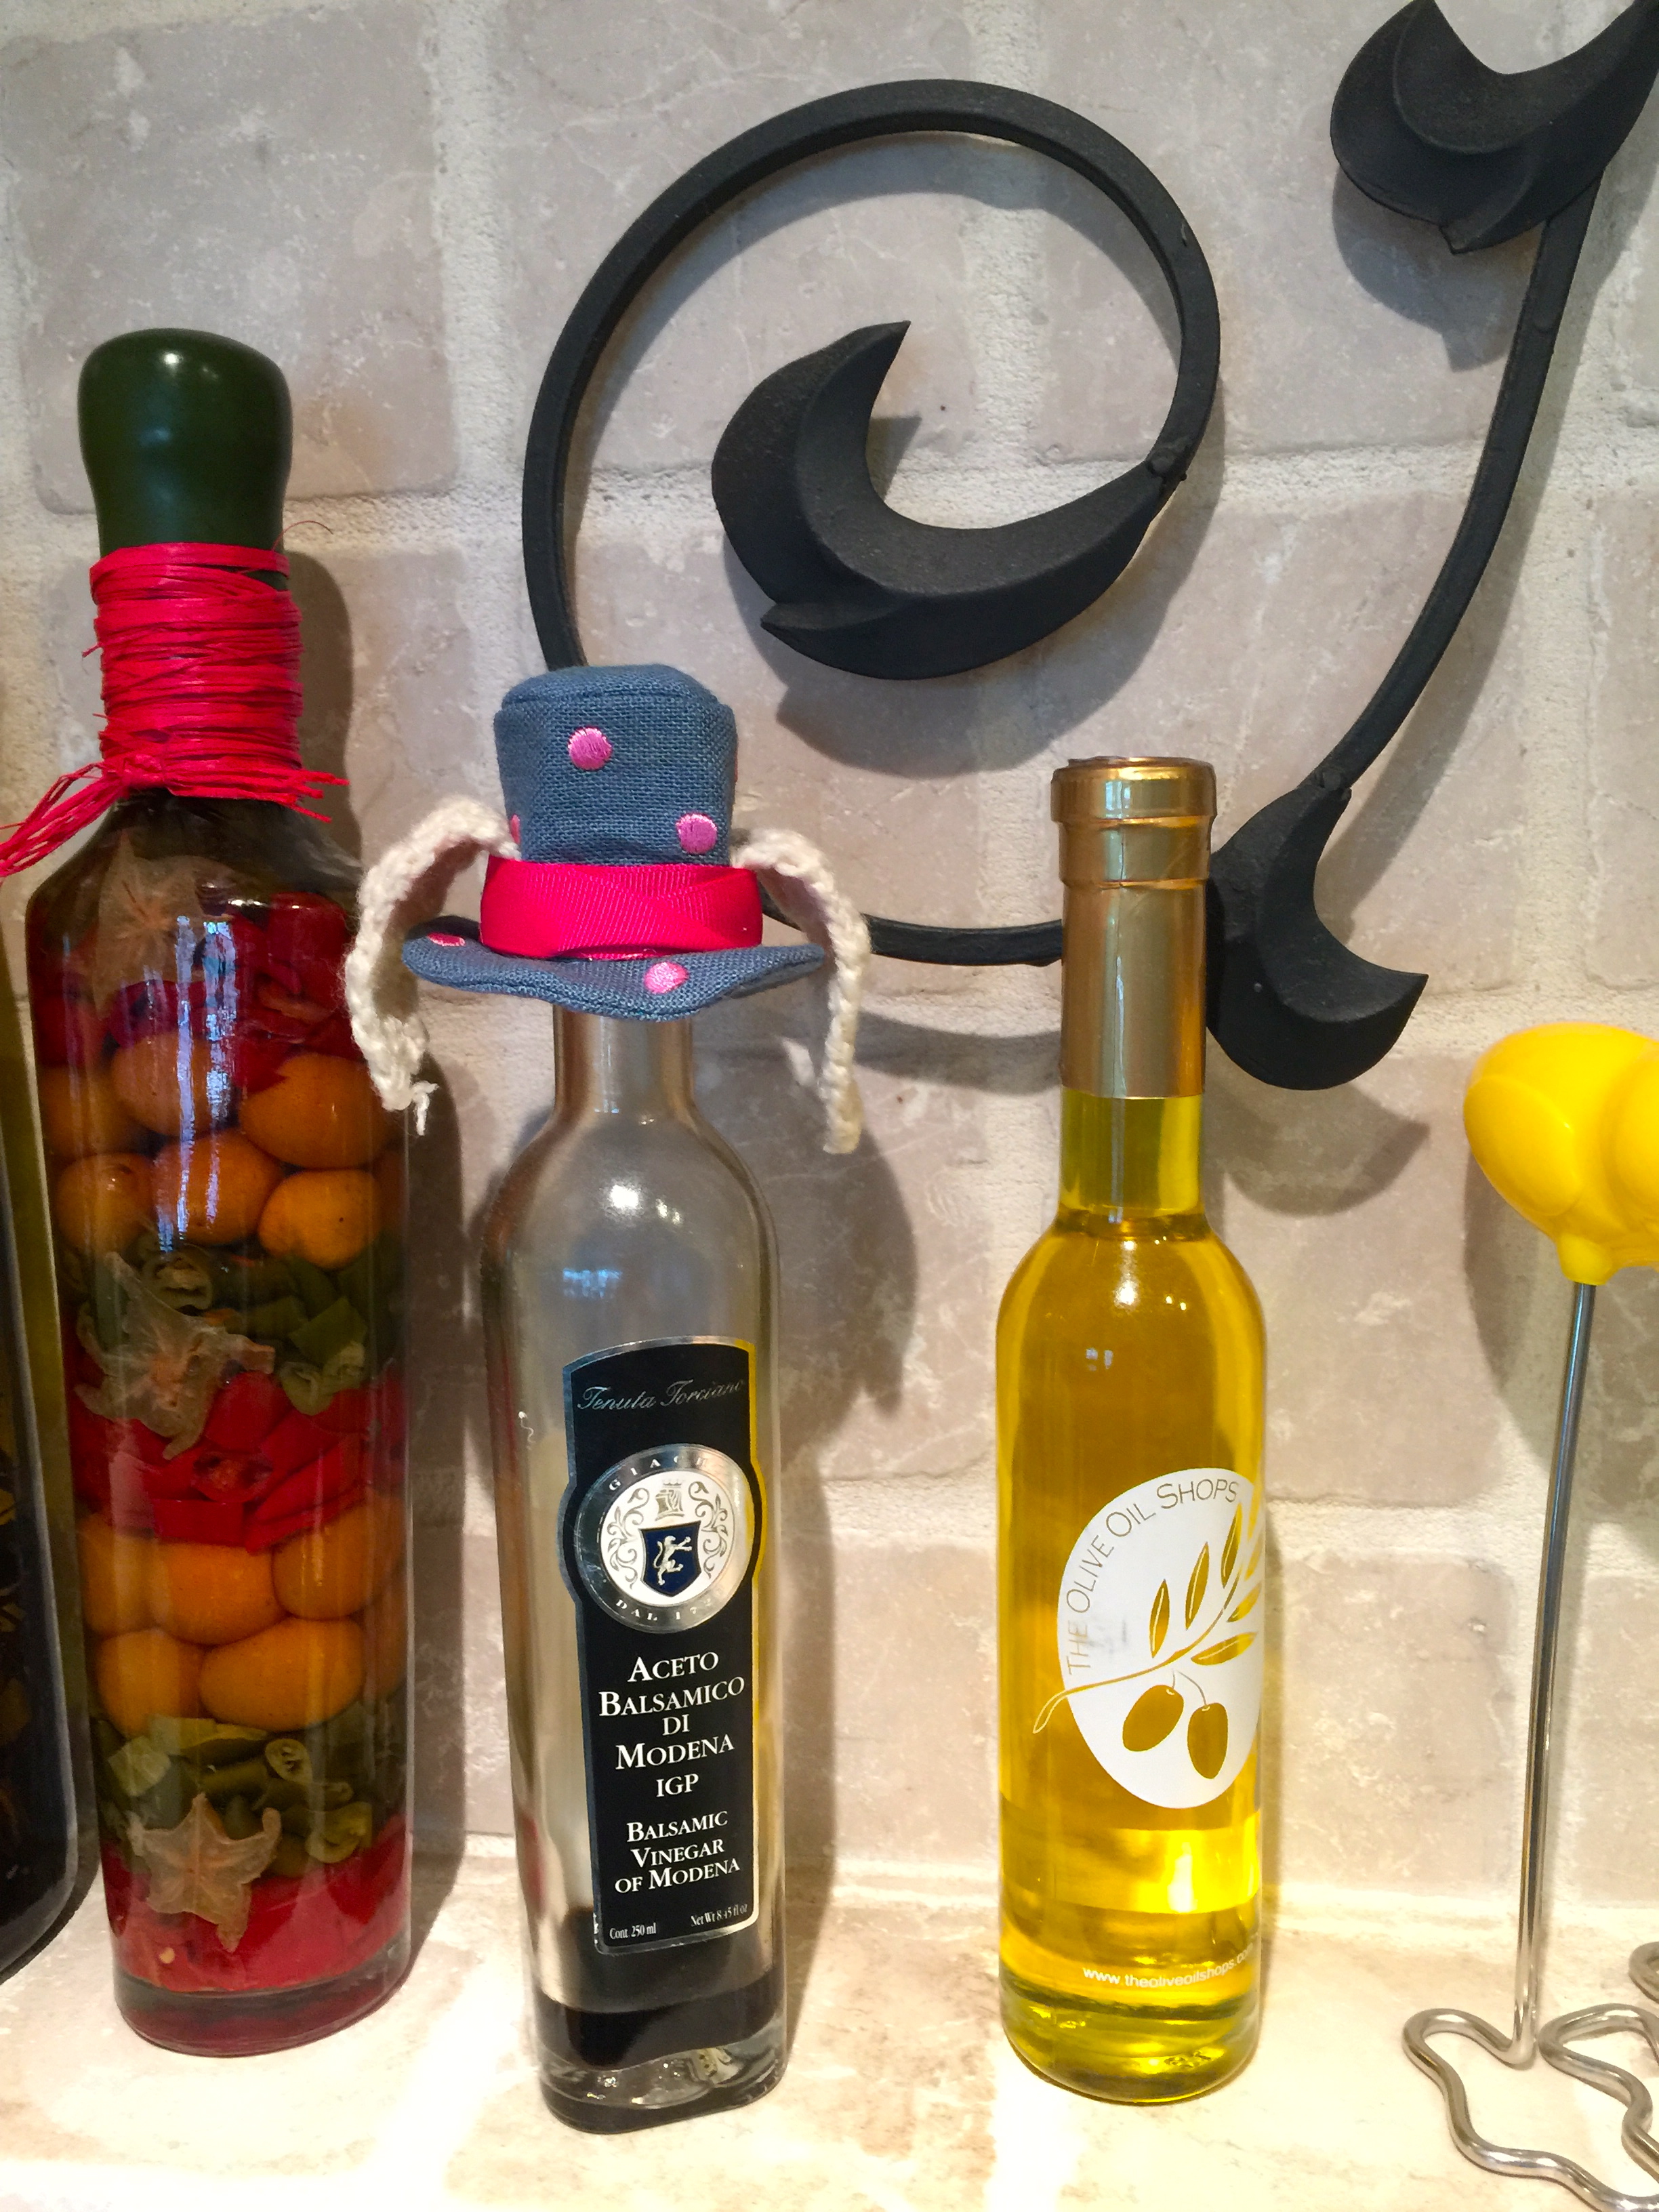
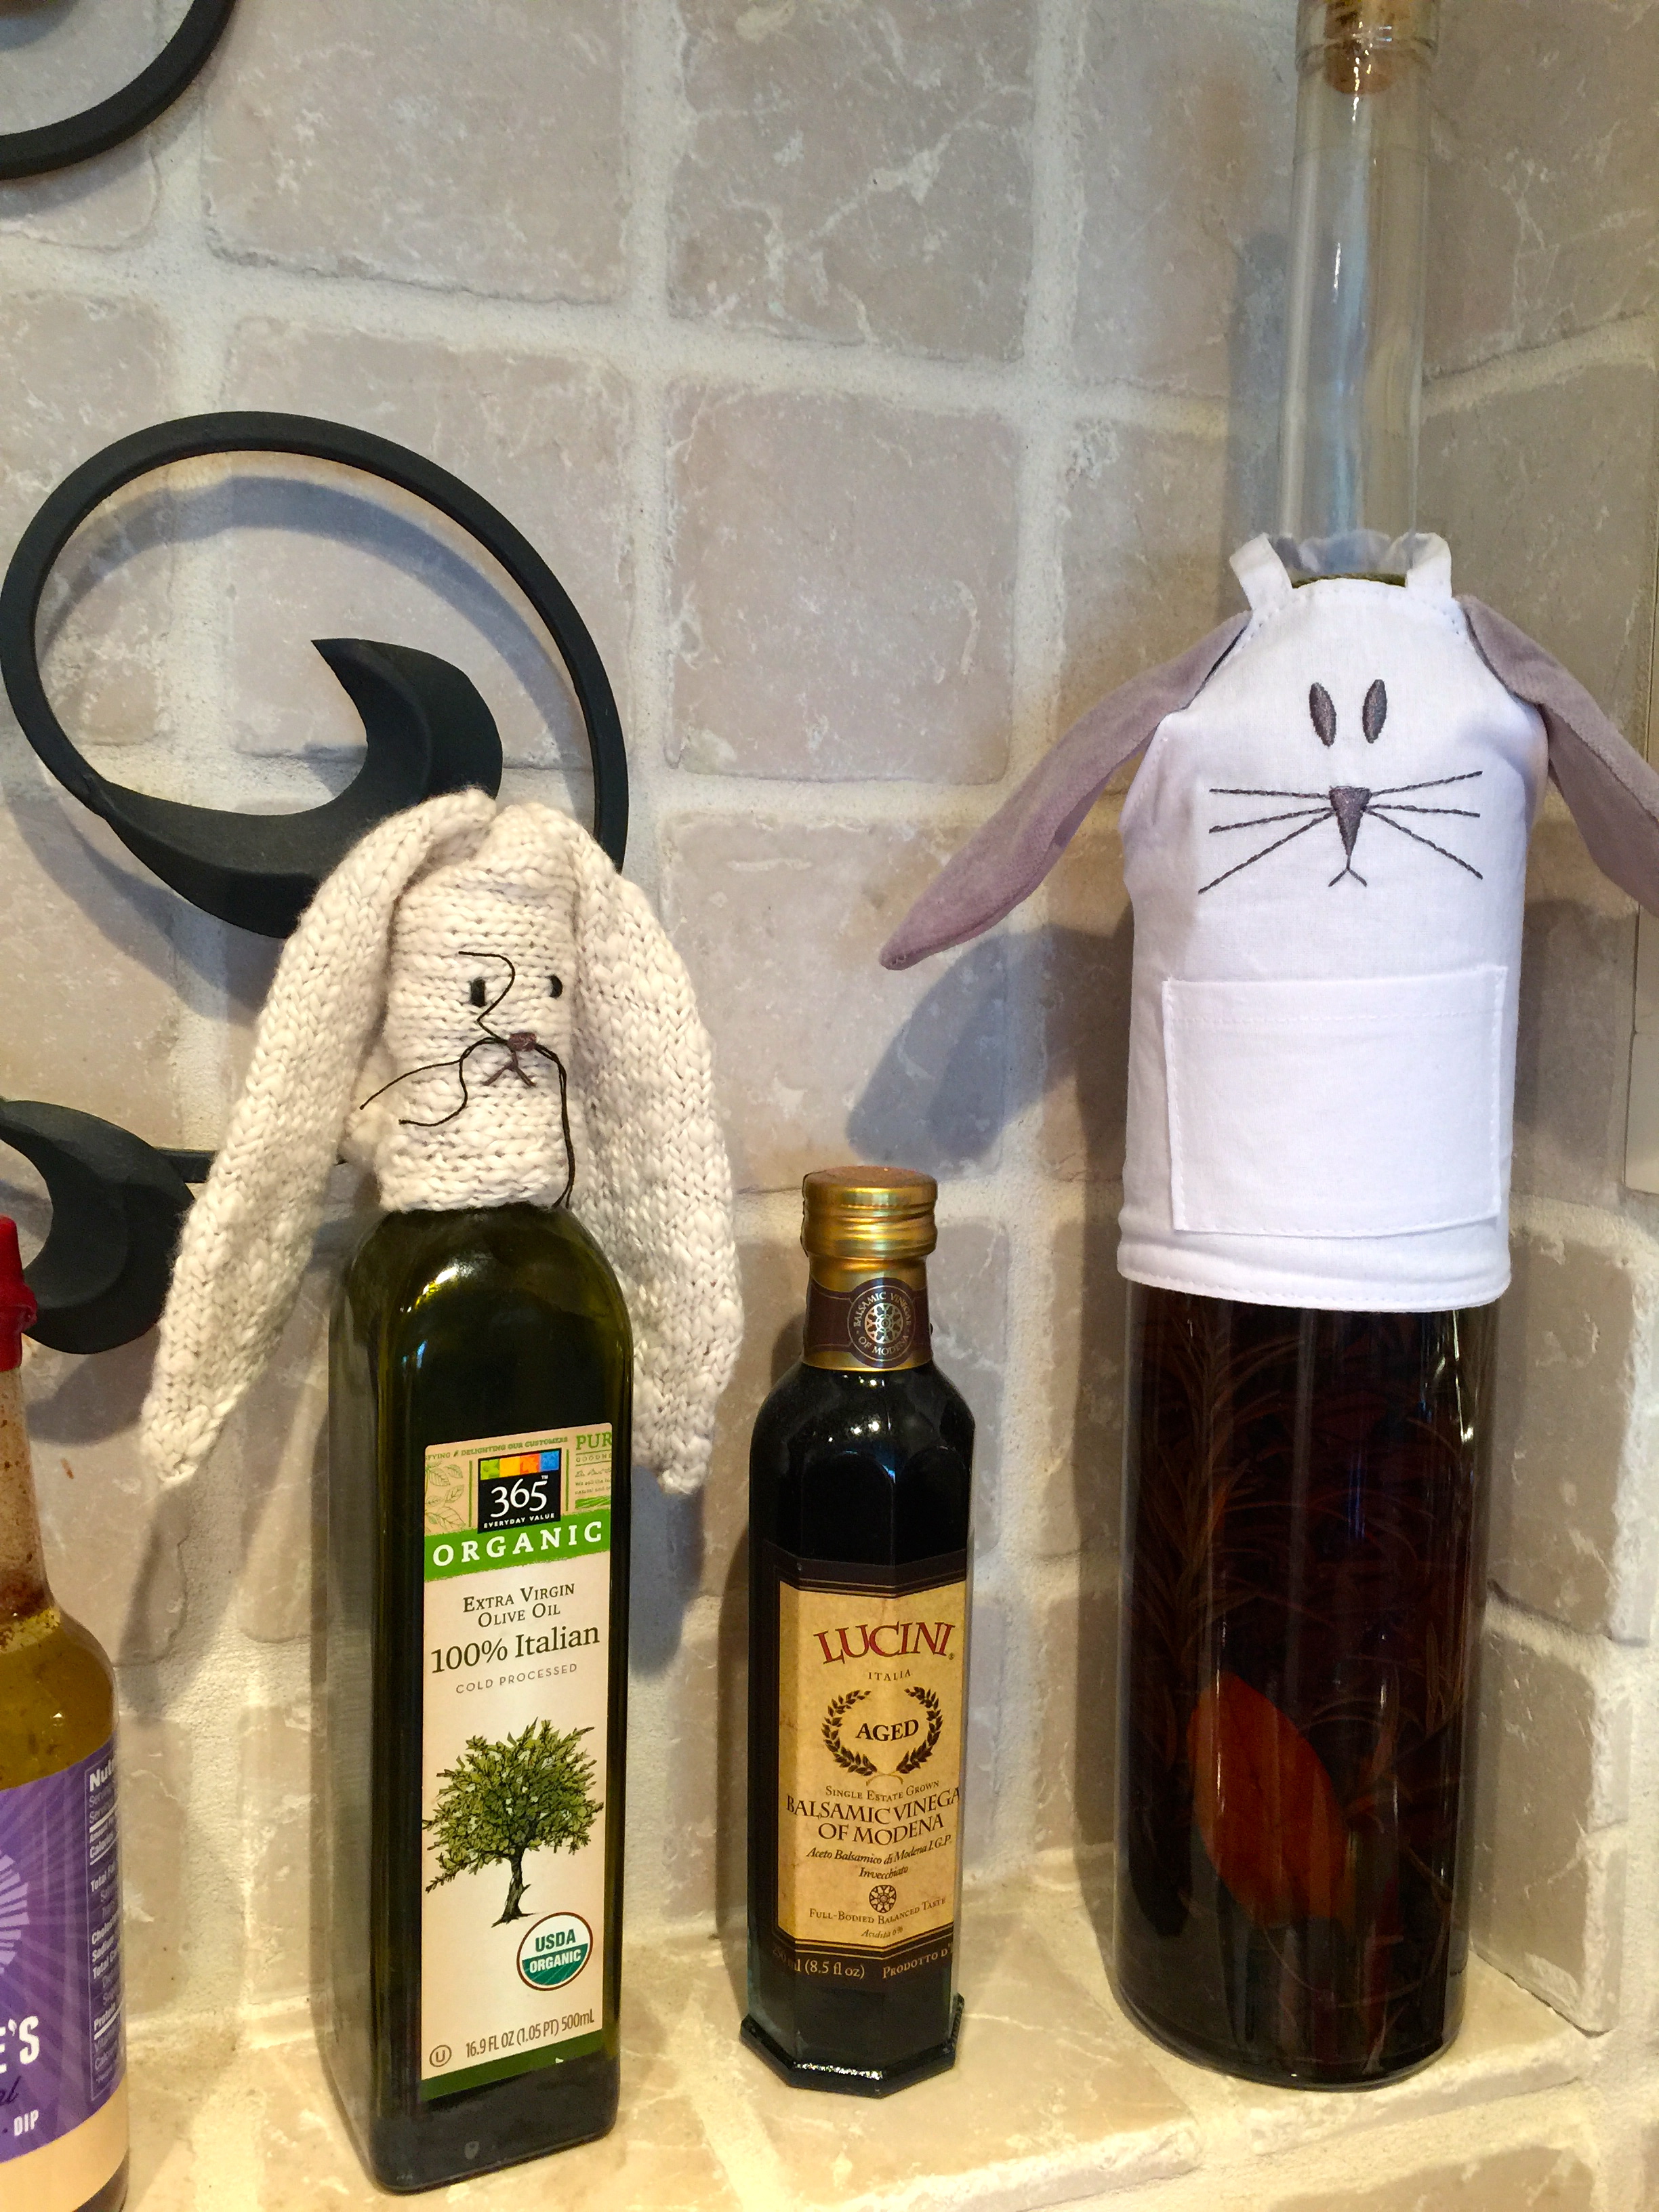
I originally saw this DIY blow up over Pinterest a few years ago and it’s hands down my favorite Easter decoration. This is one of the few Pinterest posts I’ve tried that actually turned out looking just like the pictures!
1. Using a pencil, outline your cookie cutter or stencil of choice on the paint chip. Carefully cut out the shape using a sharp pair of scissors and repeat with the remaining paper chips.
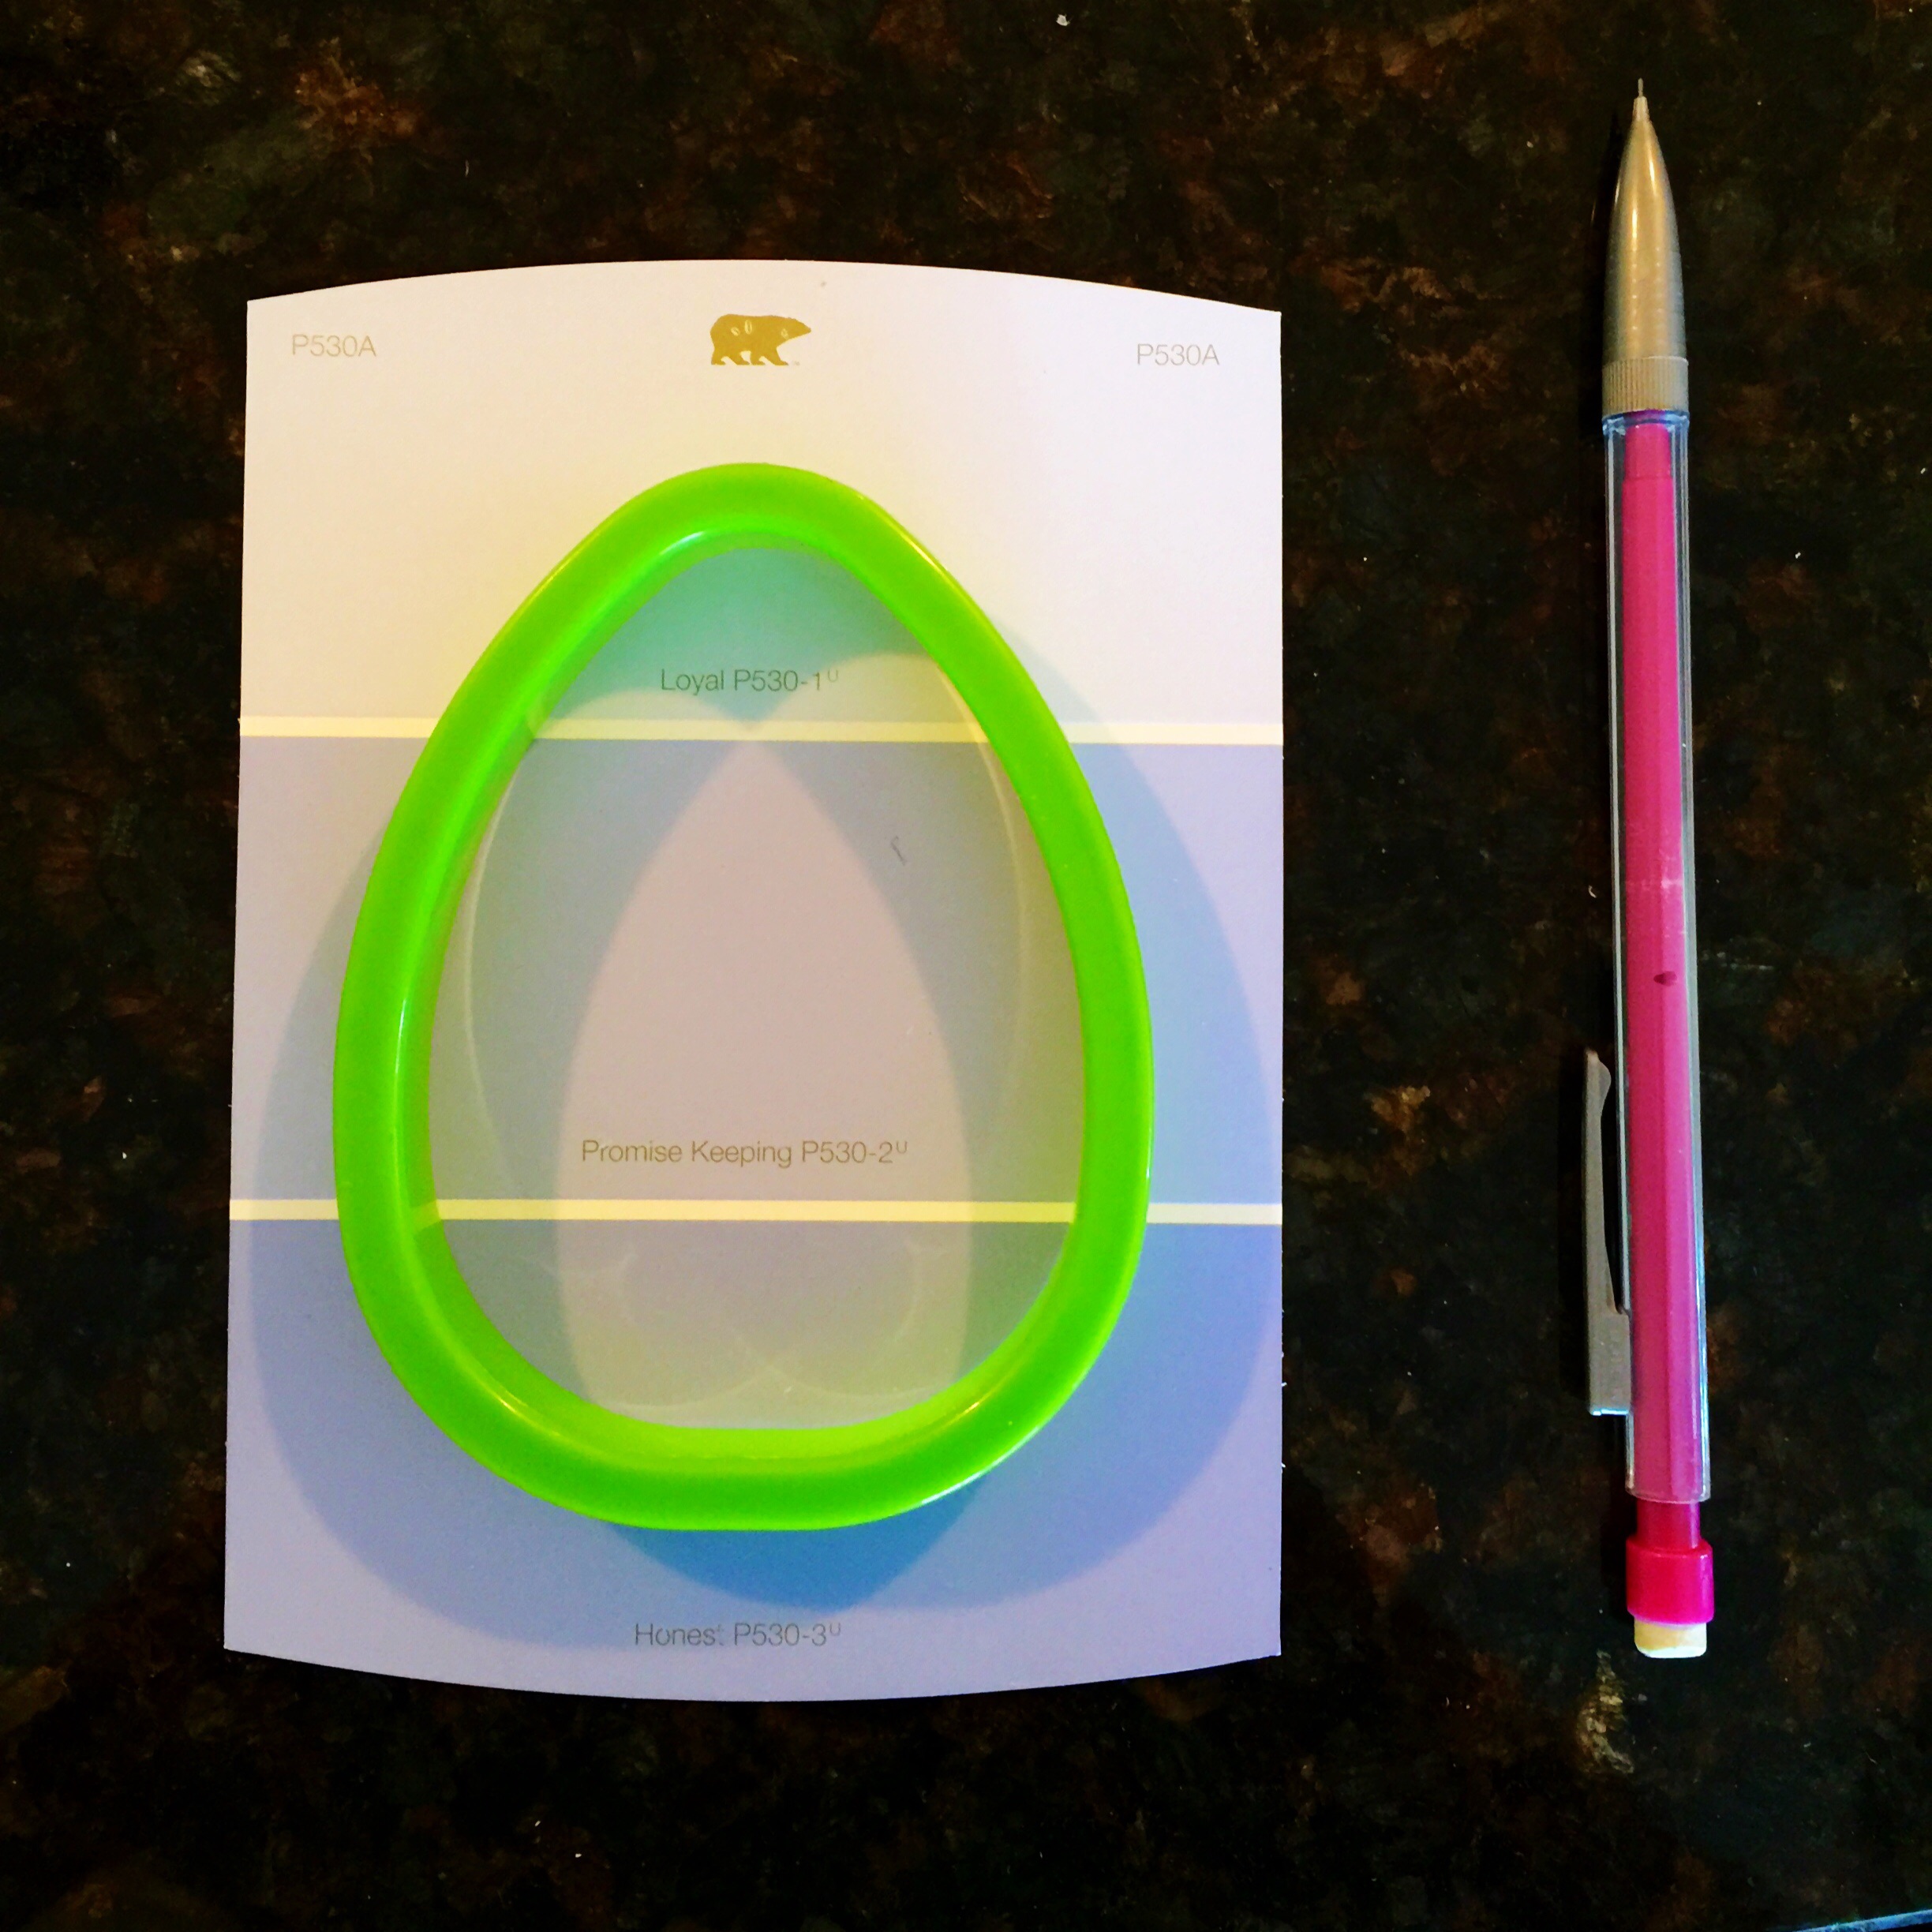
Hint: You can also tilt the stencil to make the white lines diagonal on the egg like the image below.
2. Once the shapes are cut out it’s time to make a hole for the string. I’ve made these 2 different ways and the first way was easier but not as sturdy.
Option 1: Use a mini hole punch to make a hole at the top of the egg. Thread a 2 inch piece of string through the hole. Tie the 2 inch string onto the garland in a knot to secure.
Options 2: To avoid the eggs all sliding to the middle when hung, I used a thick needle [instead of hole punch] to make a hole at the top of the egg. This way, the string wouldn’t have as much room to move around.
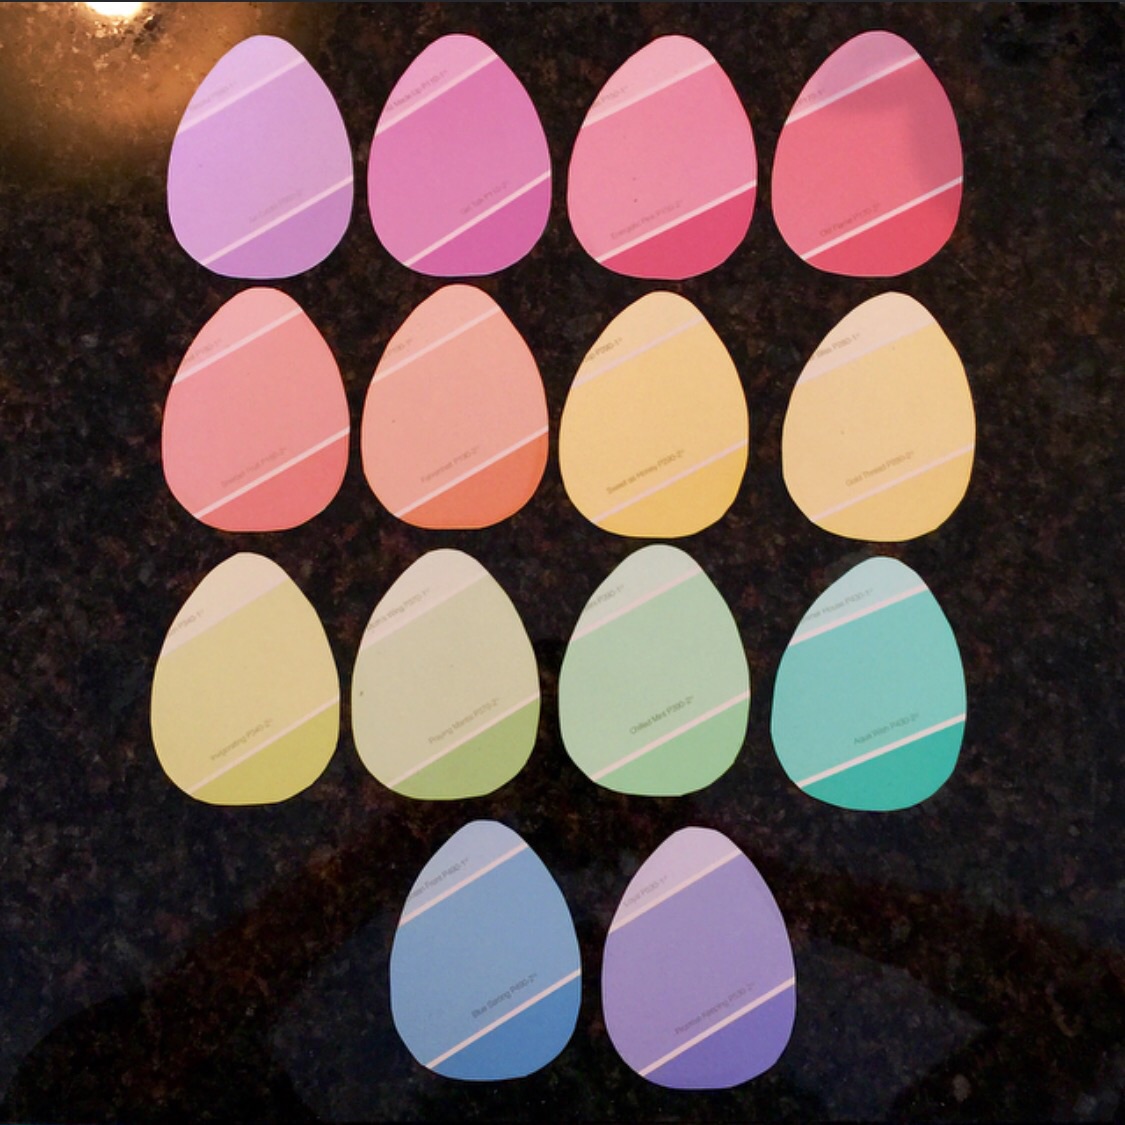
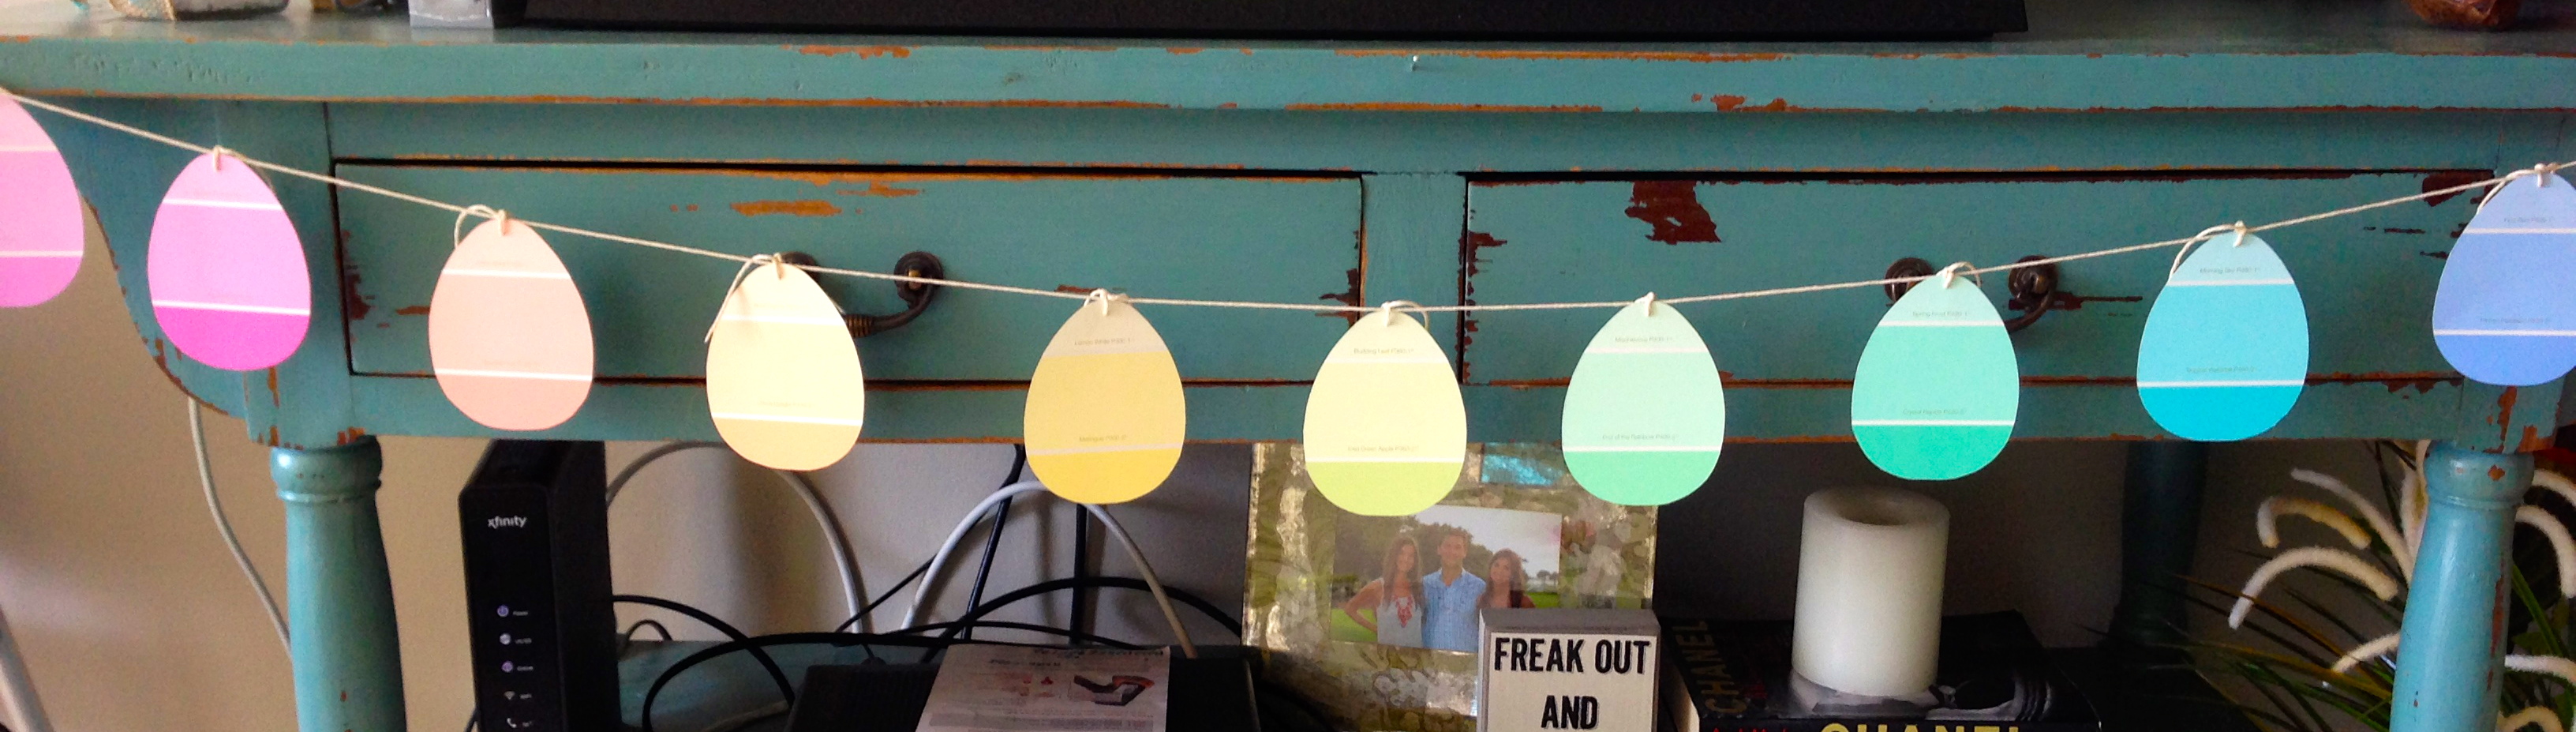
3. After all the holes are punched, place the eggs in order you would like them to hang. I threaded wax cotton string [from Walgreen’s] through the needle and one by one strung the eggs.
Now all you have to do is pick the perfect spot to display your work!
You will need:
– 8+ paper paint chips
– Egg shaped cookie cutter or paper stencil
– String (waxed cotton works best)
– Scissors
– Needle or hole punch

Day 1 of a new juice cleanse and I’m drooling looking back on these scrumptious ice cream sundae cups I made last weekend.
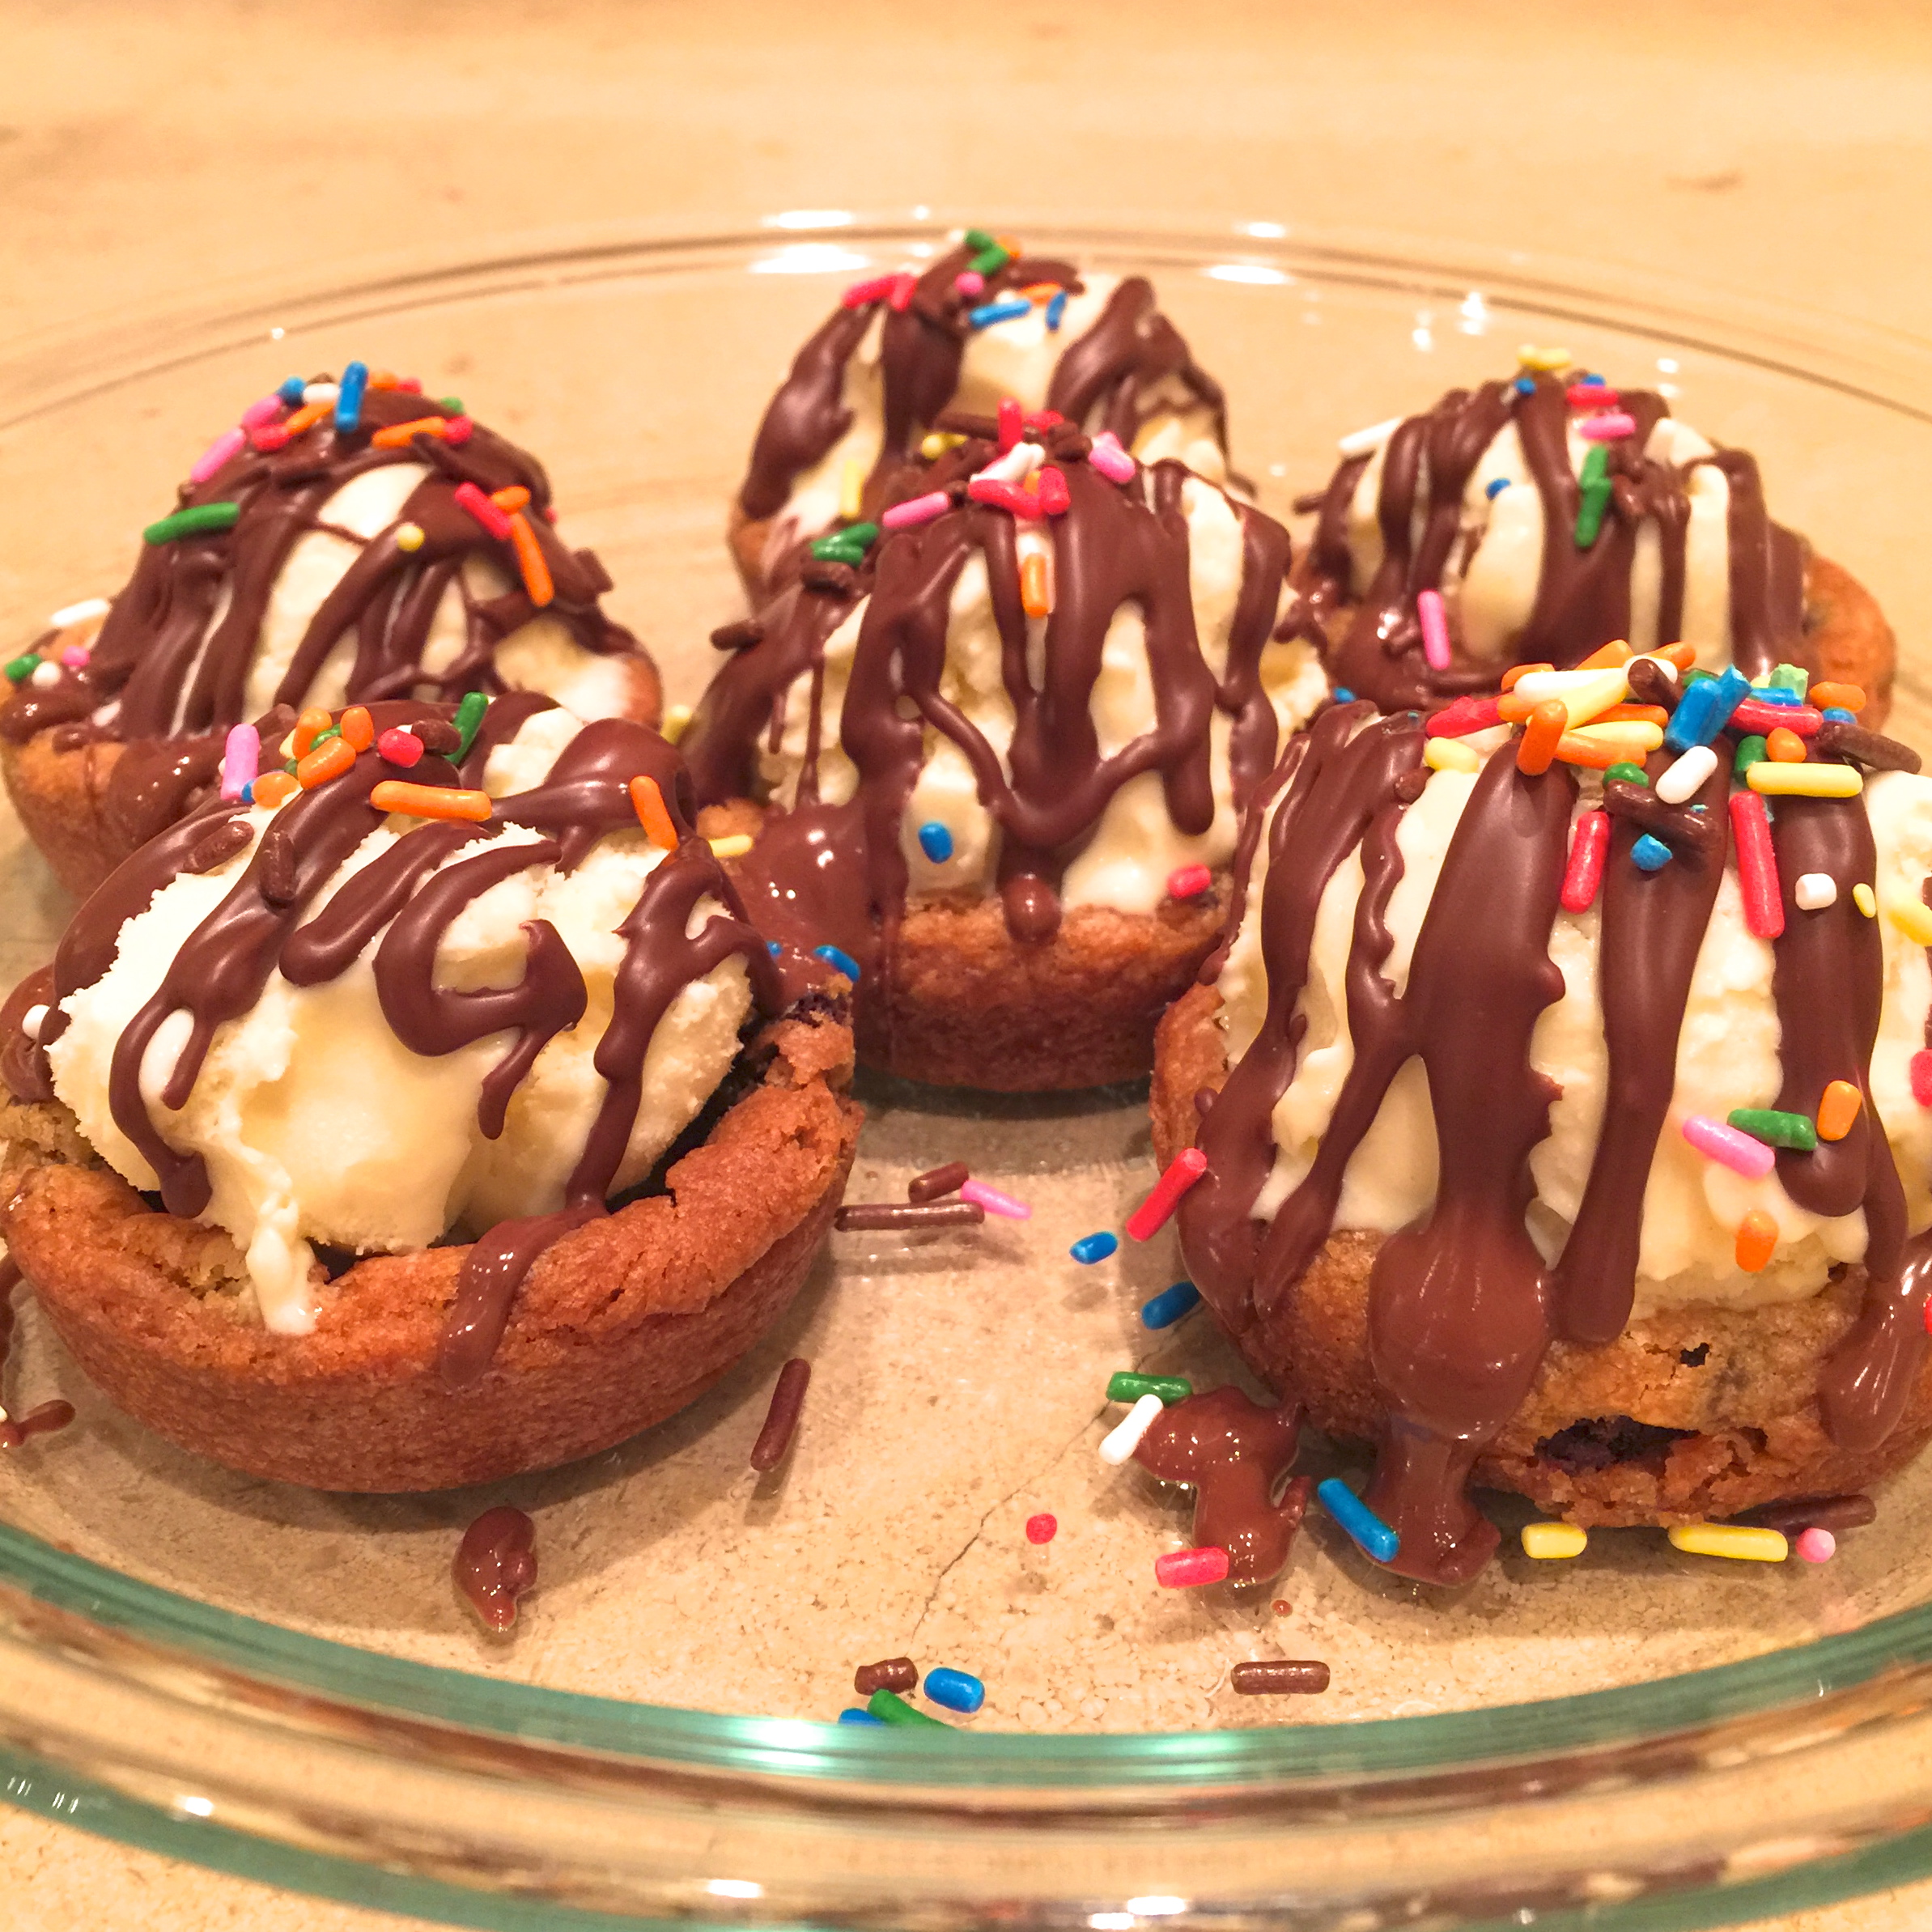
Cookie + ice cream + melted chocolate.. I think the mouthwatering picture says it all.
One of the best parts about this dessert is that it’s not supposed to be super “pretty” or clean cut – the messier, the better! So pile on as many marshmallows and M&M’s as your little heart desires.
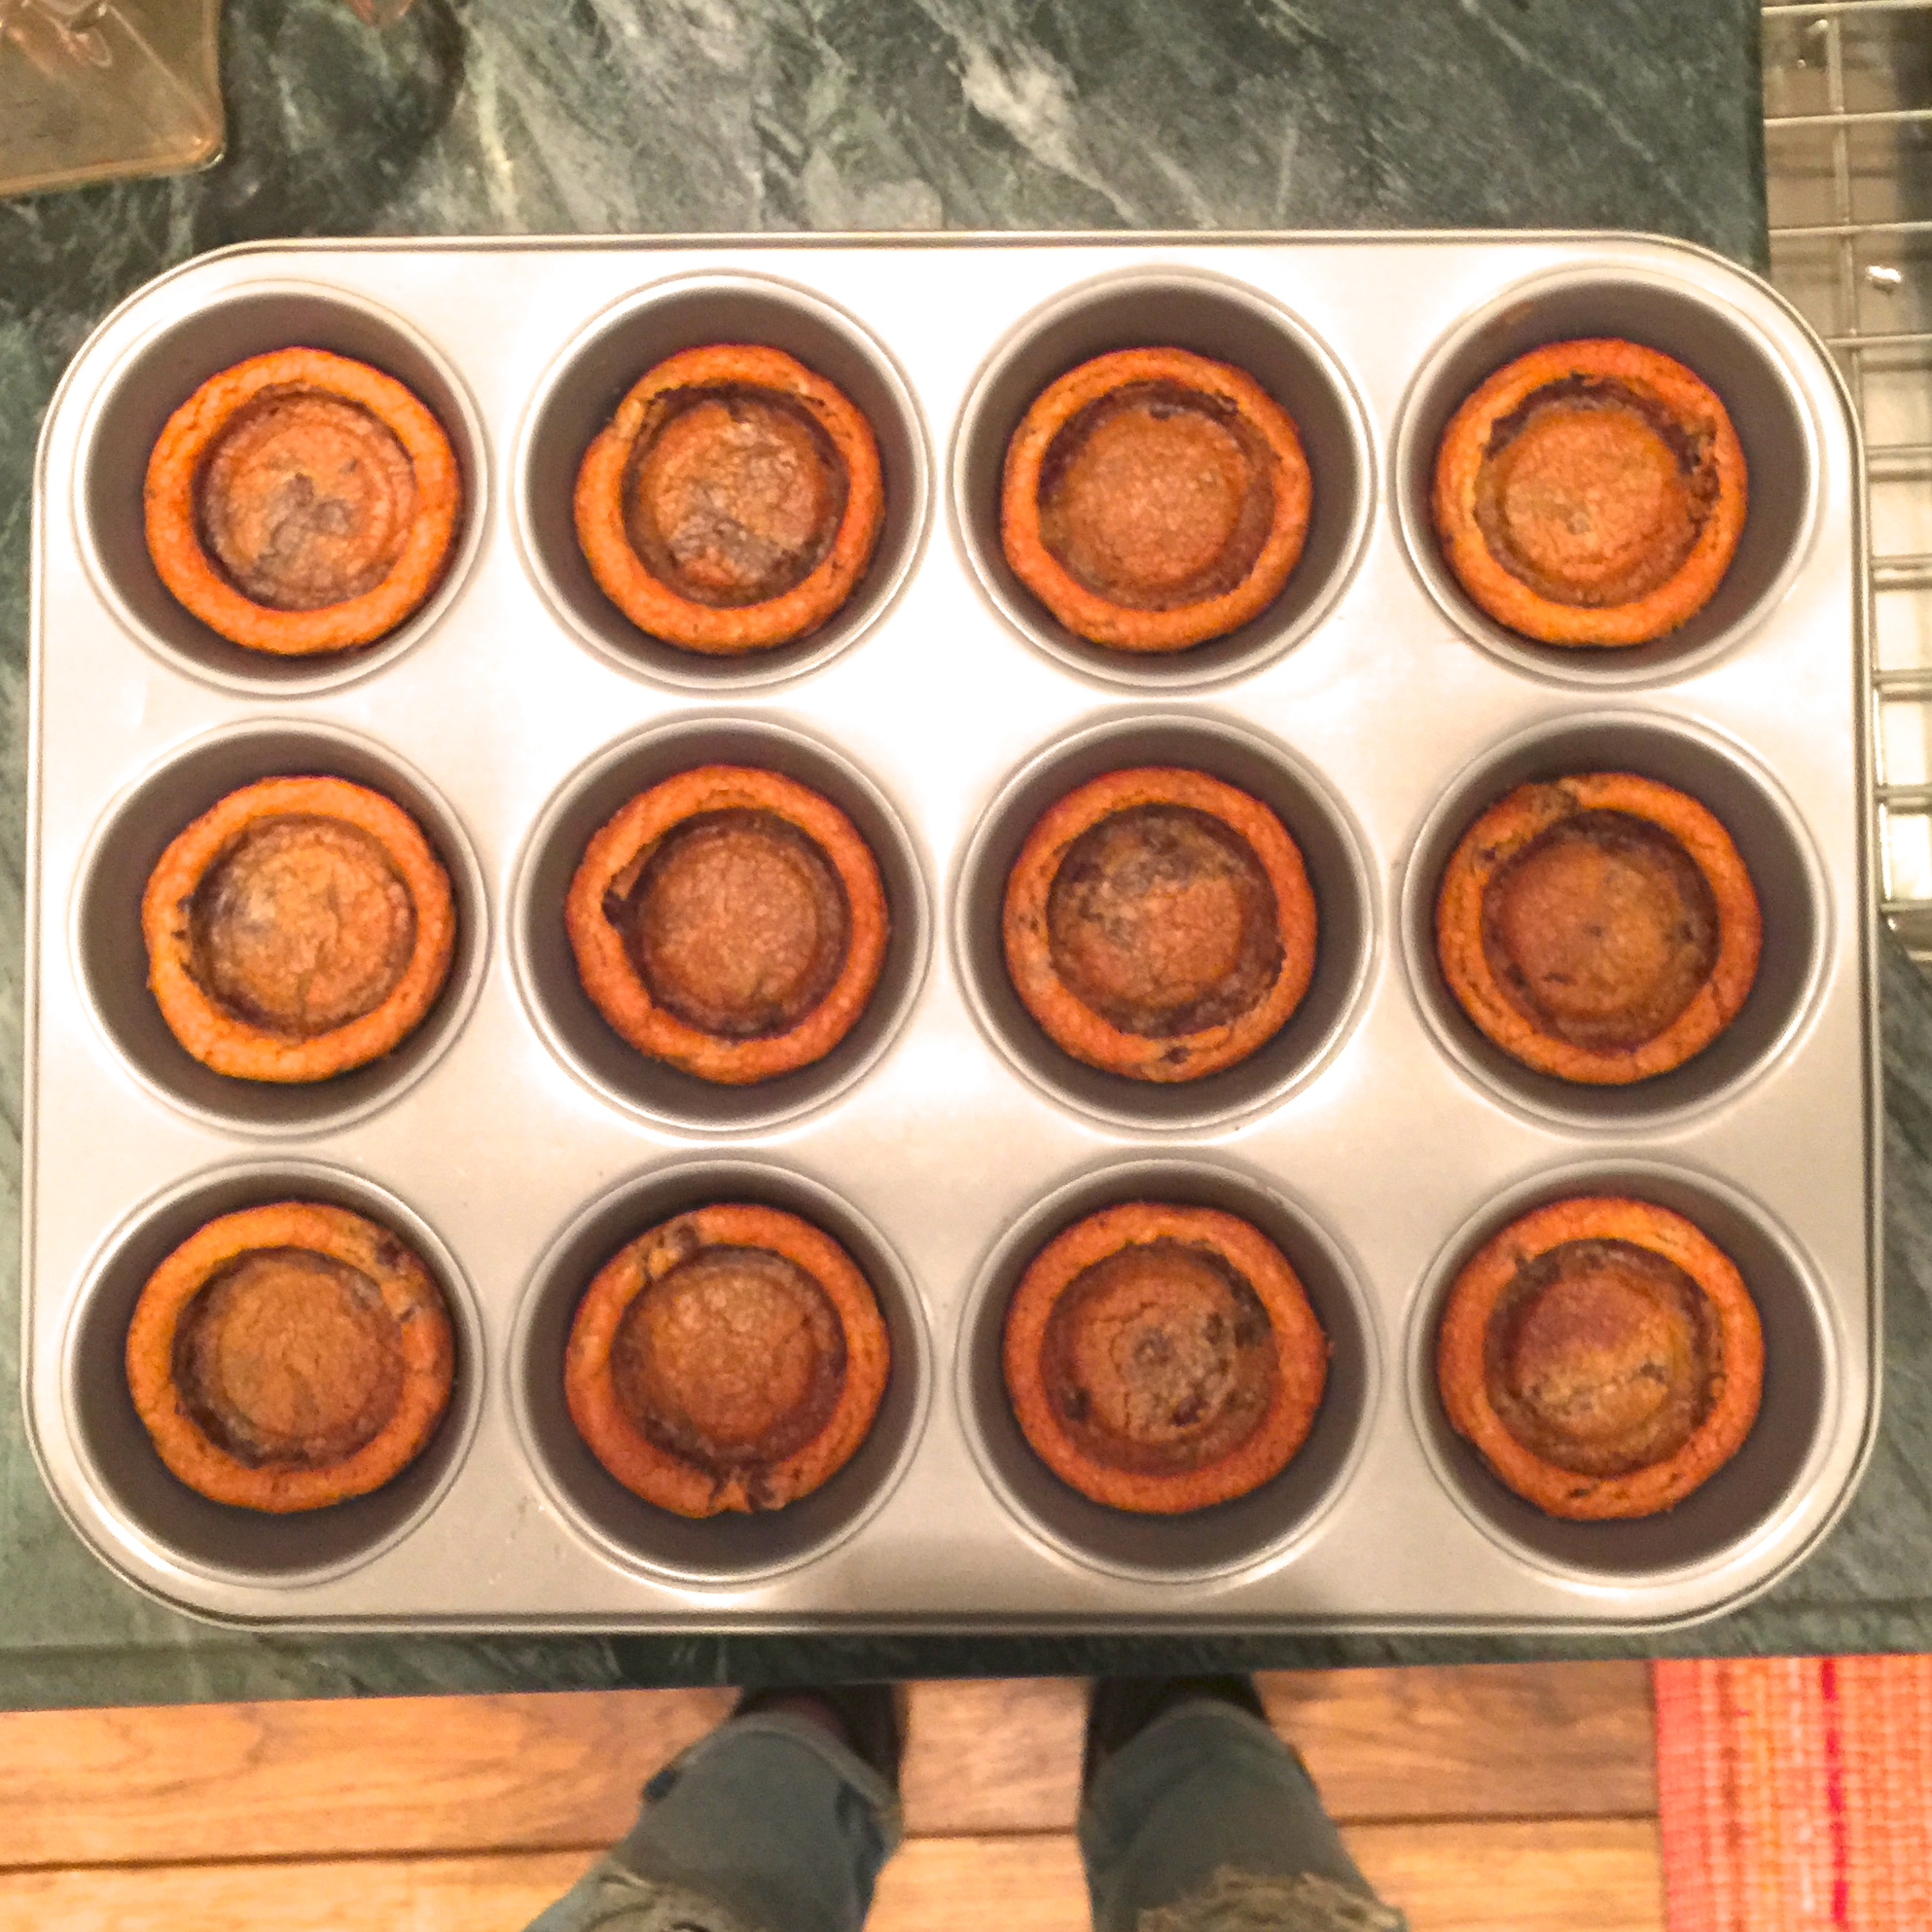
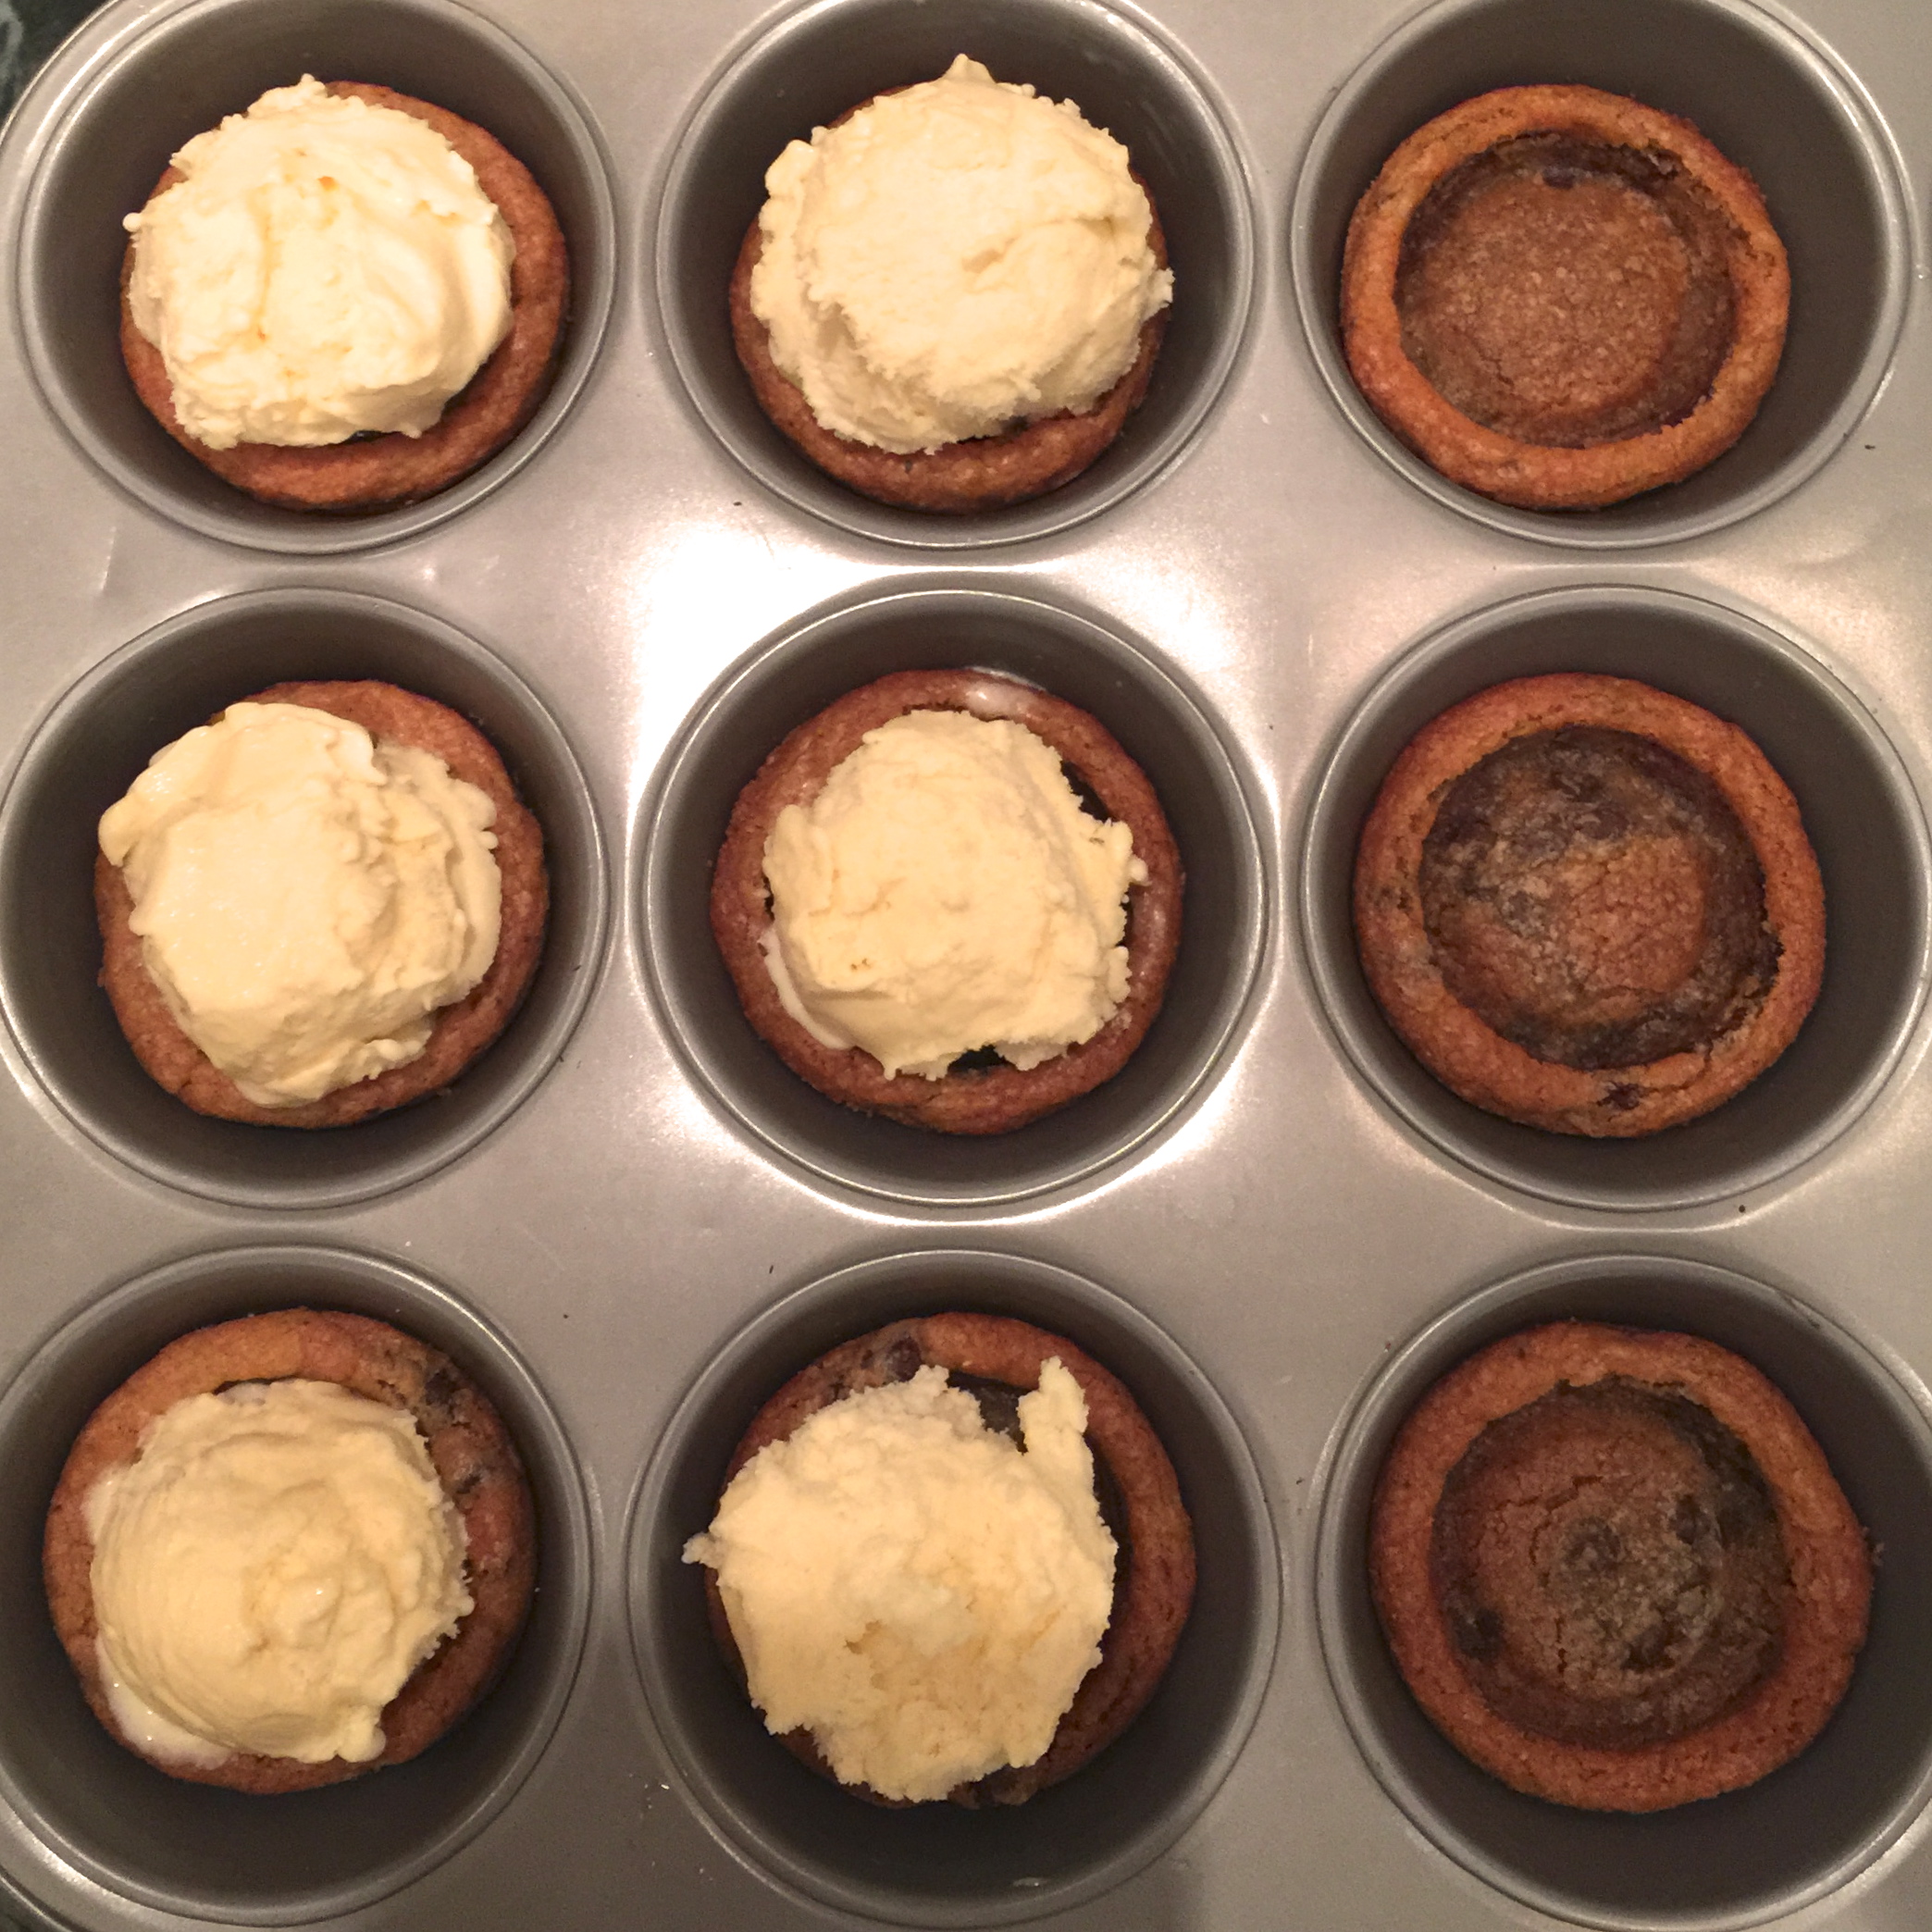
1. Preheat oven to 350°. Combine 3-4 generous tablespoons of cookie dough into a ball and place into a non-stick muffin tin. Roll the remaining dough and distribute until entire muffin tin is full.*Add more cookie dough for a thicker cookie cup.
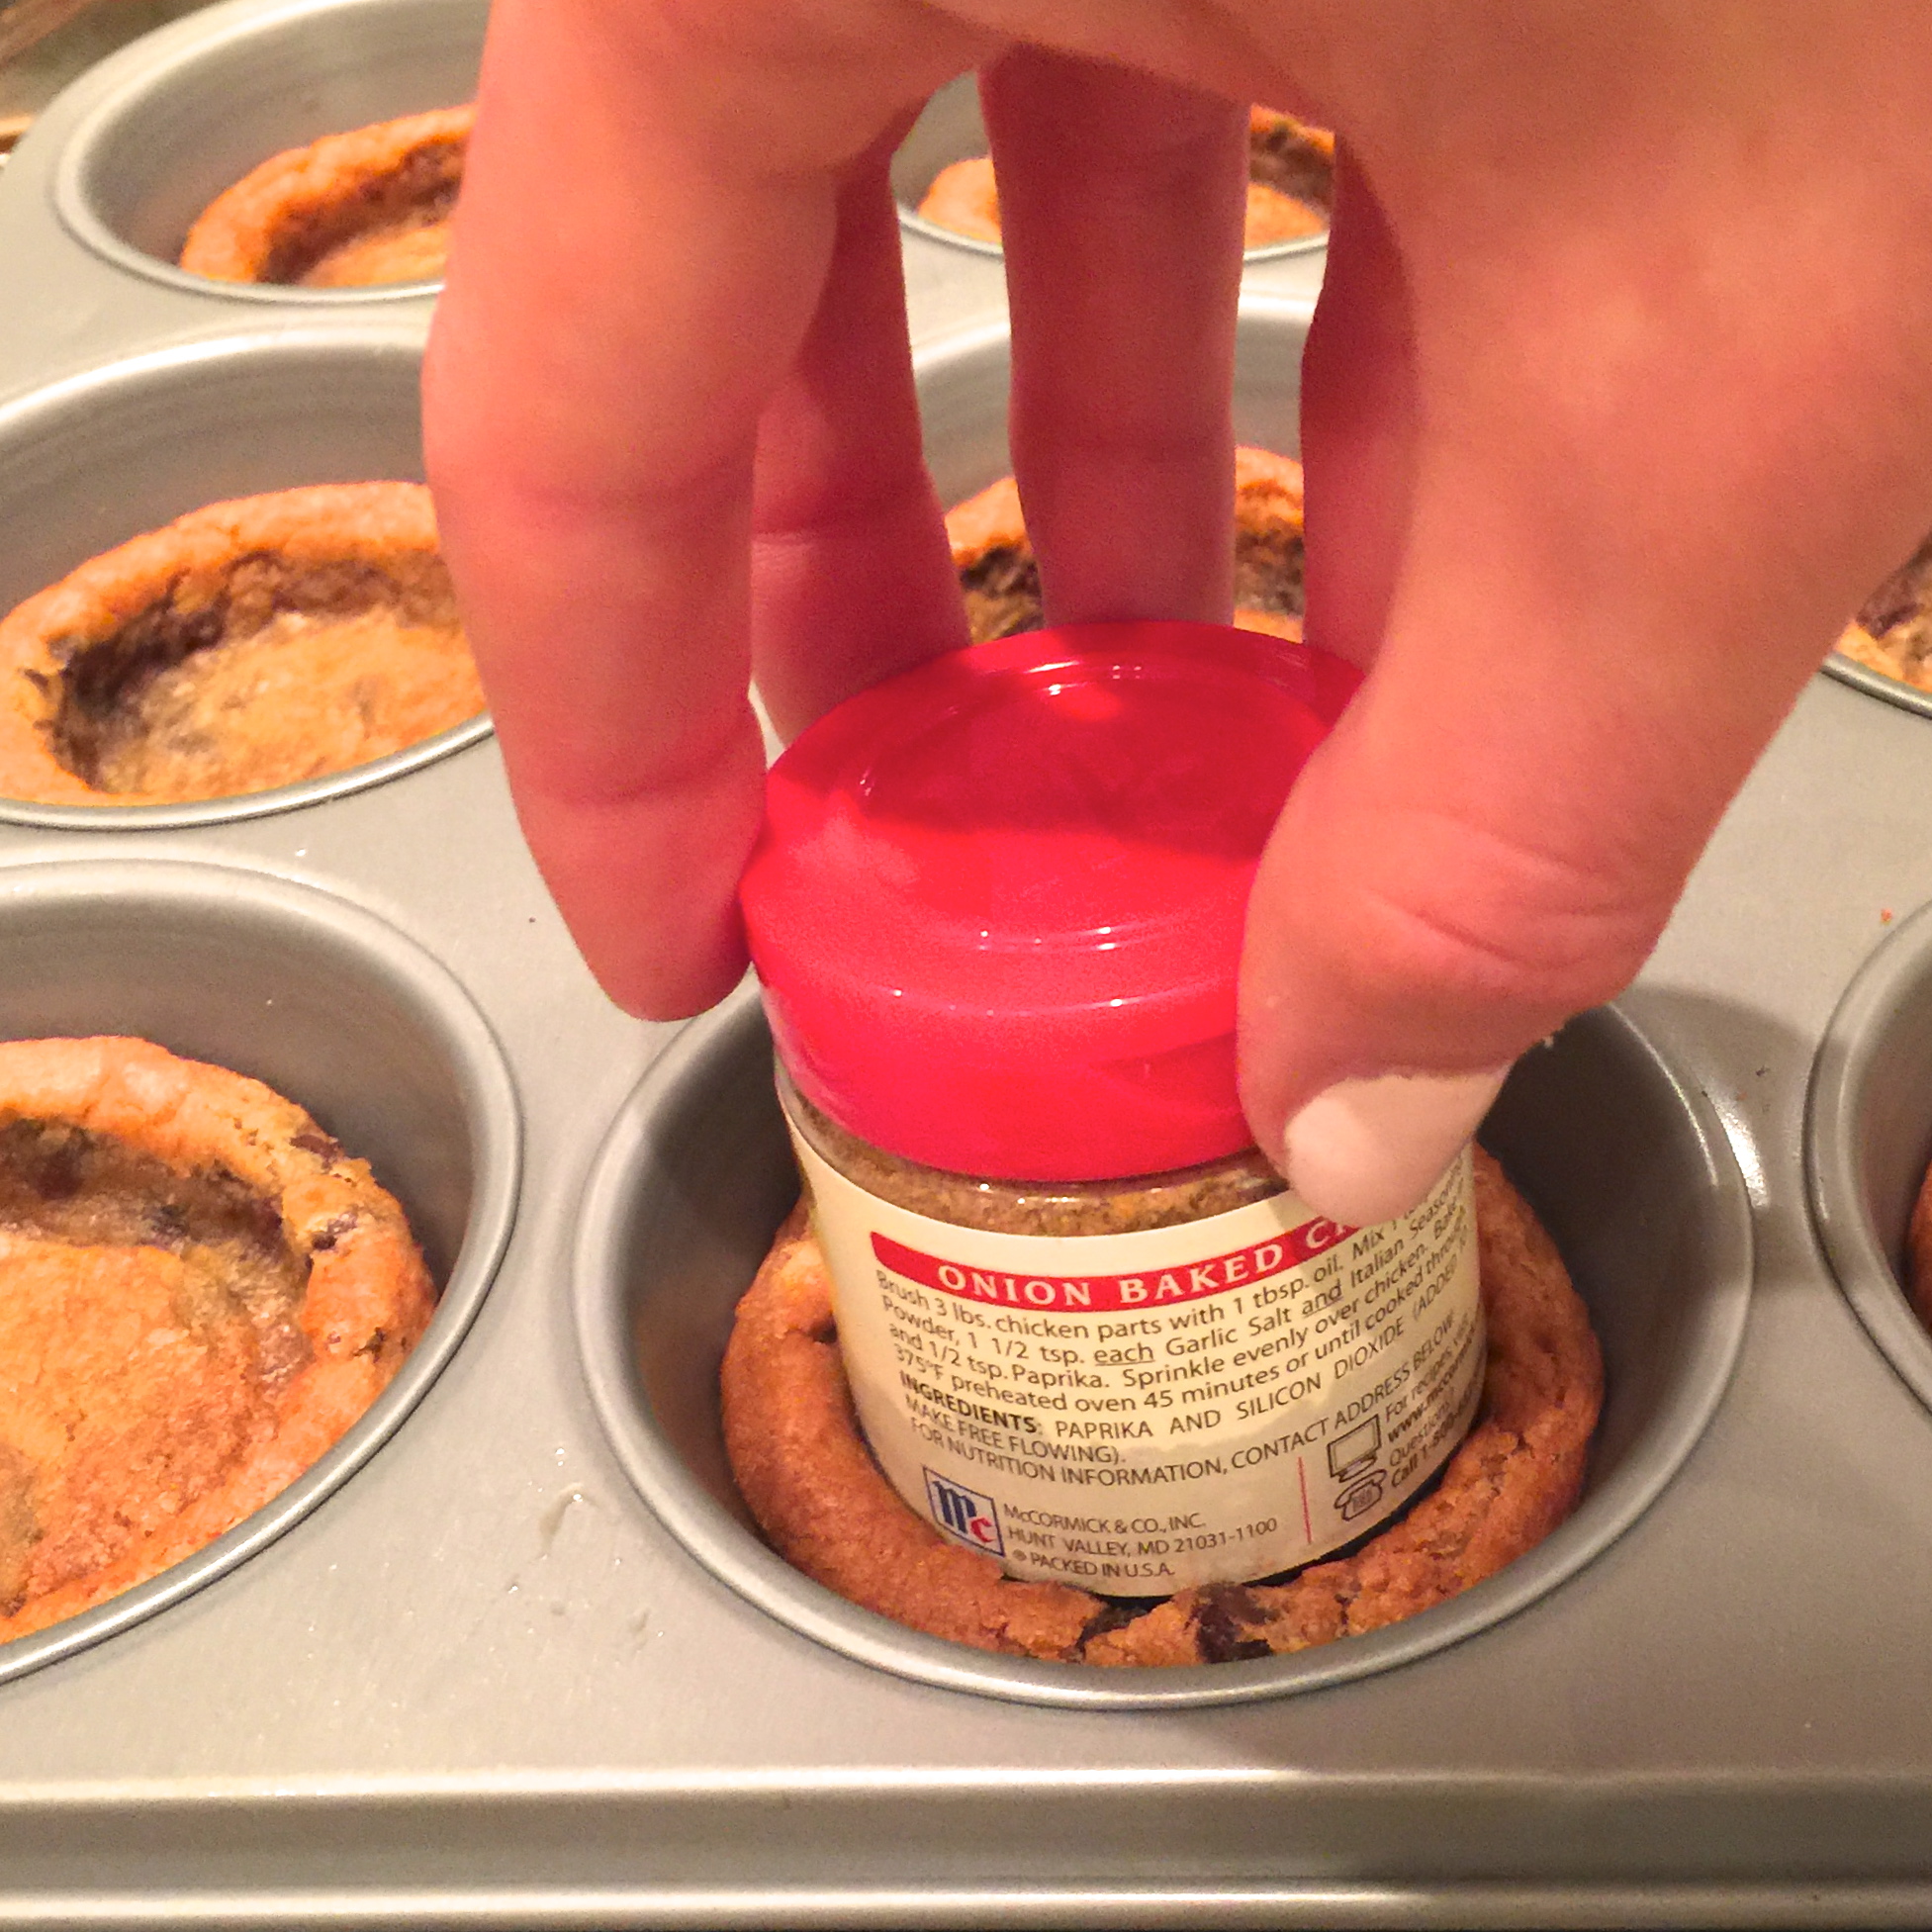
2. Bake cookie cups for about 13 minutes or until golden brown. Pull your tray out and immediately take a spice jar and gently press into each cookie. This should form a little “crater” where the ice cream will sit.
3. Let the cups cool for 10 minutes. Take your ice cream of choice and place a mini scoop in the cookie cup. My ice cream started to melt pretty fast so after I scooped all the ice cream I stuck the tray in the freezer for about 10 minutes before adding my toppings.
4. Before taking the tray out of the freezer make sure your chocolate is melted and all toppings are laid out. To make things easier, pull out each cup and set on a flat plate or pan before decorating.
5. Take a spoon and drench your ice cream cookie cups with chocolate and as many toppings as you can find! When finished, place desserts in the freezer for an additional 10 minutes before serving. – that is if you can get that far before sticky little fingers grab them : )

Enjoy!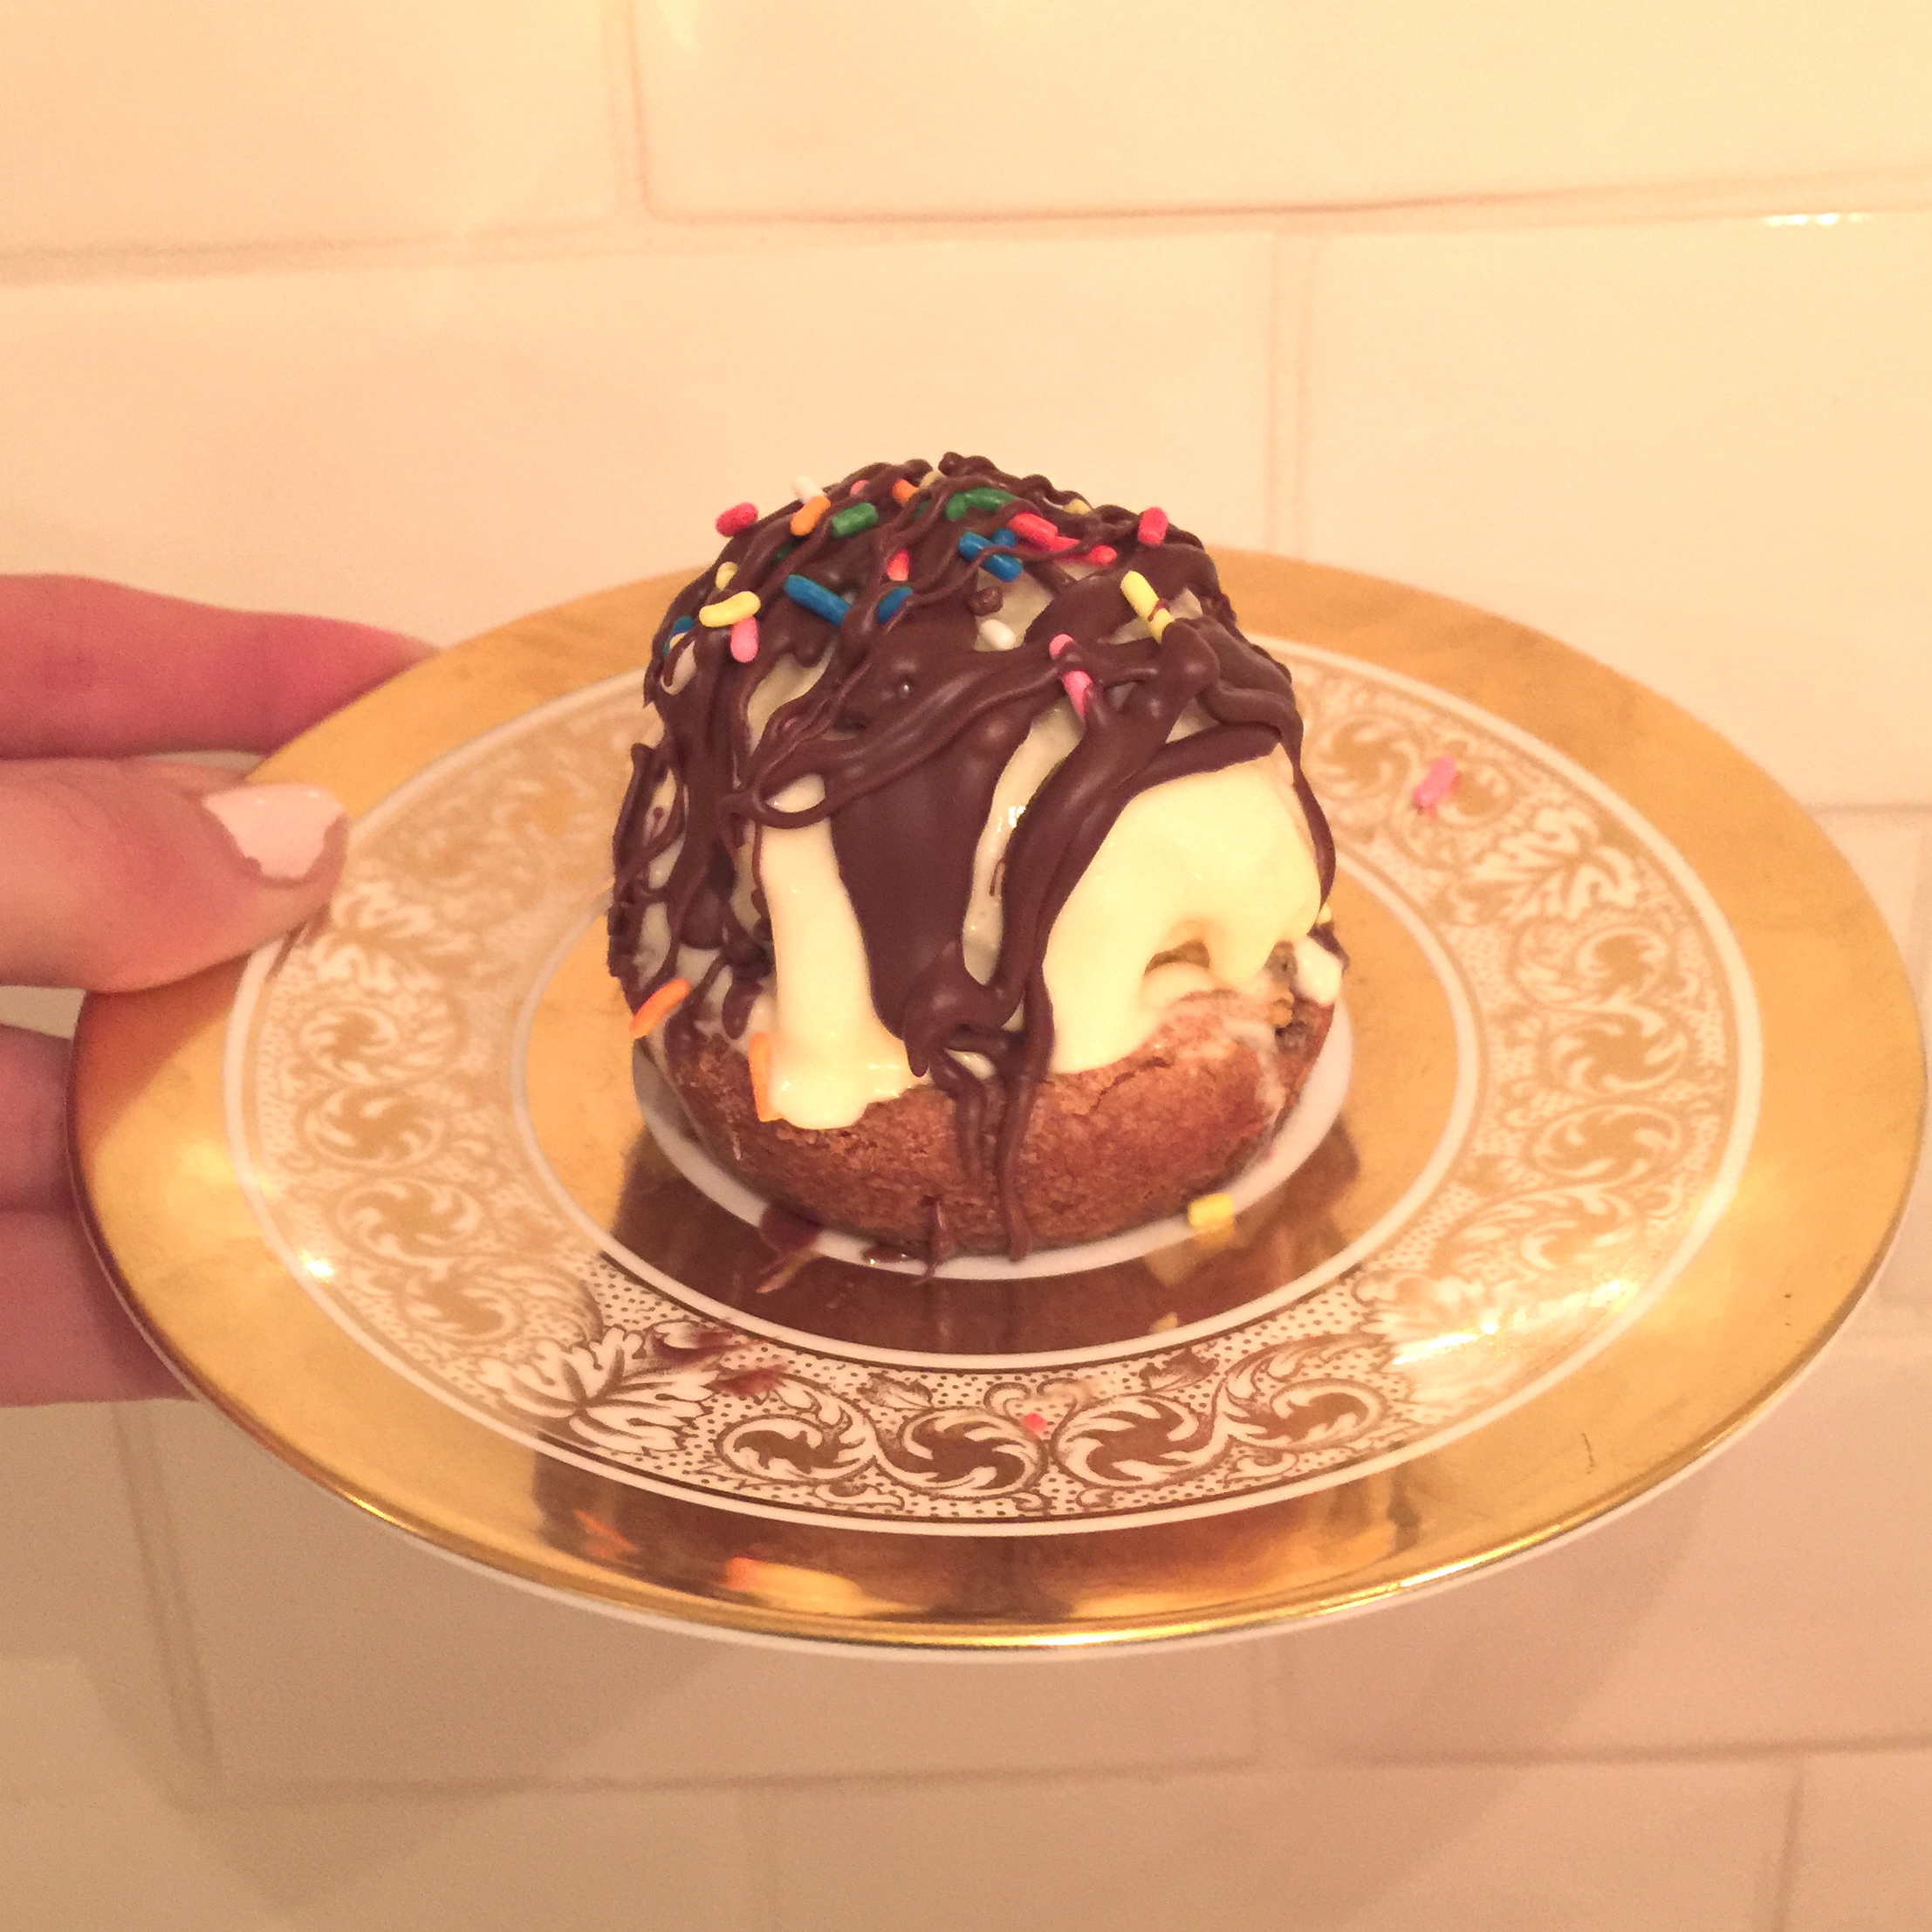
You will need:
– Roll of cookie dough
– Ice cream
– Melting chocolate + toppings of choice
Cook time 13 minutes
I hope your day was filled with love and sweets!
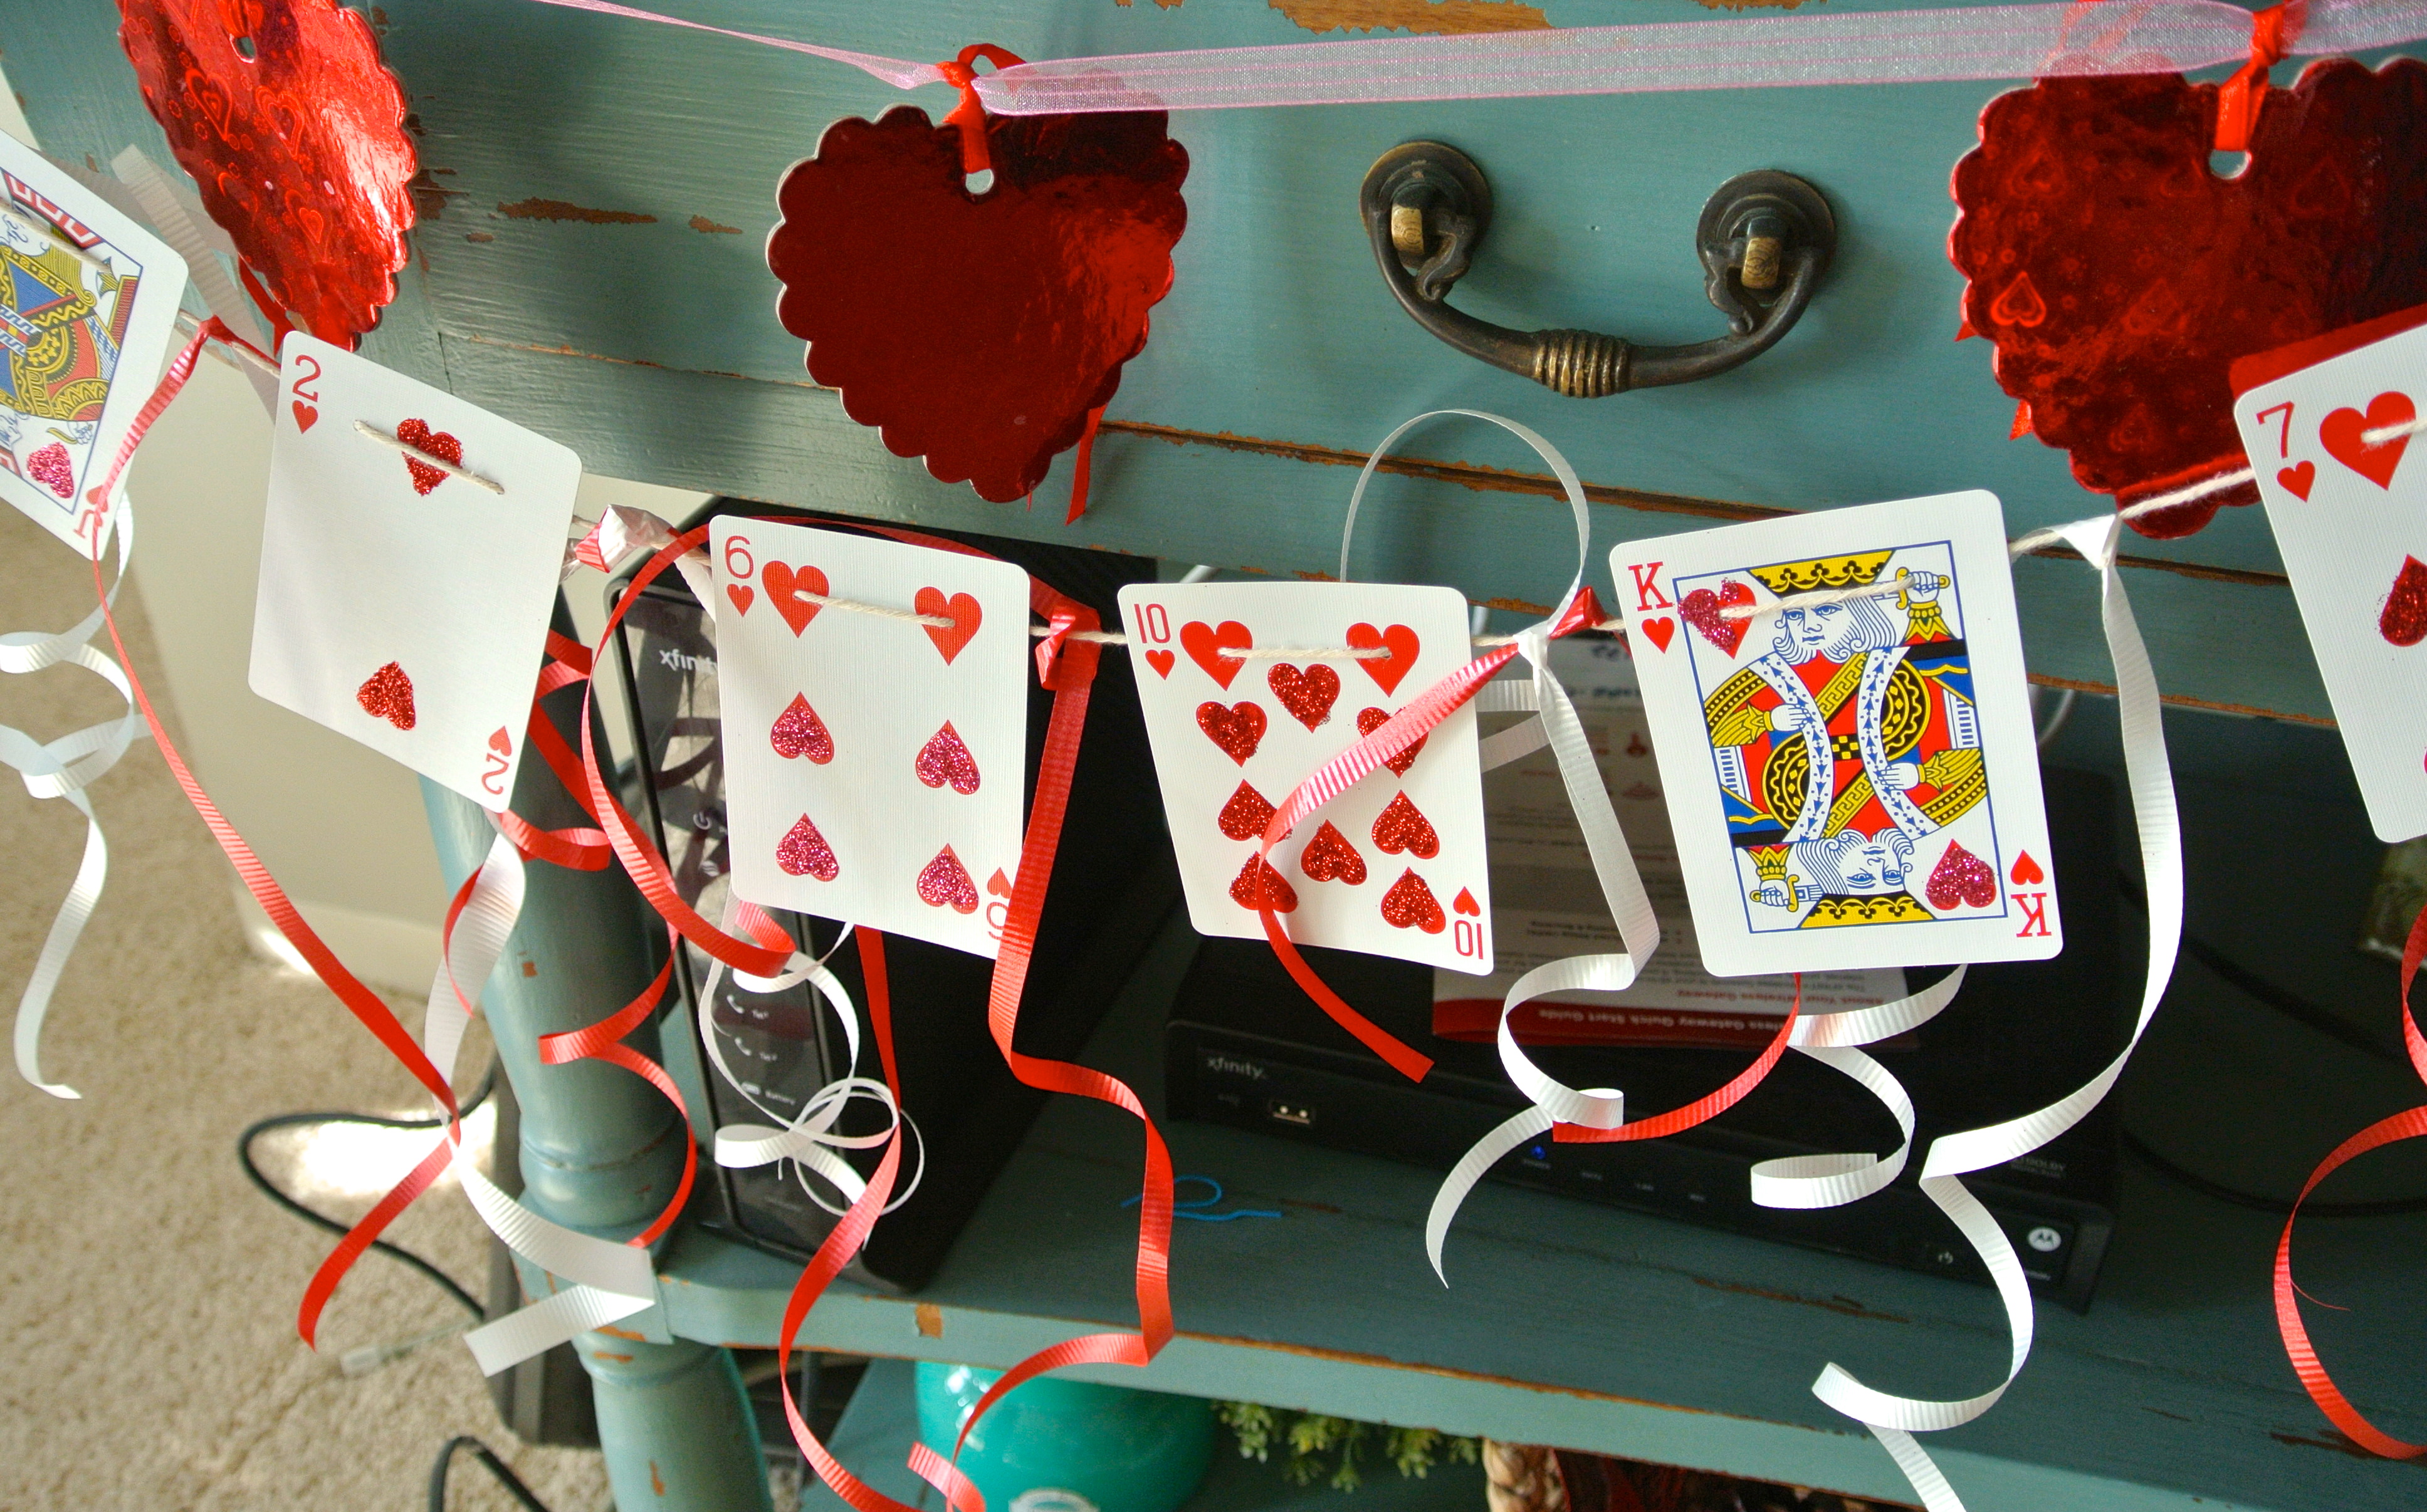
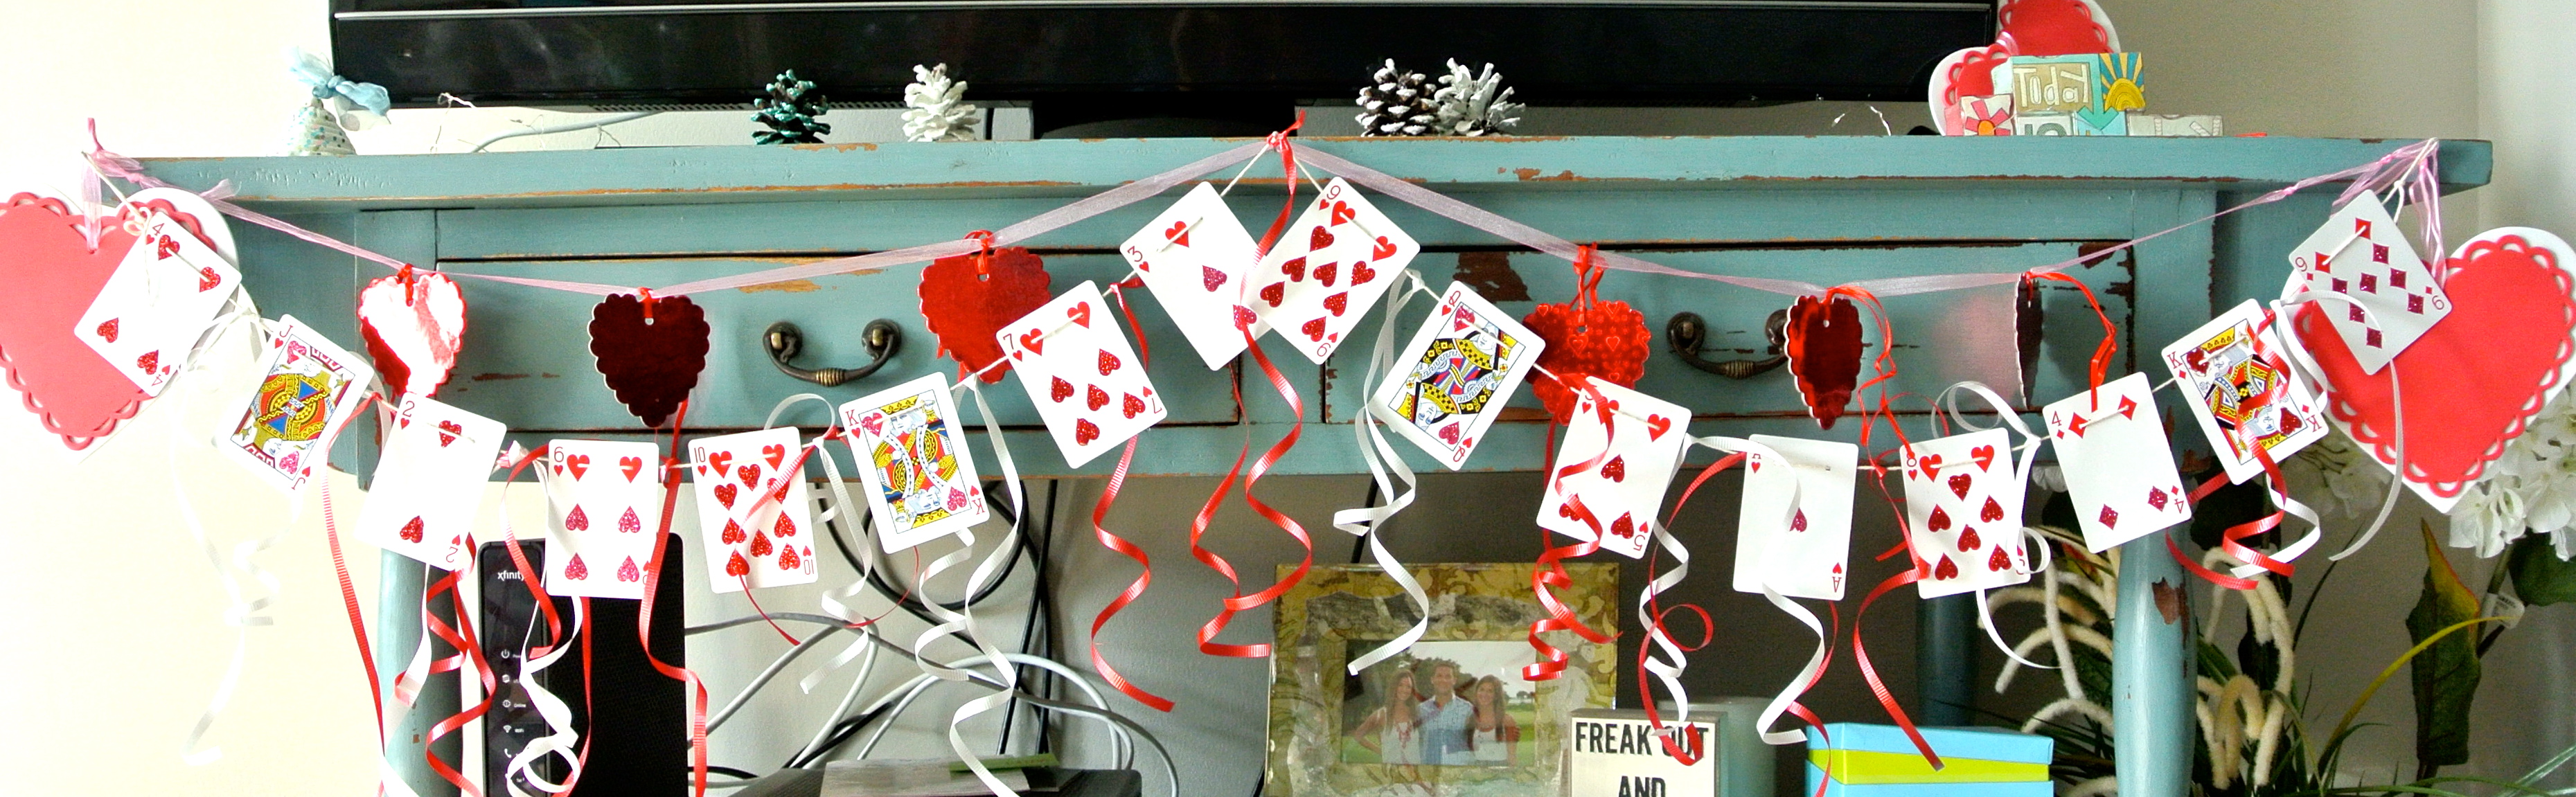
 This Valentine’s DIY is super cute and a budget friendly way to add color to any small space. Very little brain power is required and it’s likely you already have the materials shoved in the back of your junk drawer.
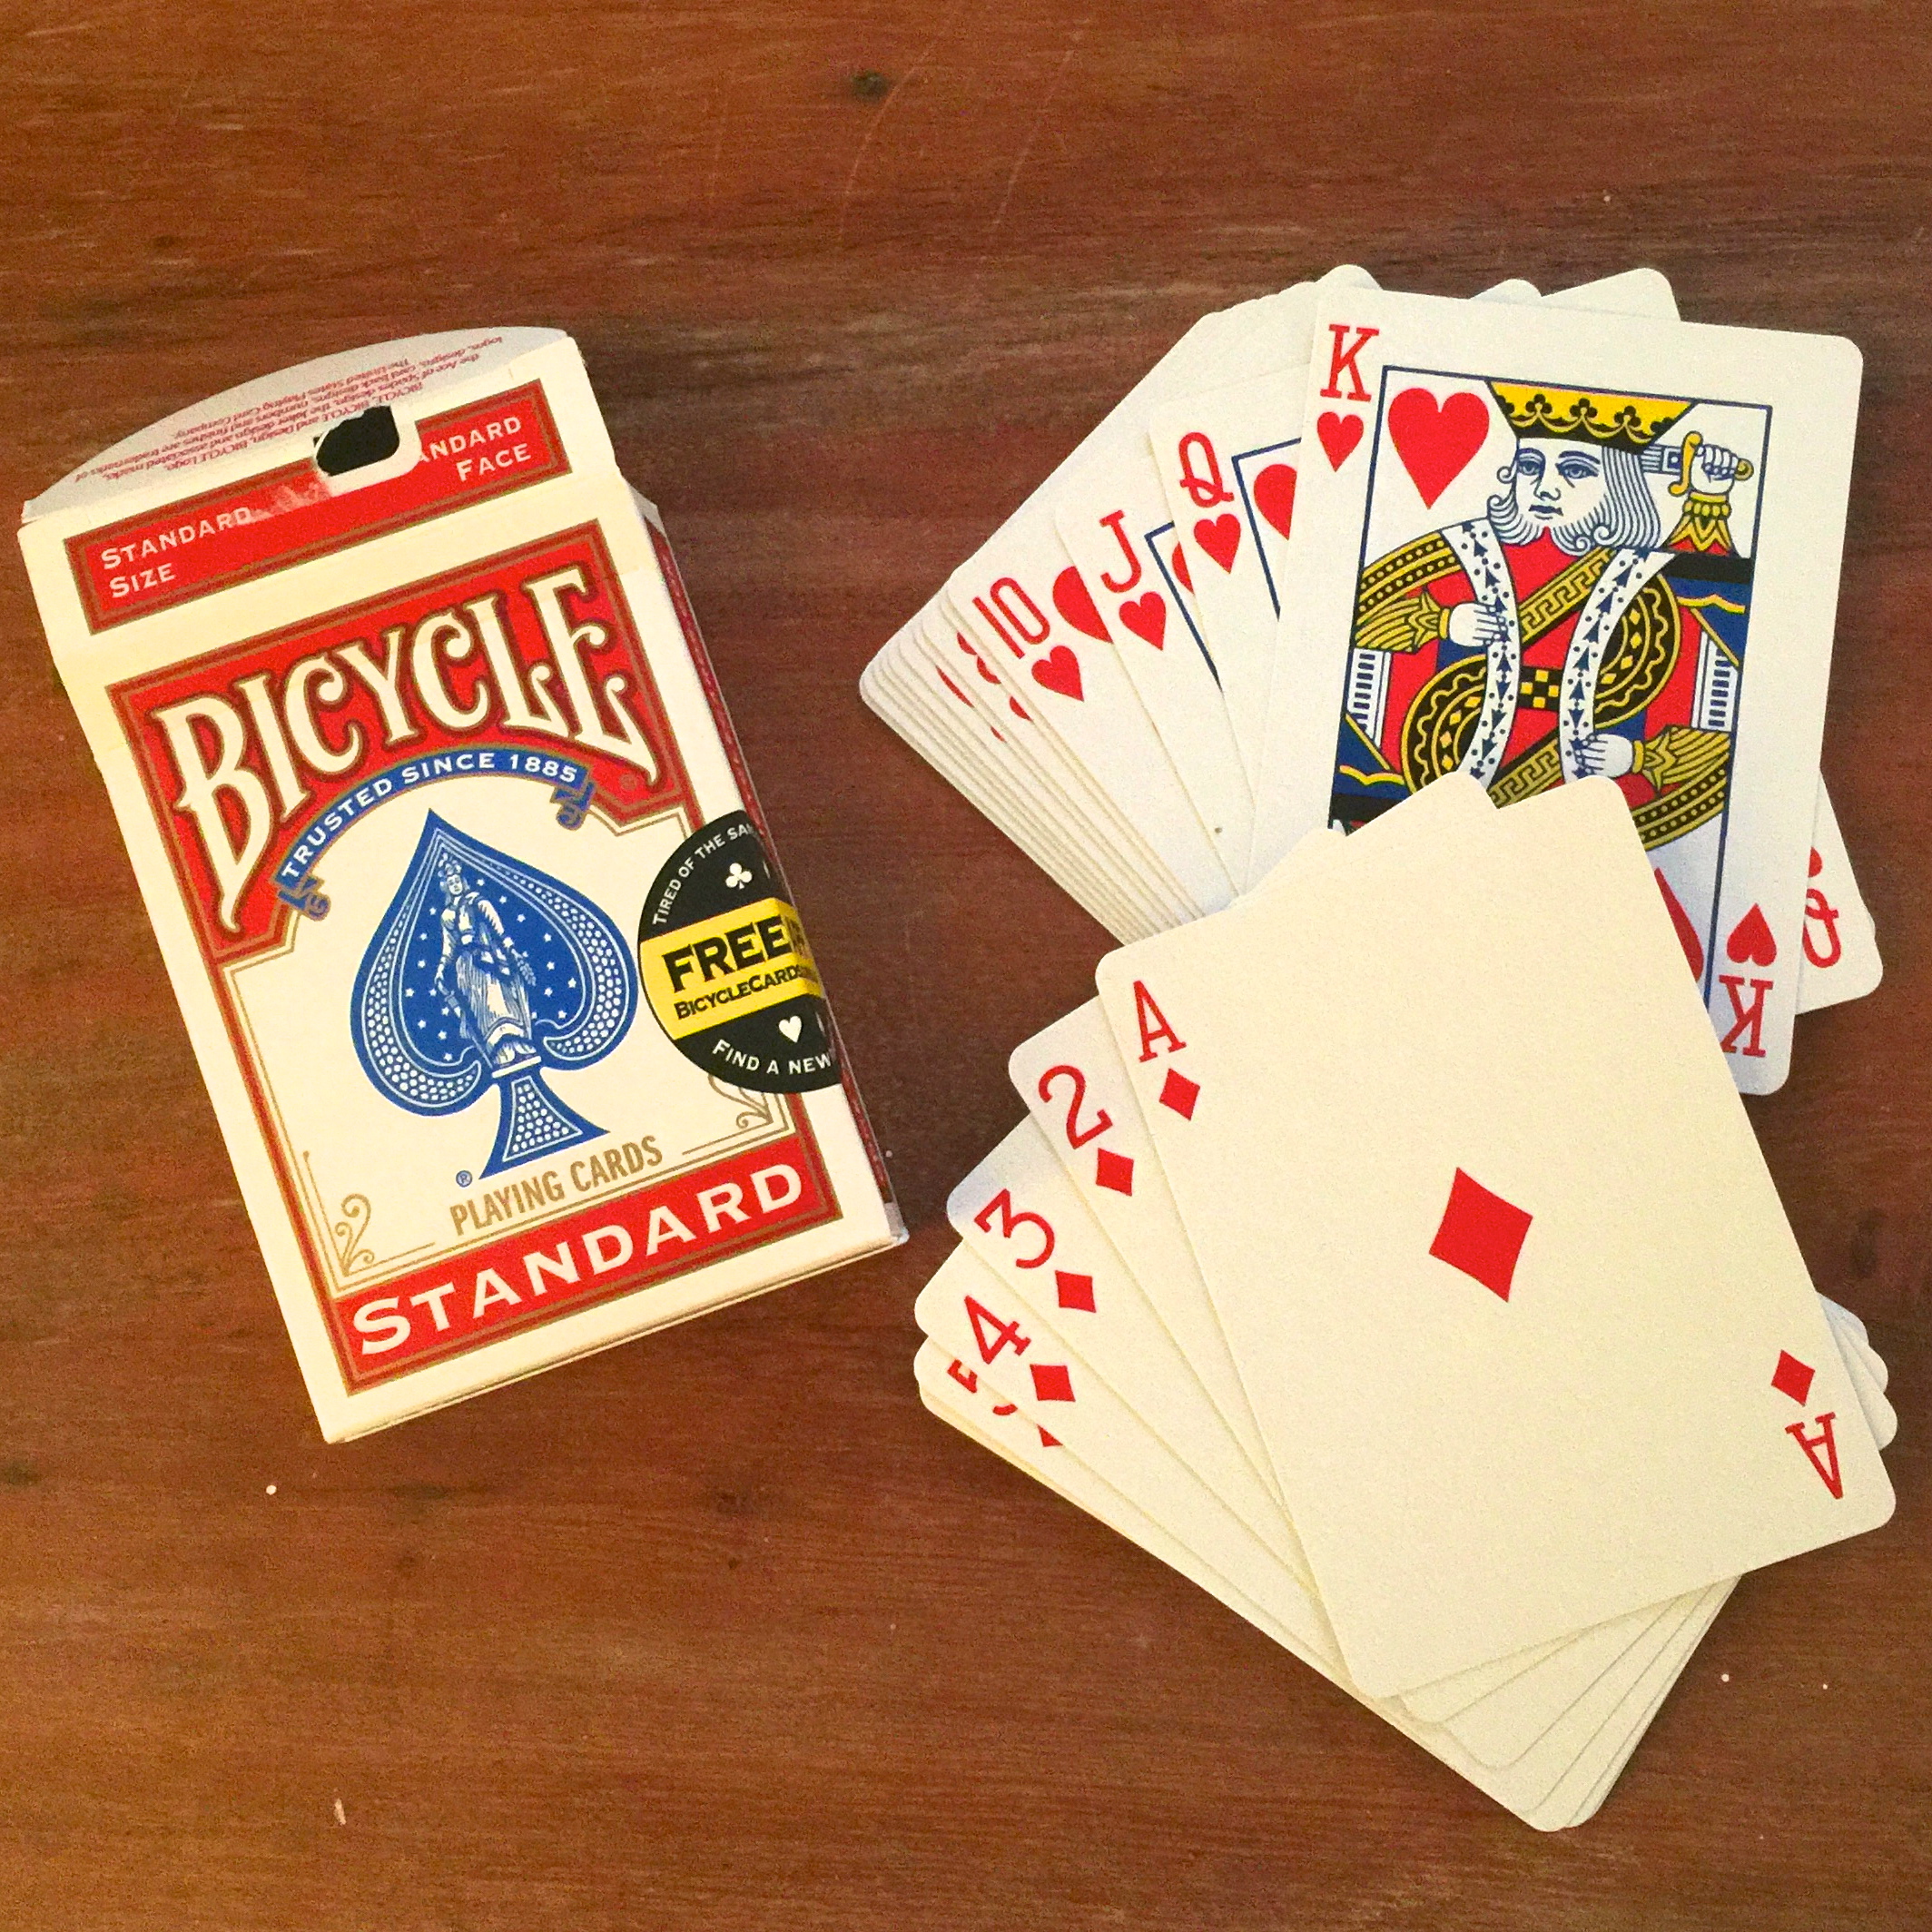
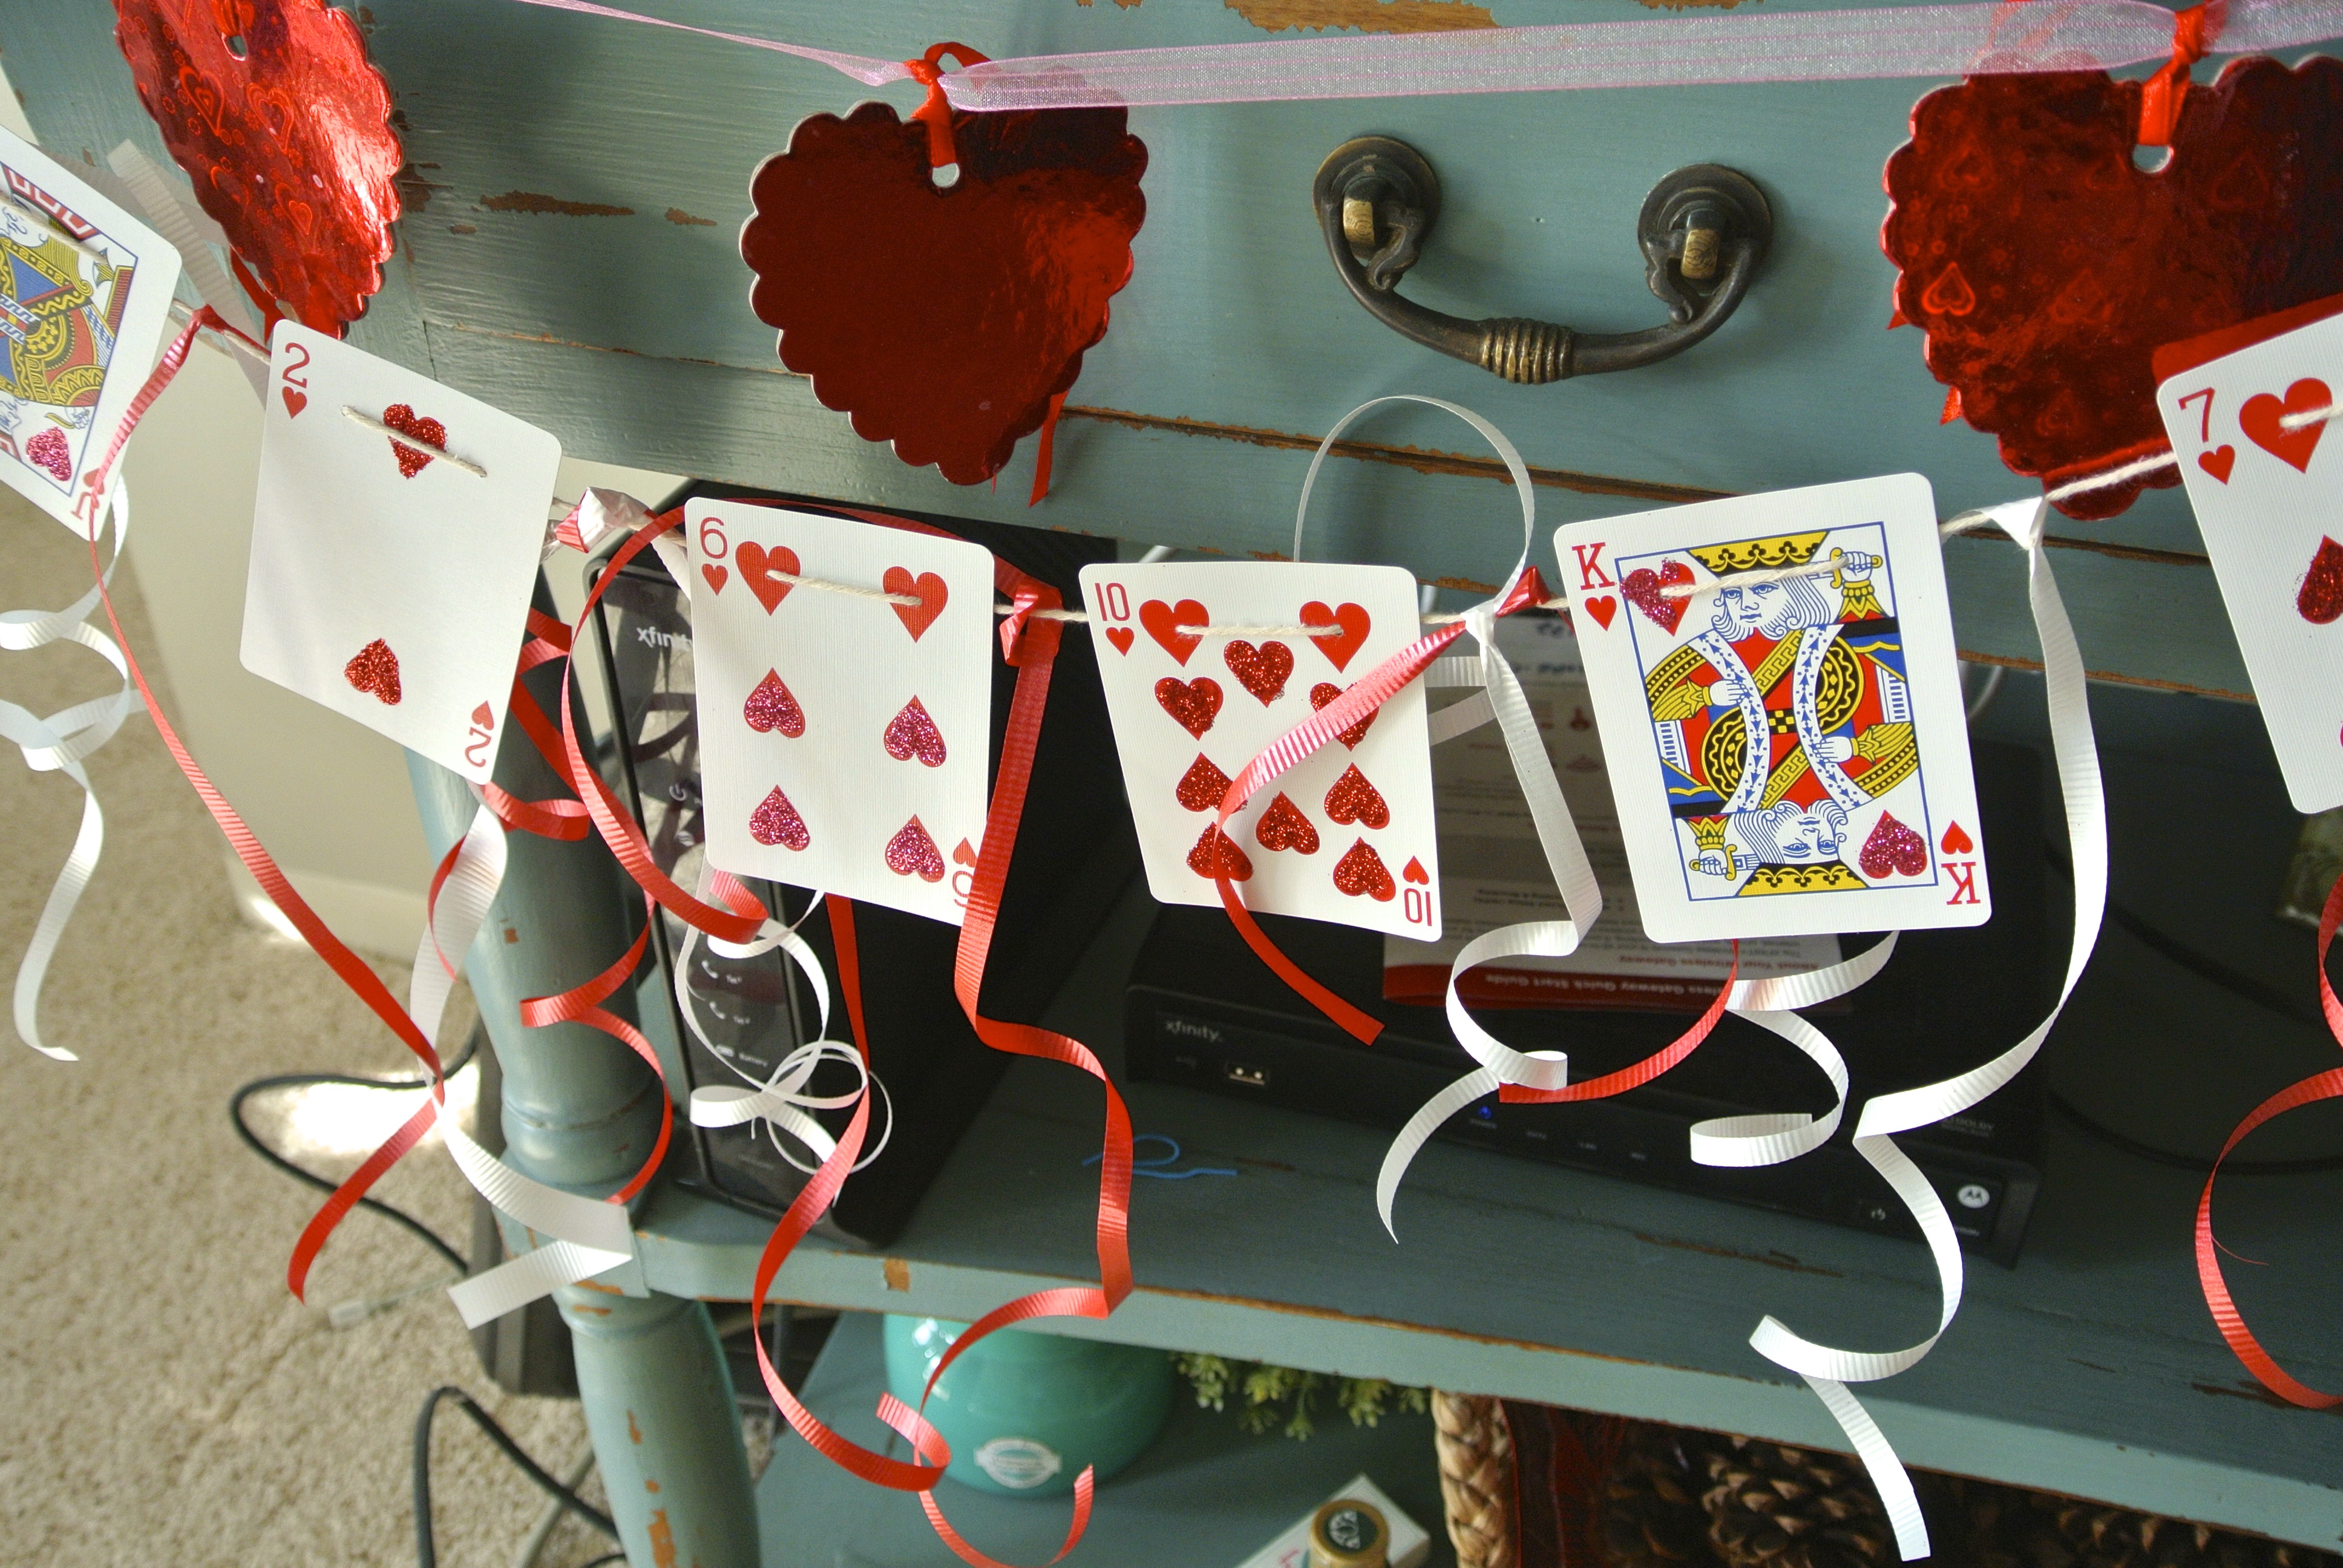
Start by separating the hearts and diamonds from the rest of the deck. Then use a hole punch or pin to poke 2 holes through the top corners of the cards. 
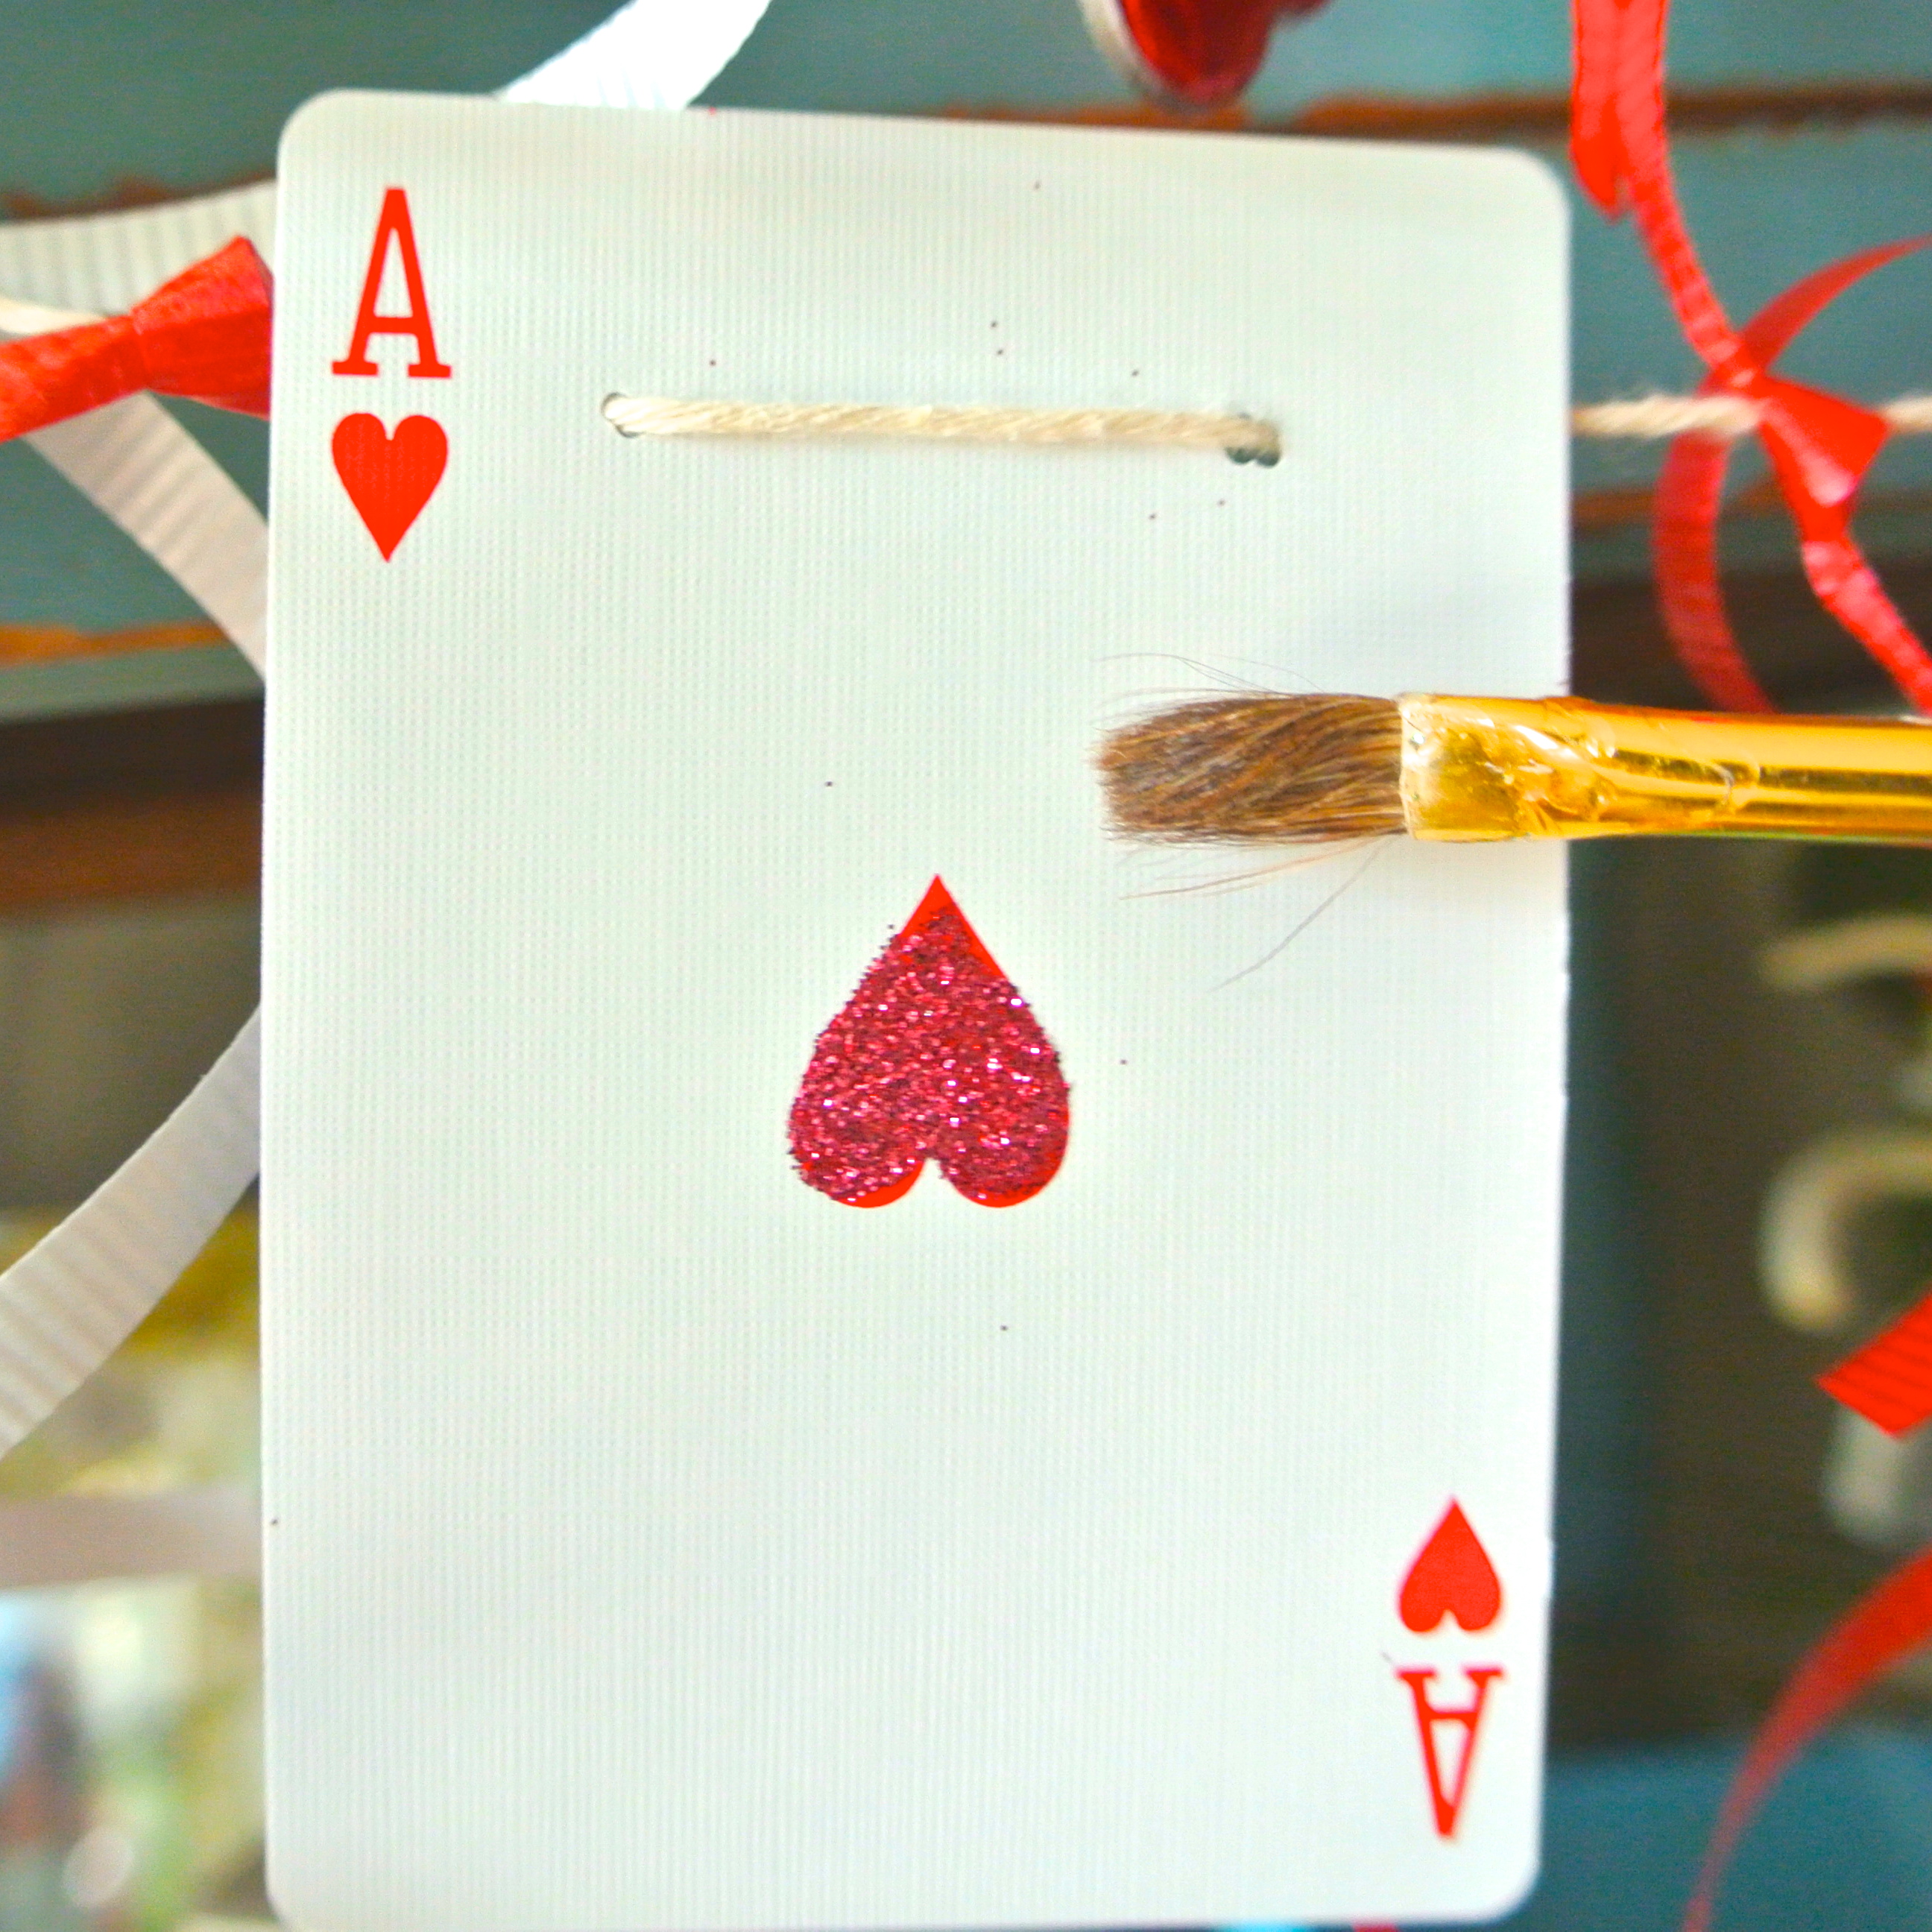
Dip a paint brush in glue and brush over the hearts and diamonds. Make sure to leave room around the hole punches so the string can still get through. Use glitter of your choice to sprinkle over the glue.
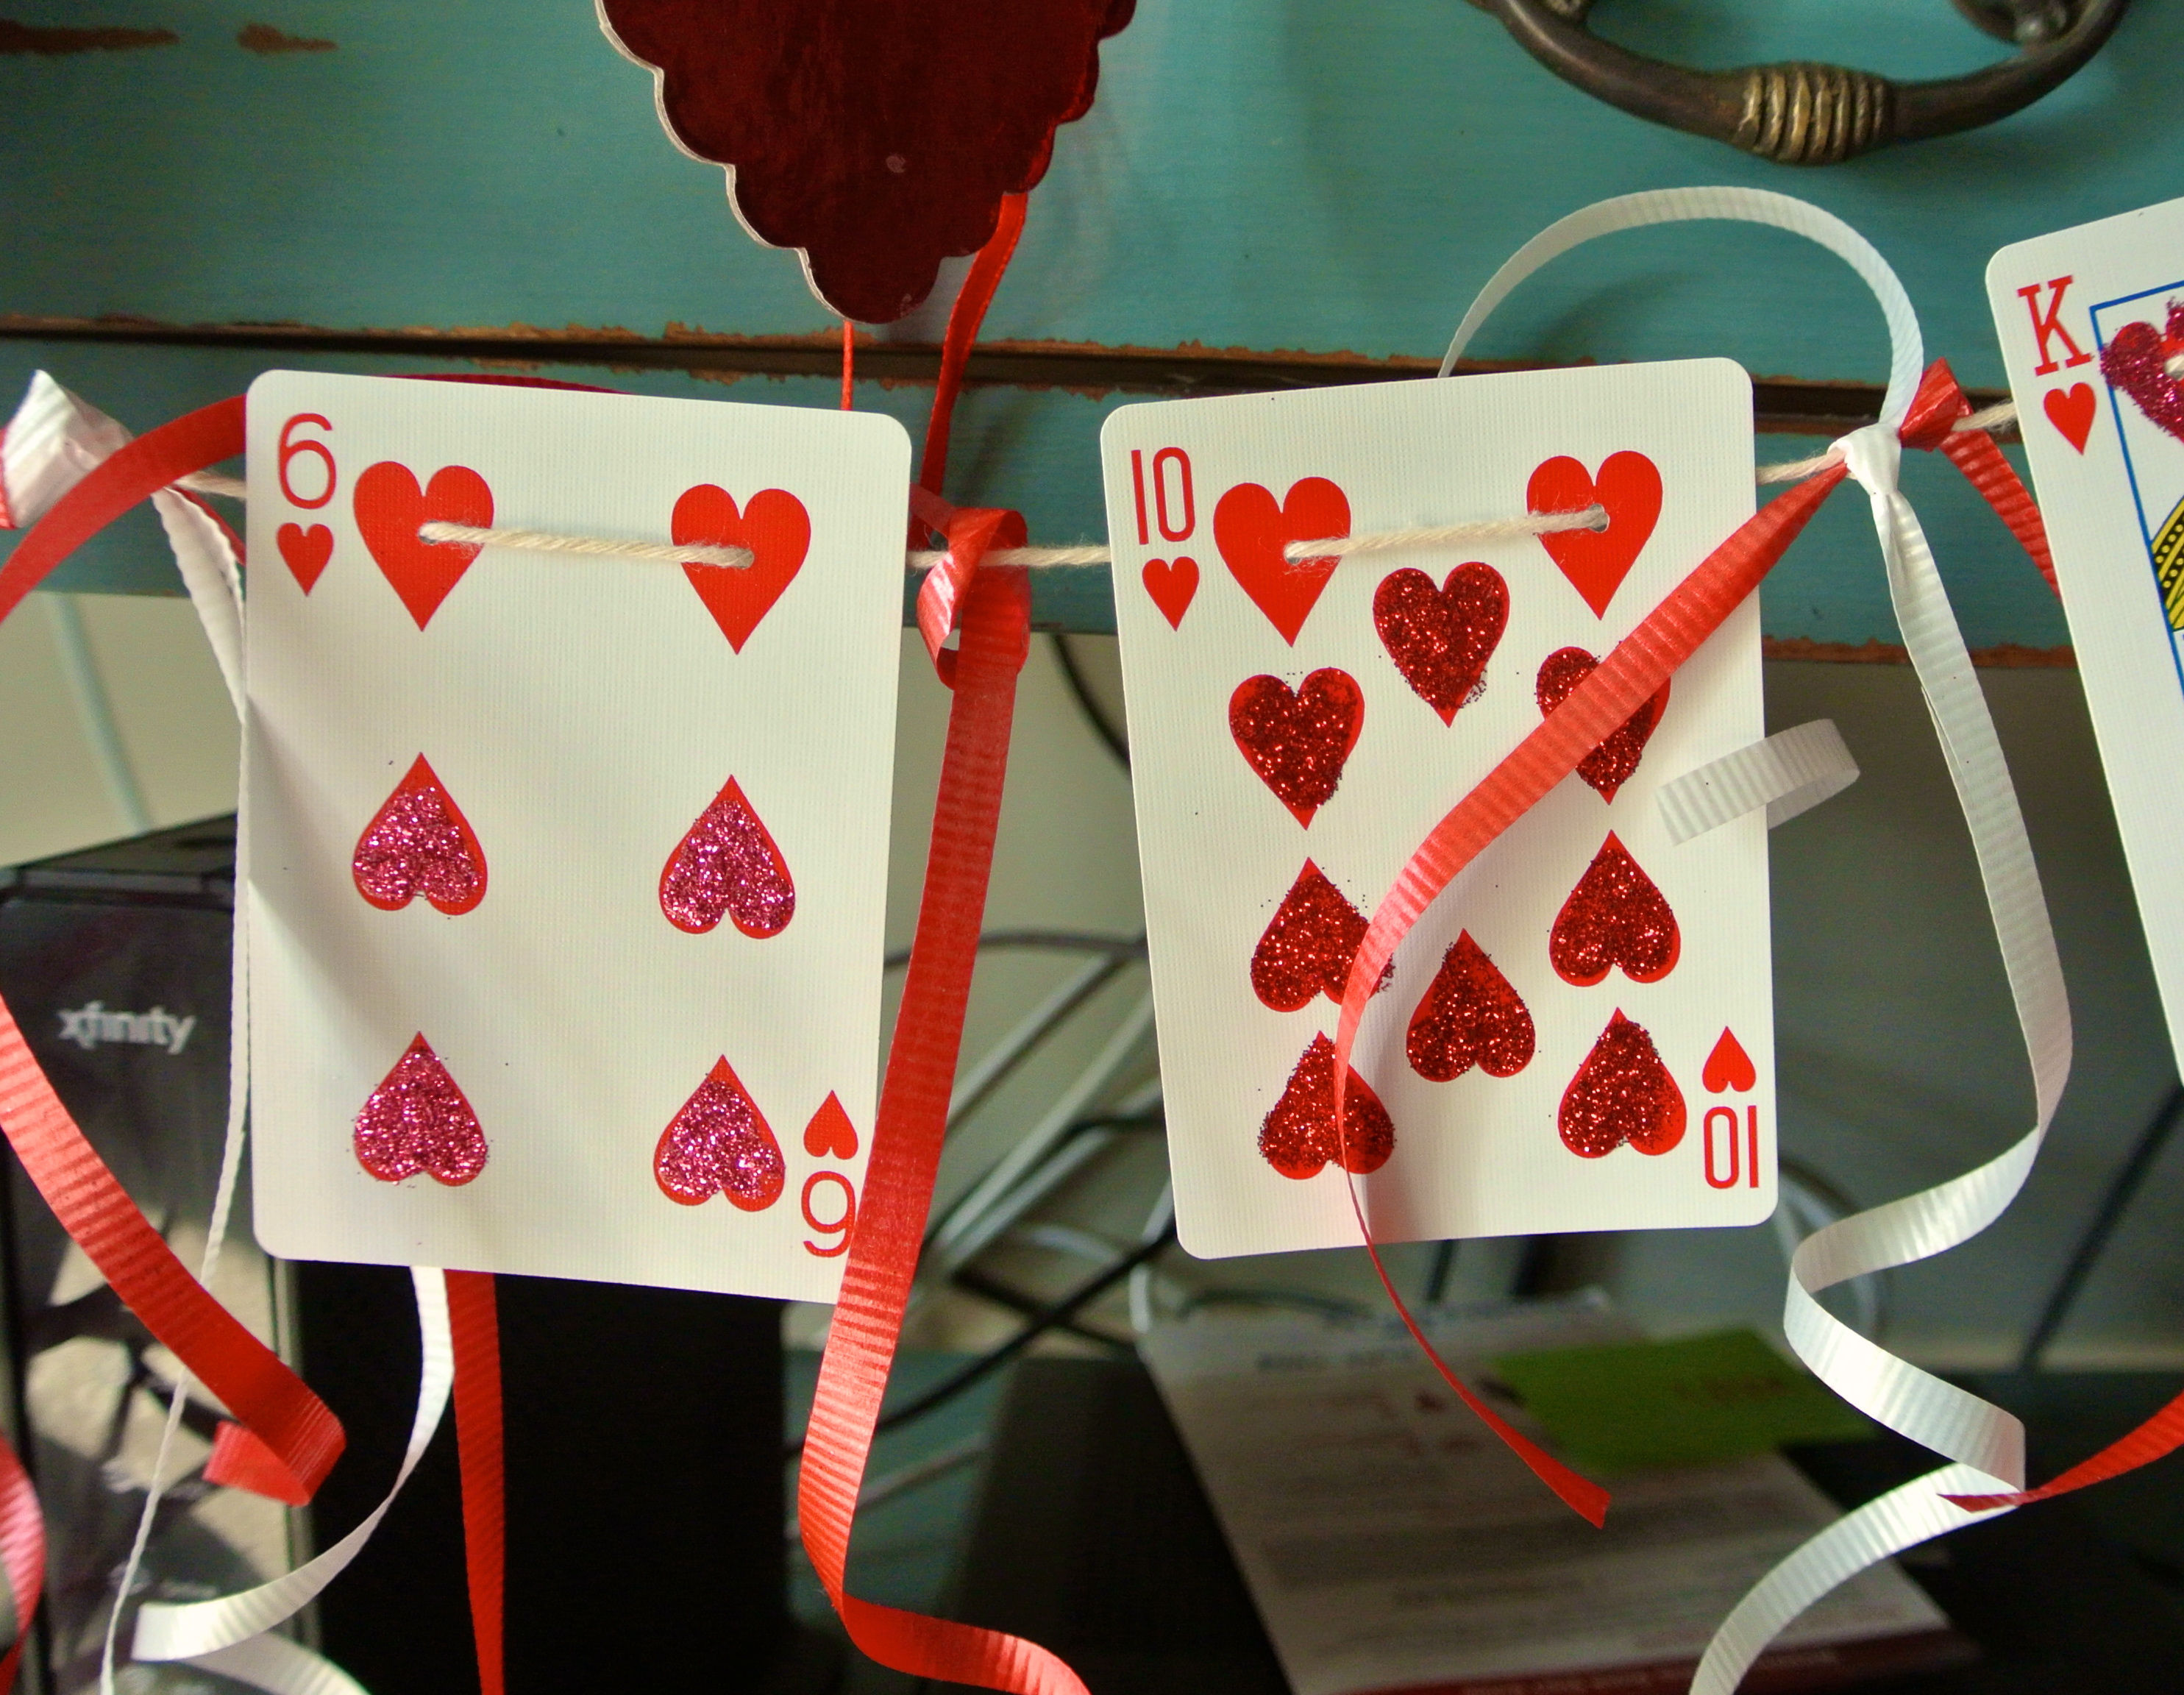
Let dry before stringing the cards together. The excess glitter will likely stick to the static on the card so I recommend using a dry paint brush to sweep it off the card.
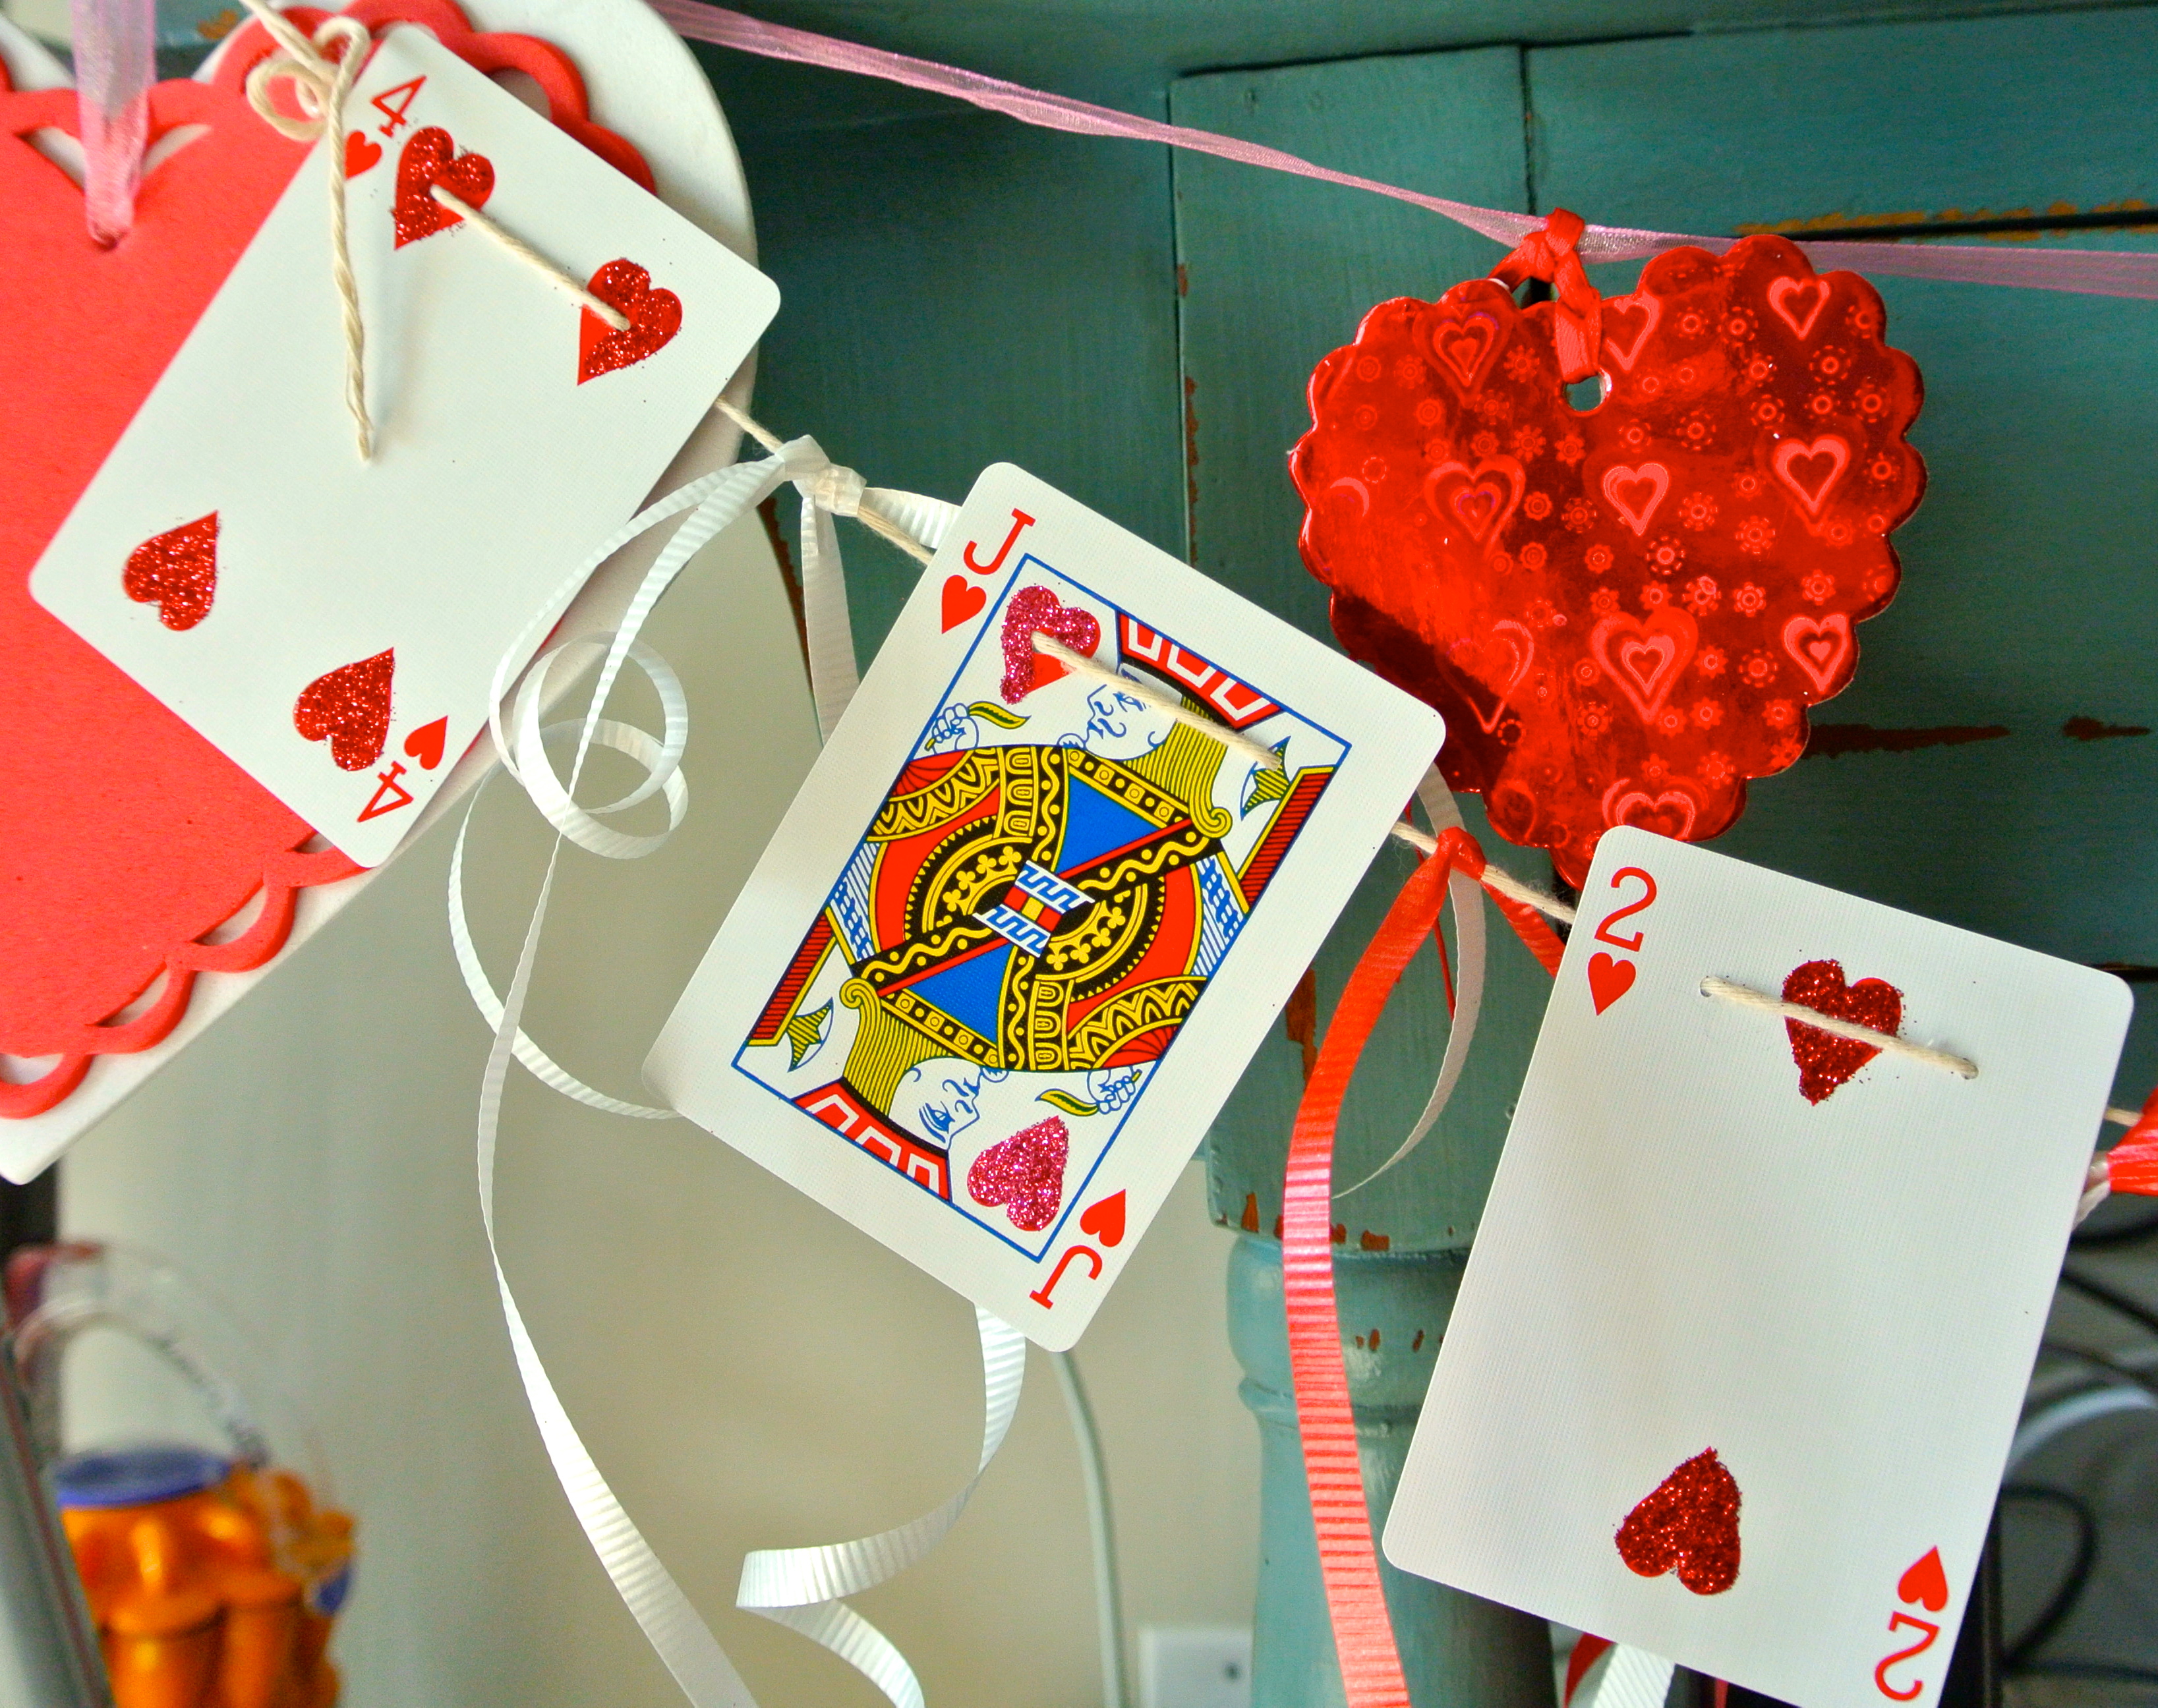
Take your thread/string/ribbon and weave it through the cards. Leave a little space between the cards so you can tie extra ribbon on the garland for more color and pazazz.
You will need:
– 1 deck of cards
– Hole punch or pin
– Glue
– Paintbrush
– Glitter
– String/ribbon
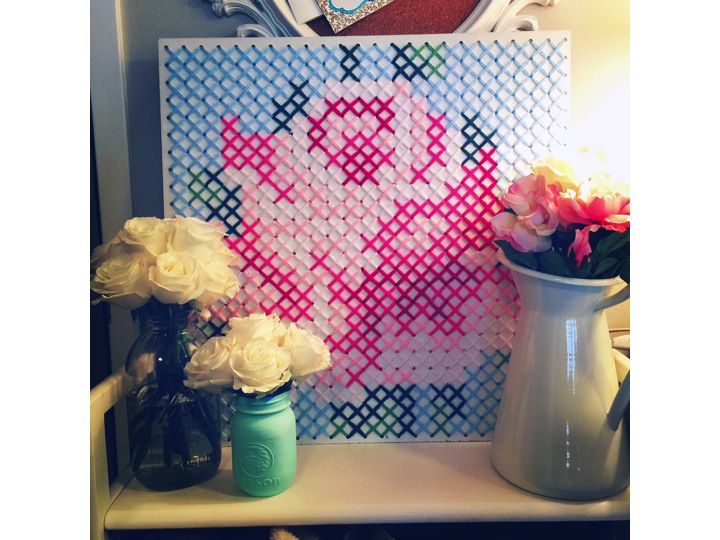
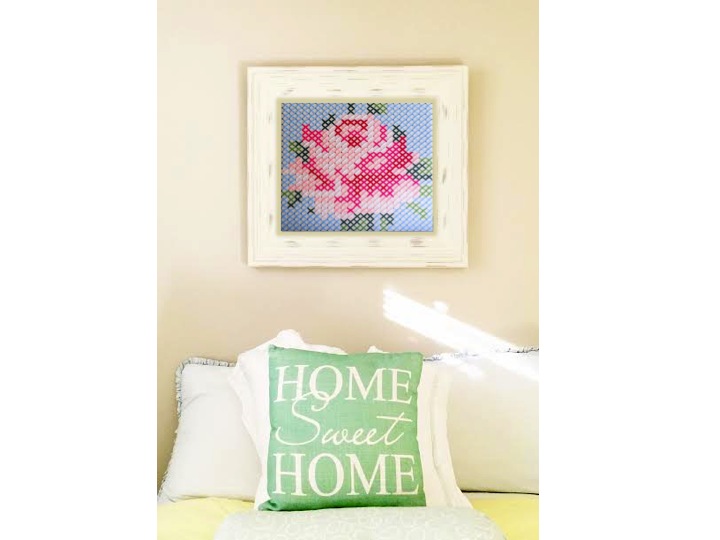
In the dead of winter in Chicago I needed something to brighten up my tiny apartment and this floral cross stitch idea was a surprisingly simple solution.
I loved making little cross stitch designs when I was still crafting with Lisa Frank products but unfortunately, they have been collecting dust in my closet over the years. (To be fair, they were not the most pleasing of patterns to begin with). I came across the pegboard cross stitch idea from another blog and am obsessed now because you can customize the colors to suit your home and even frame it to make it look elegant and expensive.
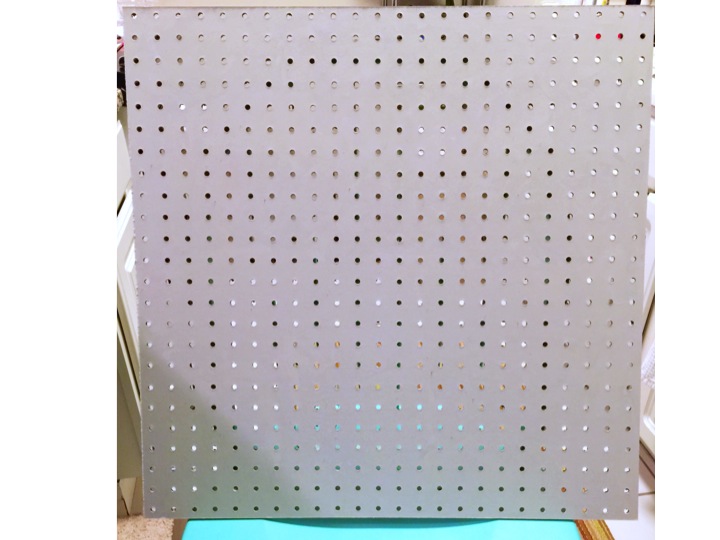
I found 2 x 4 ft white peg board at Home Depot. They cut it in half for me to fit my pattern but you can leave it larger if you’re doubling up on this pattern or using one of your own. Everything else was found in a quick trip to Michael’s (although I could easily spend hours in there).
You will need:
– 2 x 2 sq.ft pegboard (or 2 x 4 and cut in half)
– cross stitch pattern of choice (Rose pattern)
– paint (optional)
– yarn for background color
– yarn in 2 colors for leaves
– yarn in 4 shades for flowers
– plastic needles
– tape and hot glue gun
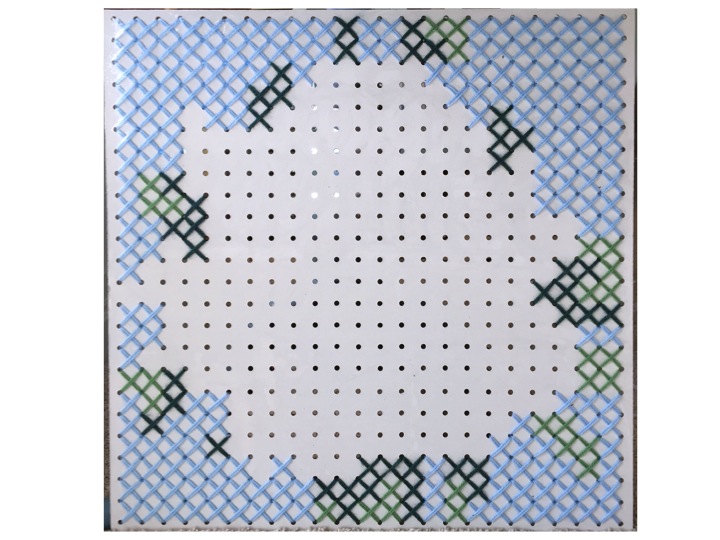
1. The board was already white but I painted over it so that I could cover the edges as well. I mixed a variety of patterns to create the one above. You can make your own on graph paper and adjust the pattern to the size of your board.
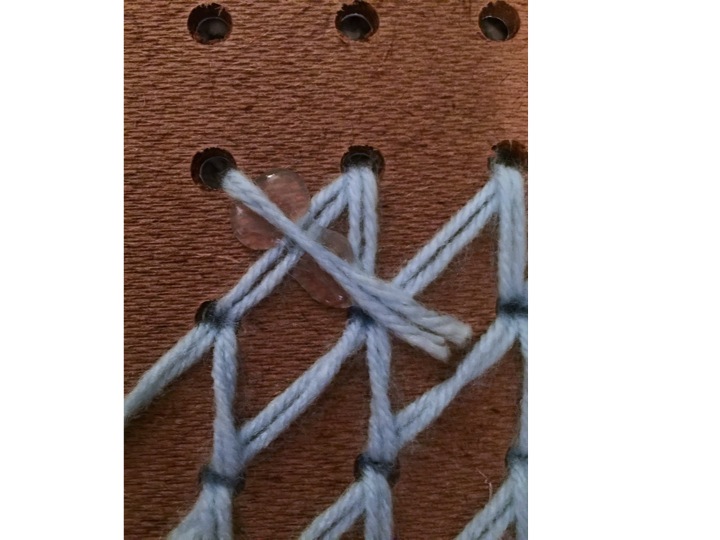
2. The plastic needle makes the work much easier and I doubled up the yarn to make the stitches thicker and more visible.
3. I started threading with the background color because it was the most used and would help outline the shape of the flower but of course you can start with whichever you prefer. Next I filled in the leaves and proceeded to work inwards.
4. Depending on the amount of thread you cut you will have a good amount of loose ends hanging off the backside of the board. As a quick fix, I taped the ends to the board then later on I went back and hot glued the ends or looser pieces to secure them.
5. And Voila!
