
How could you not love this holiday with these pretty colors?
How could you not love this holiday with these pretty colors?
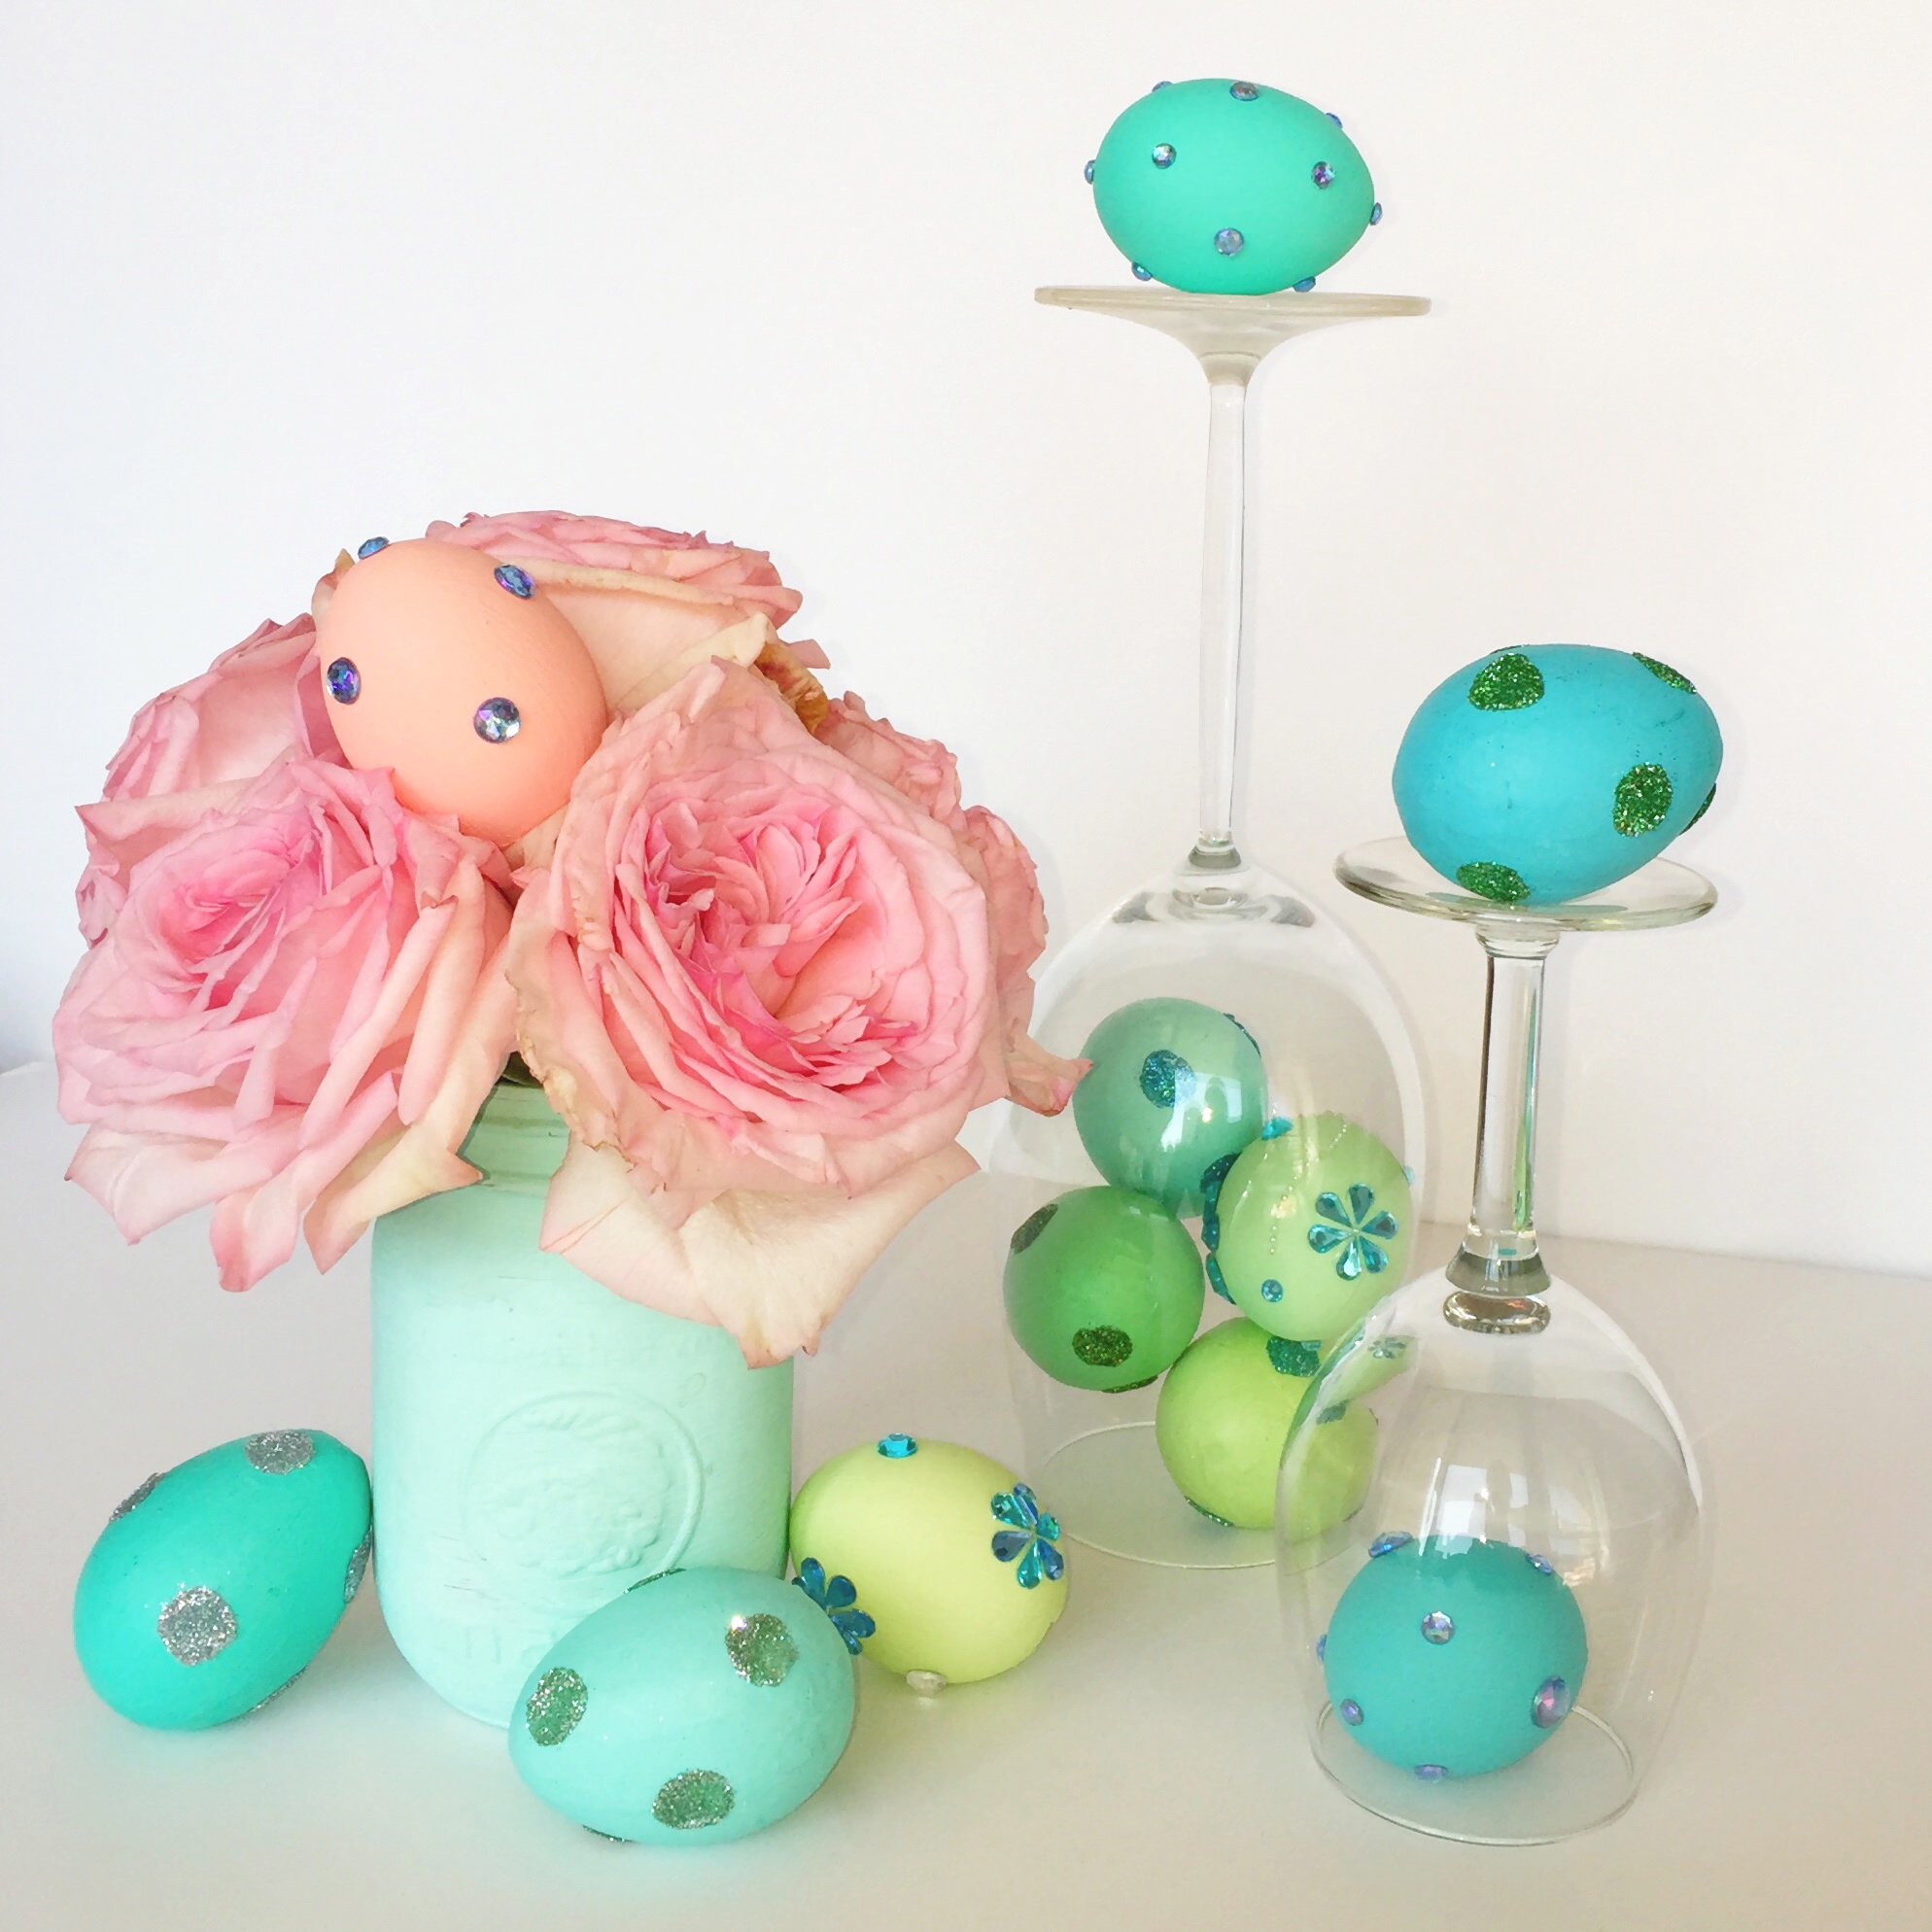
Easter is one of my favorite holidays to decorate for. I love its jelly bean colors, pastel patterned eggs and handfuls of chocolates. However, all of a sudden Easter is less than 2 days away and I haven’t had as much as a single jelly bean!
Instead of turning your home into an explosion of Alice & Wonderland whimsy, choose to highlight a few areas that are most visible by guests (ie. kitchen counter).
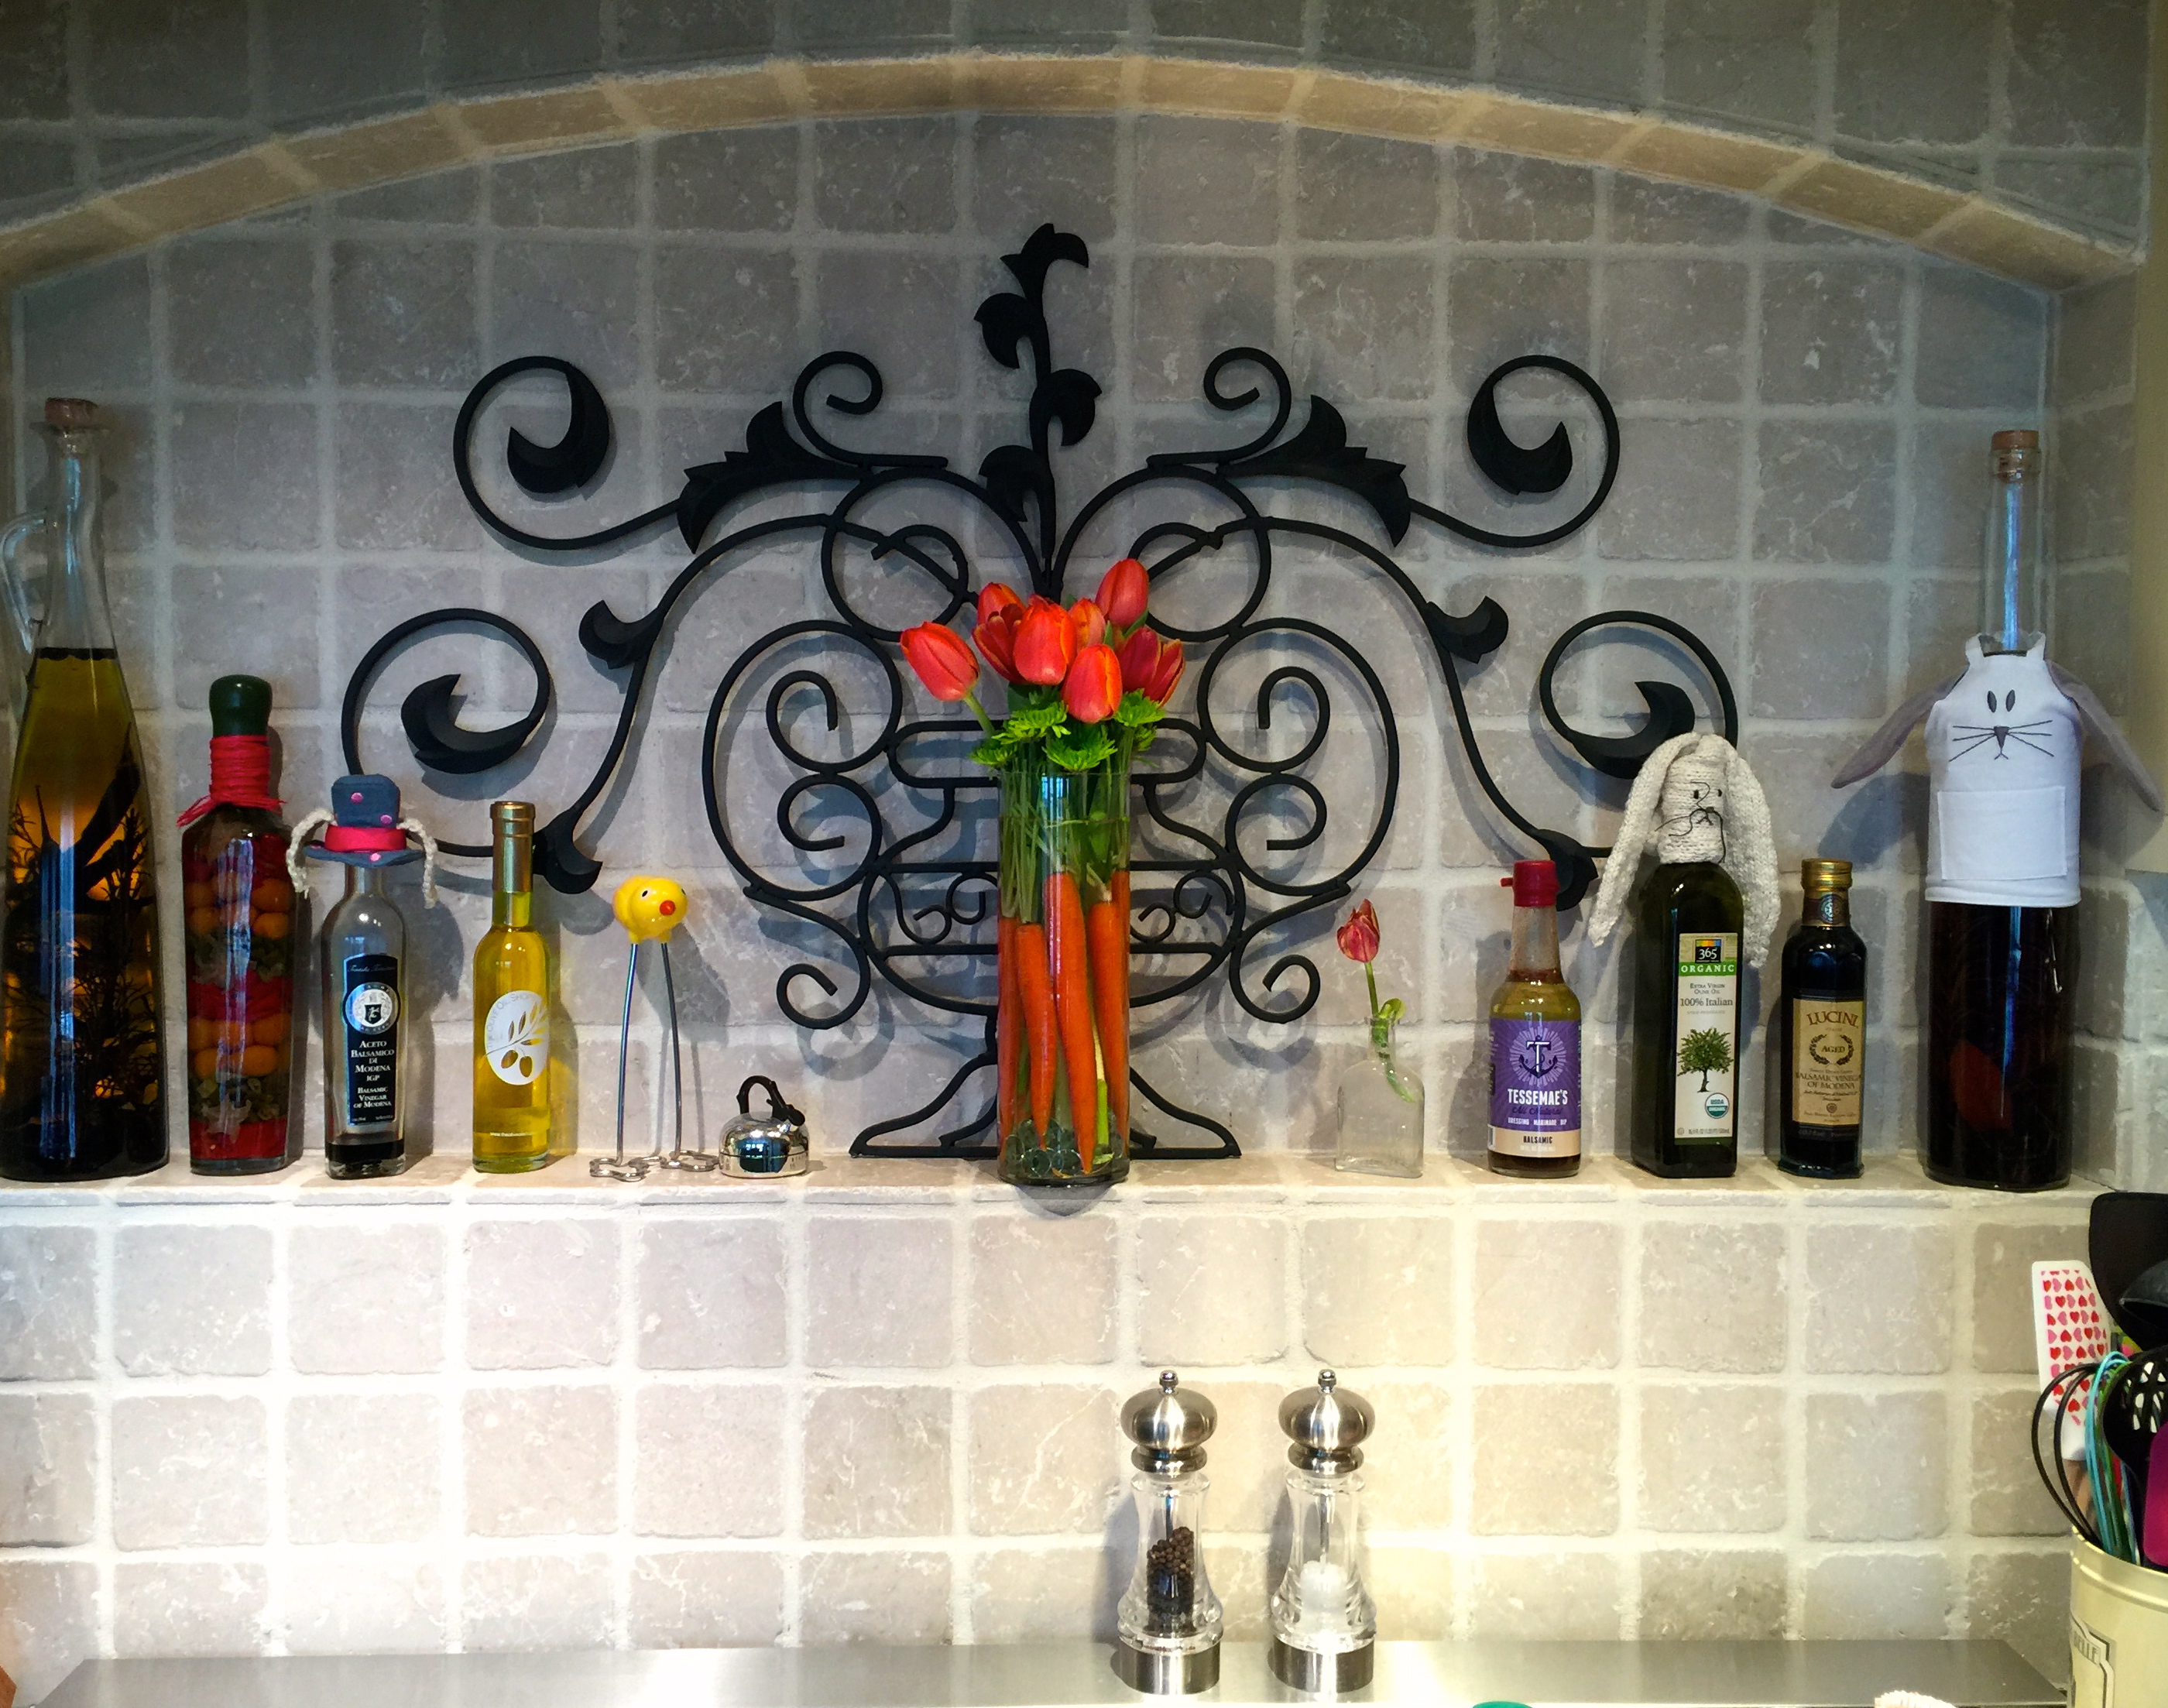
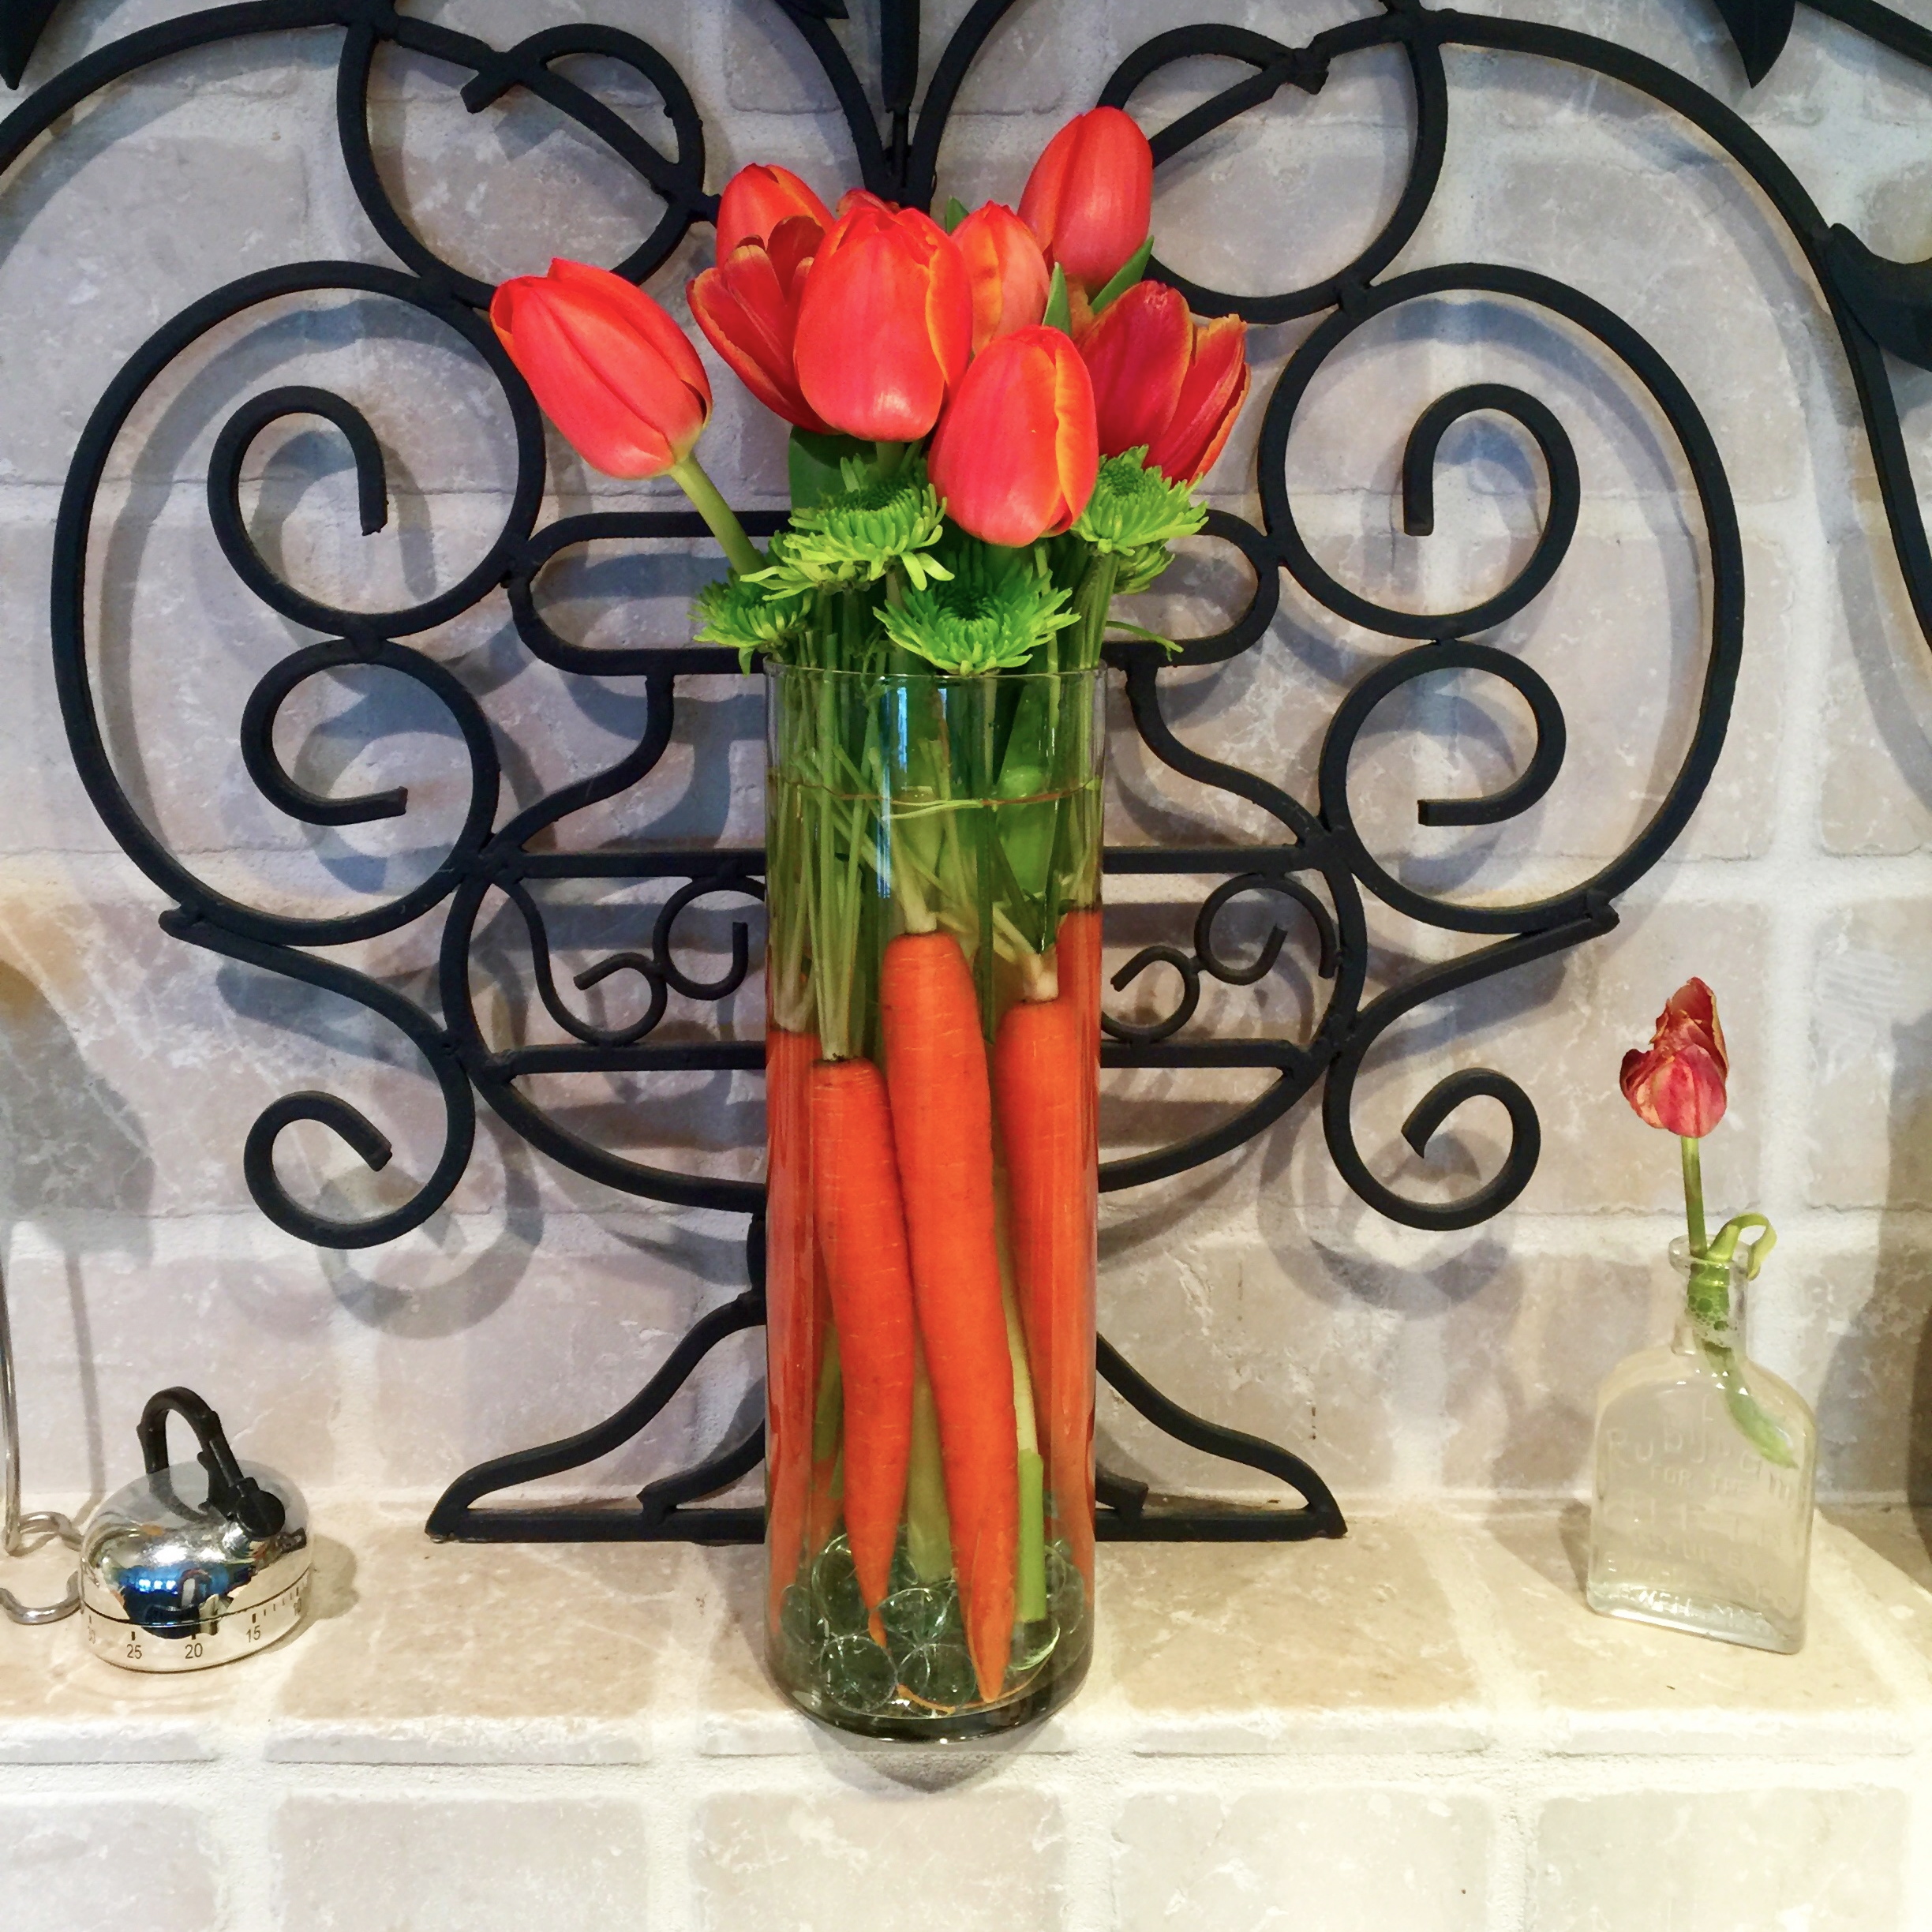
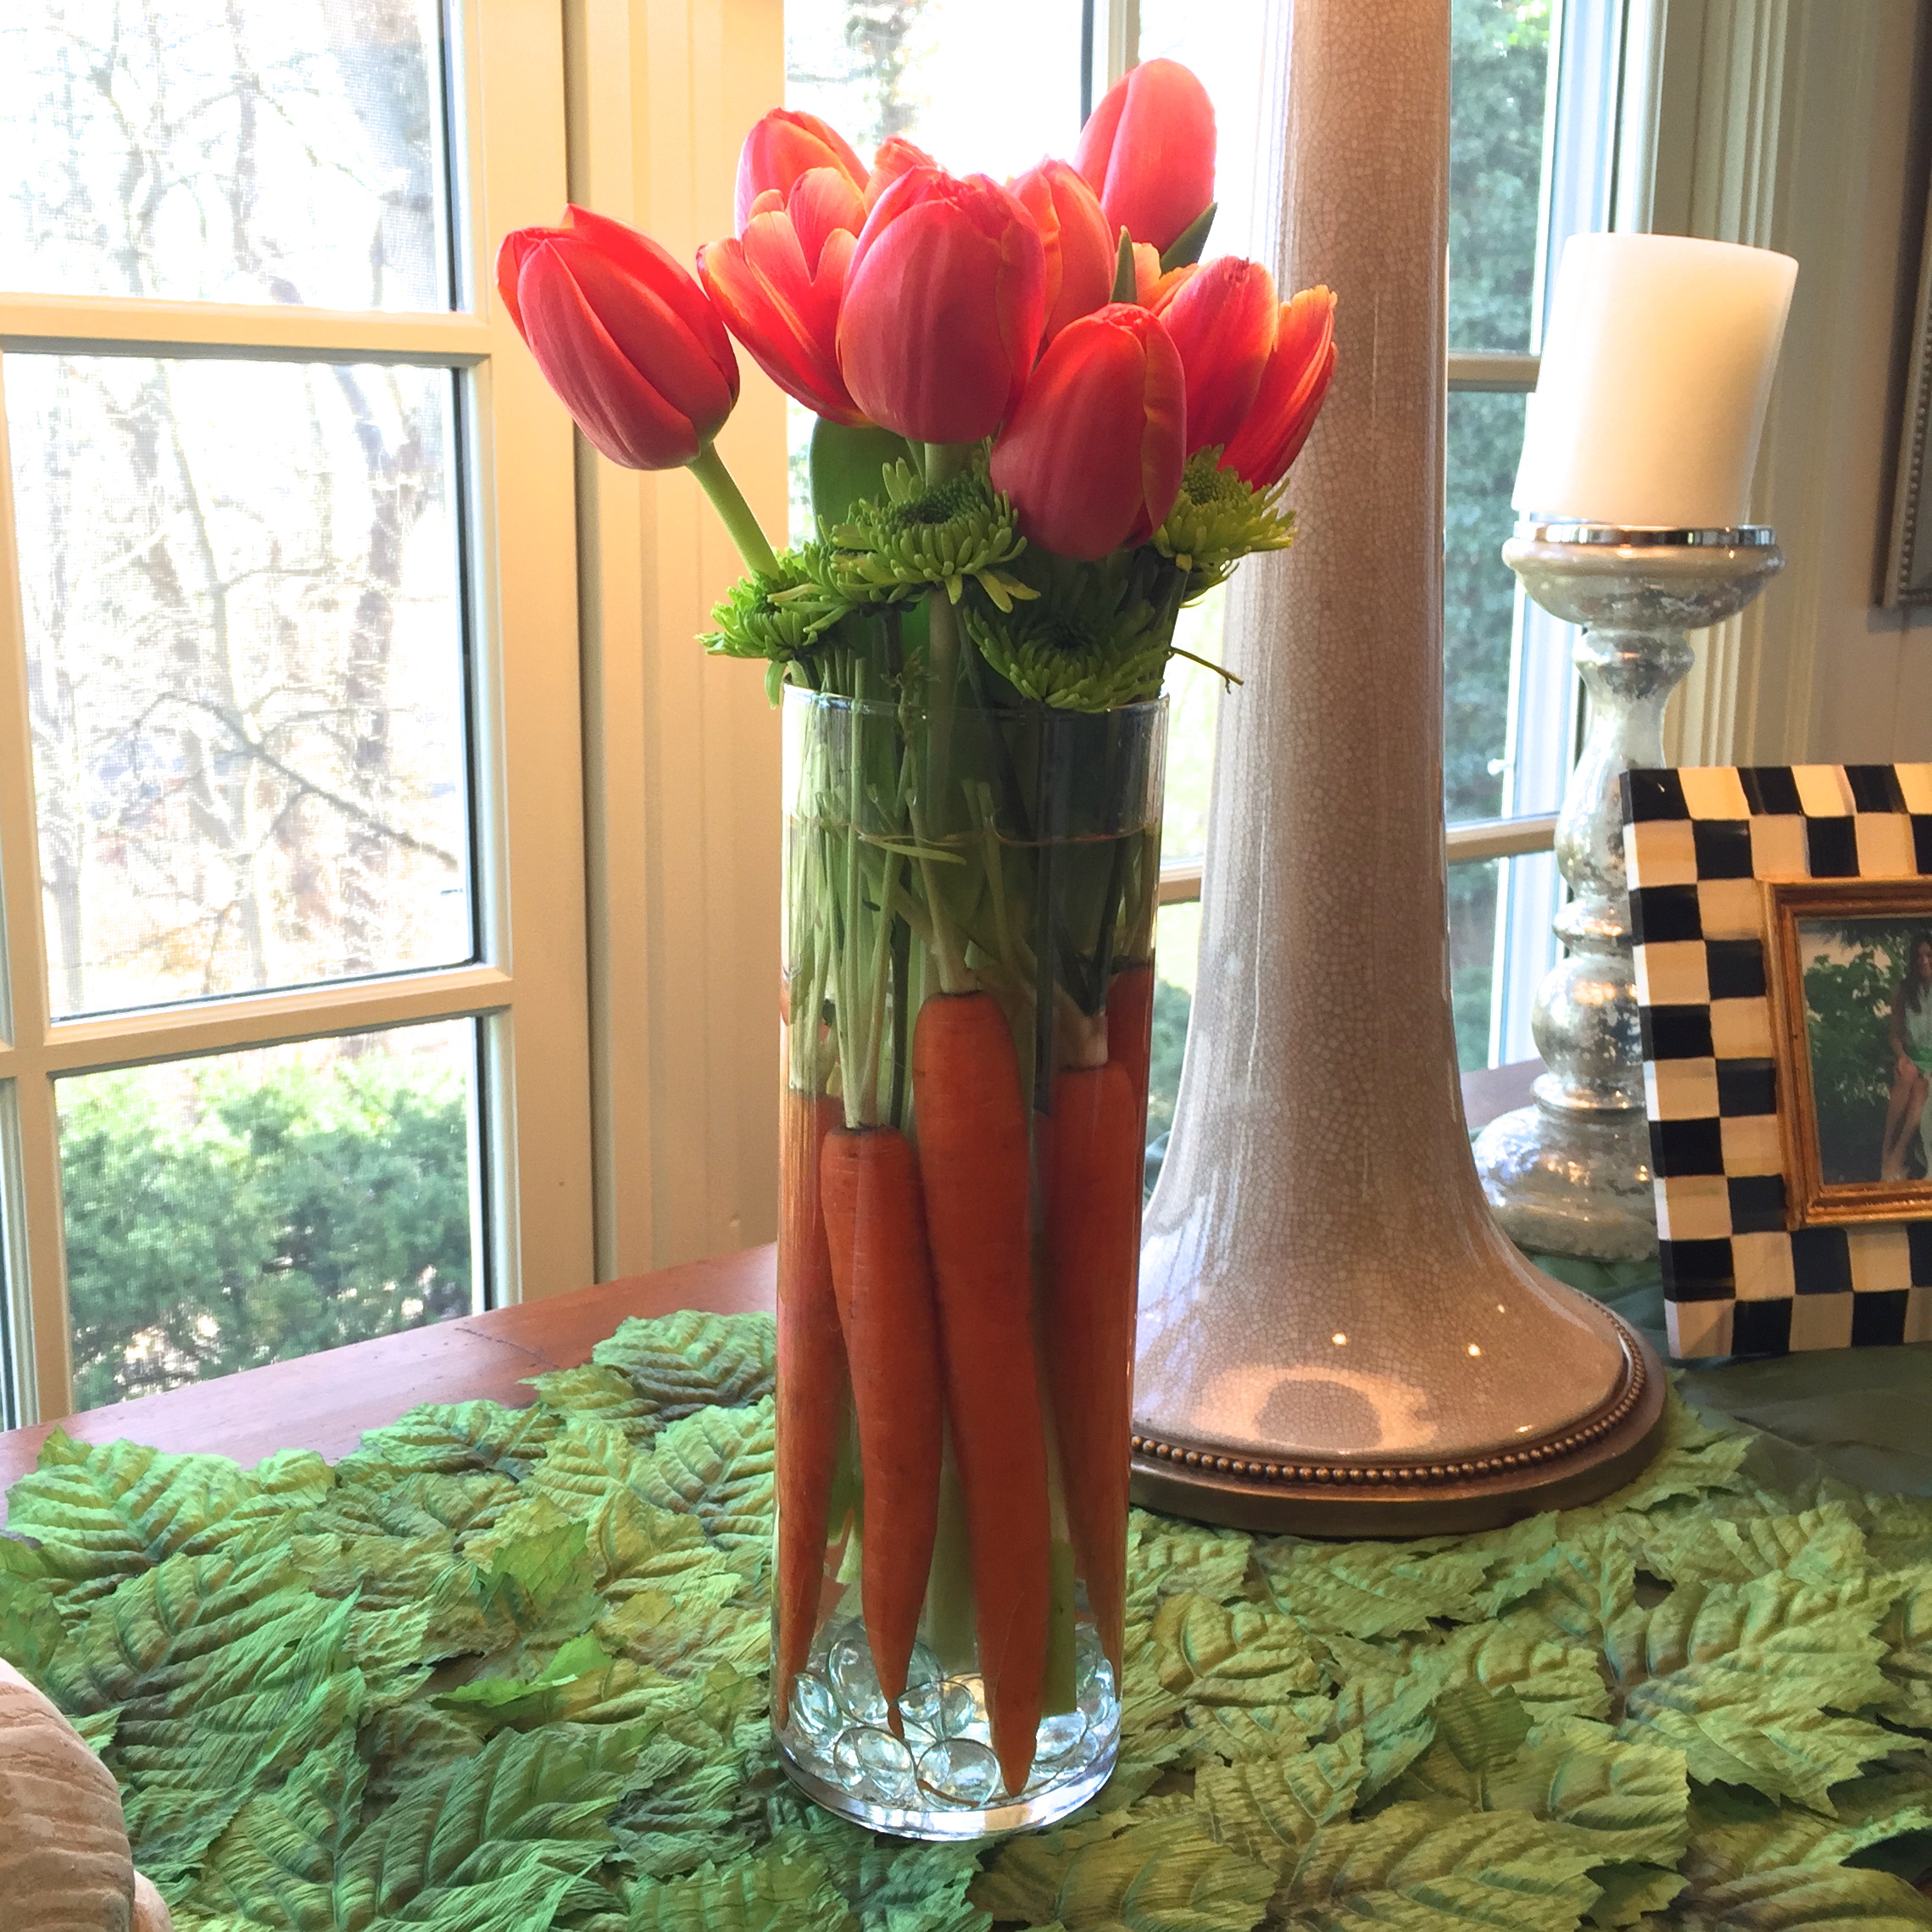
Put a spin on your every day flowers with this easy fix – snag a handful of carrots (stem included) and add them to your bouquet!
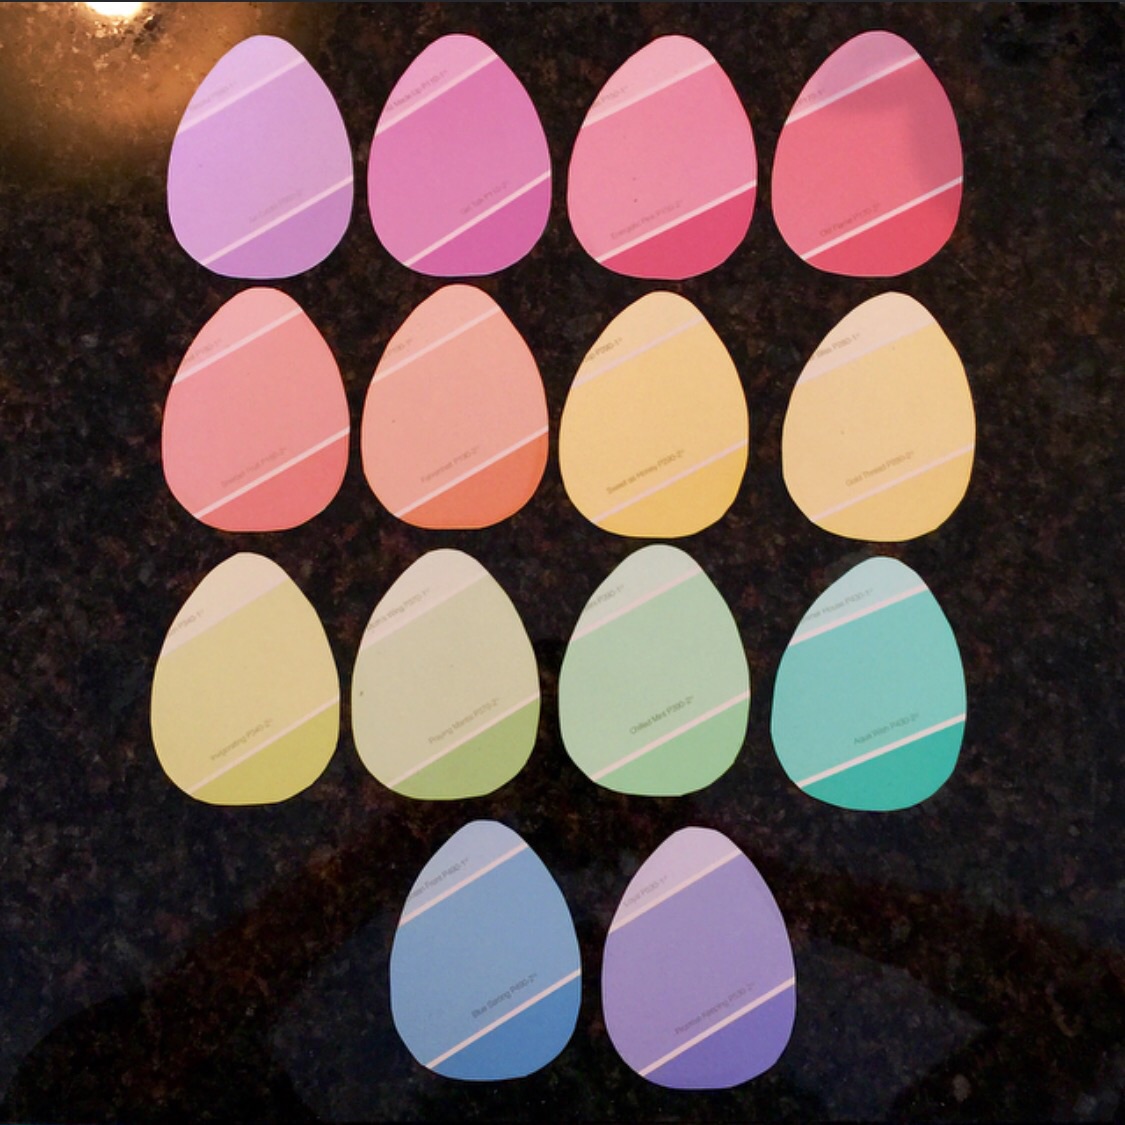
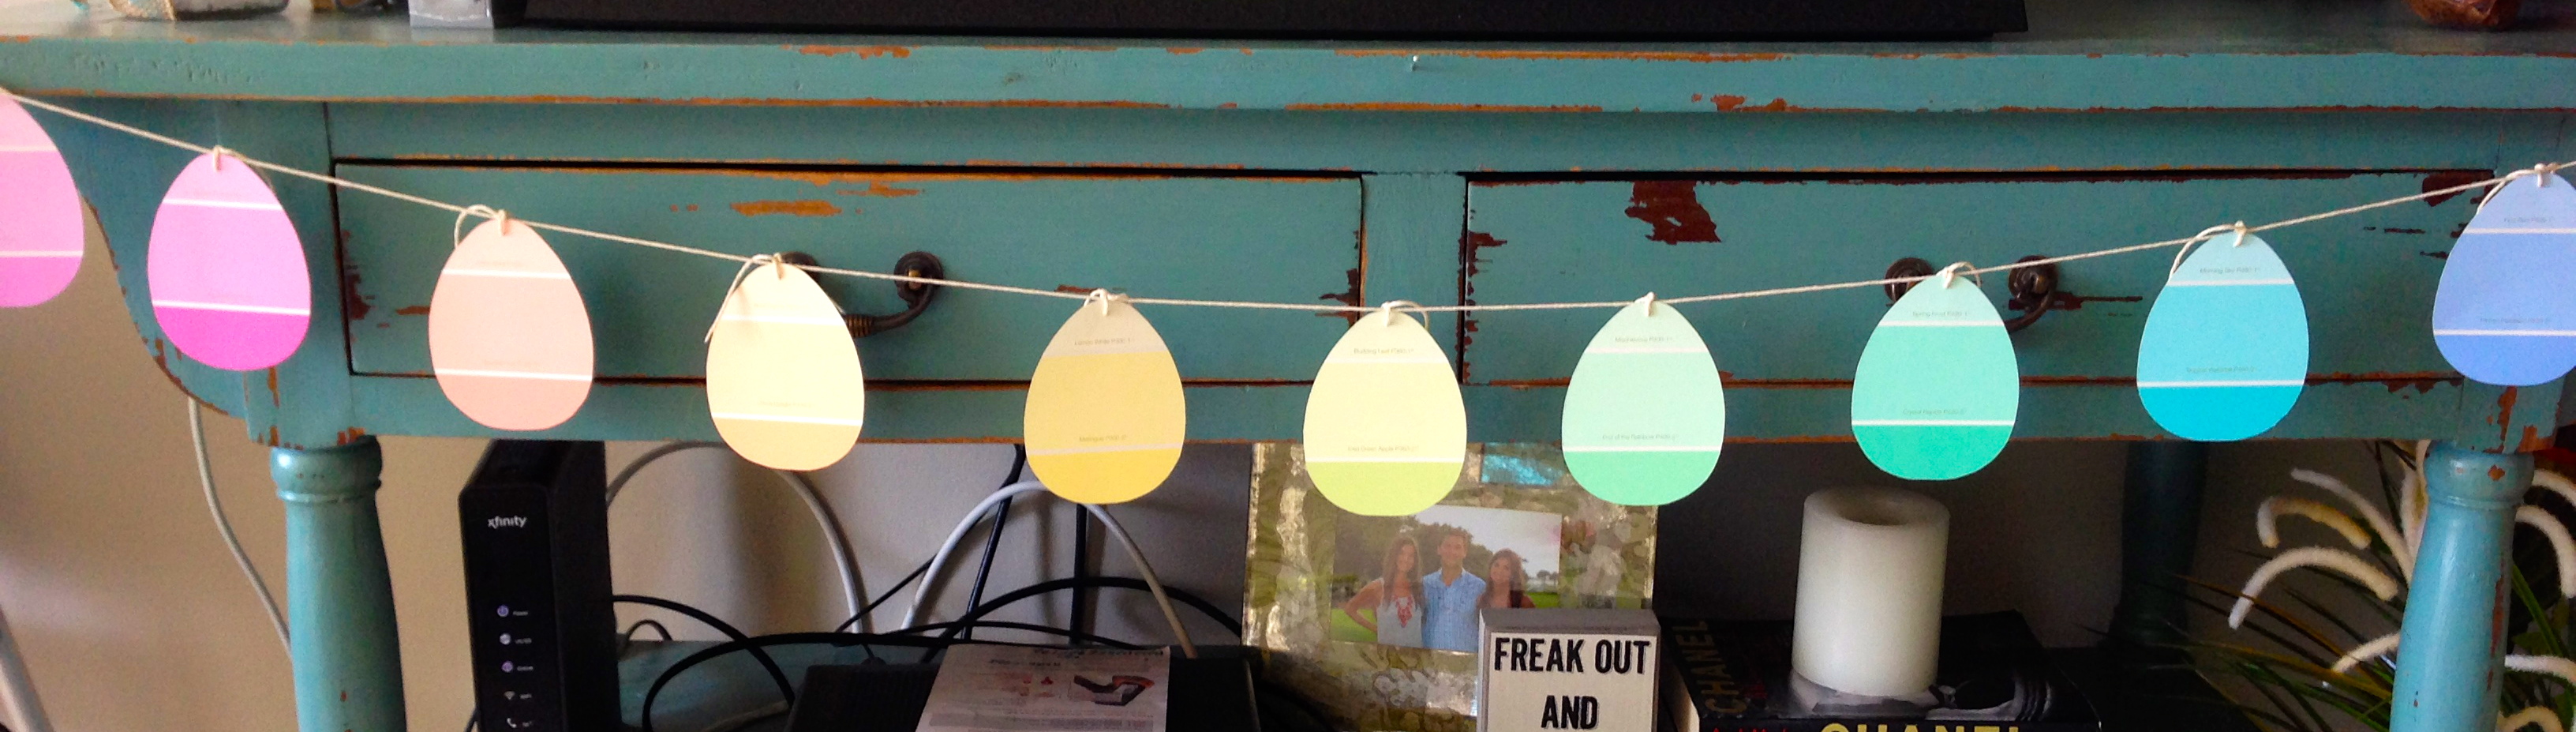
My all time favorite Easter decoration is this paint chip garland. I love that you can customize the colors to brighten up your space! (Directions to make Easter garland)

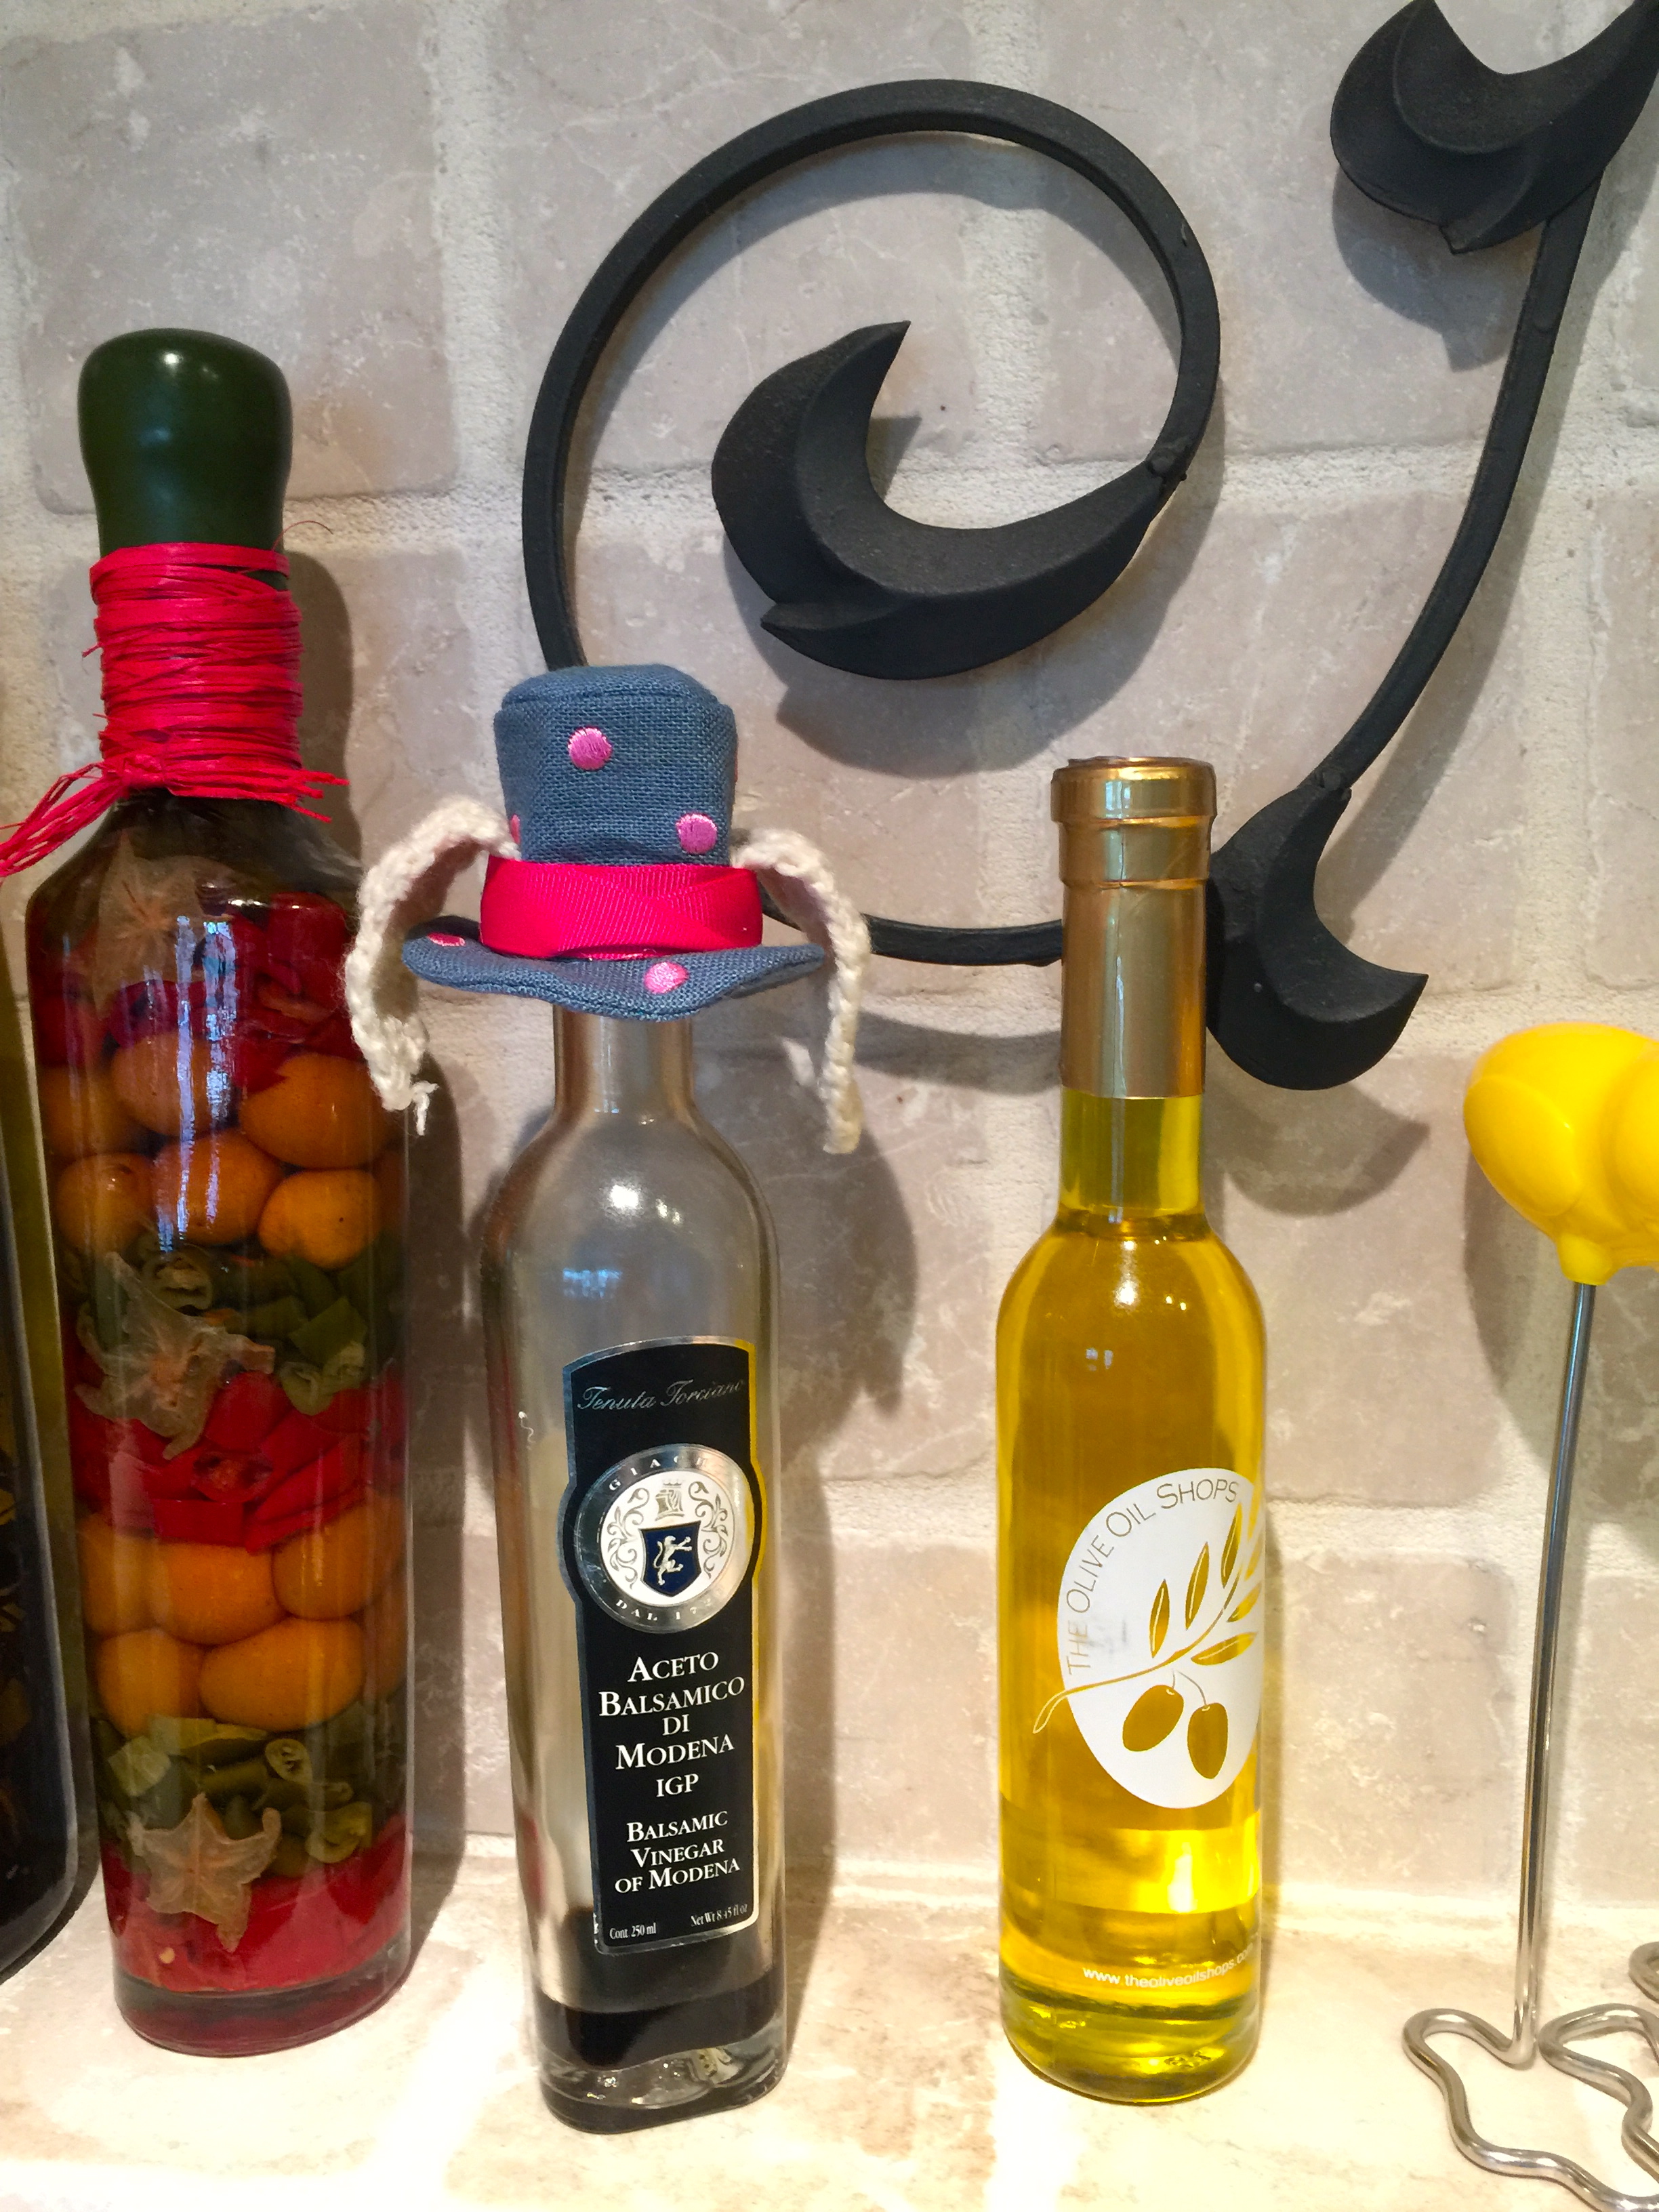
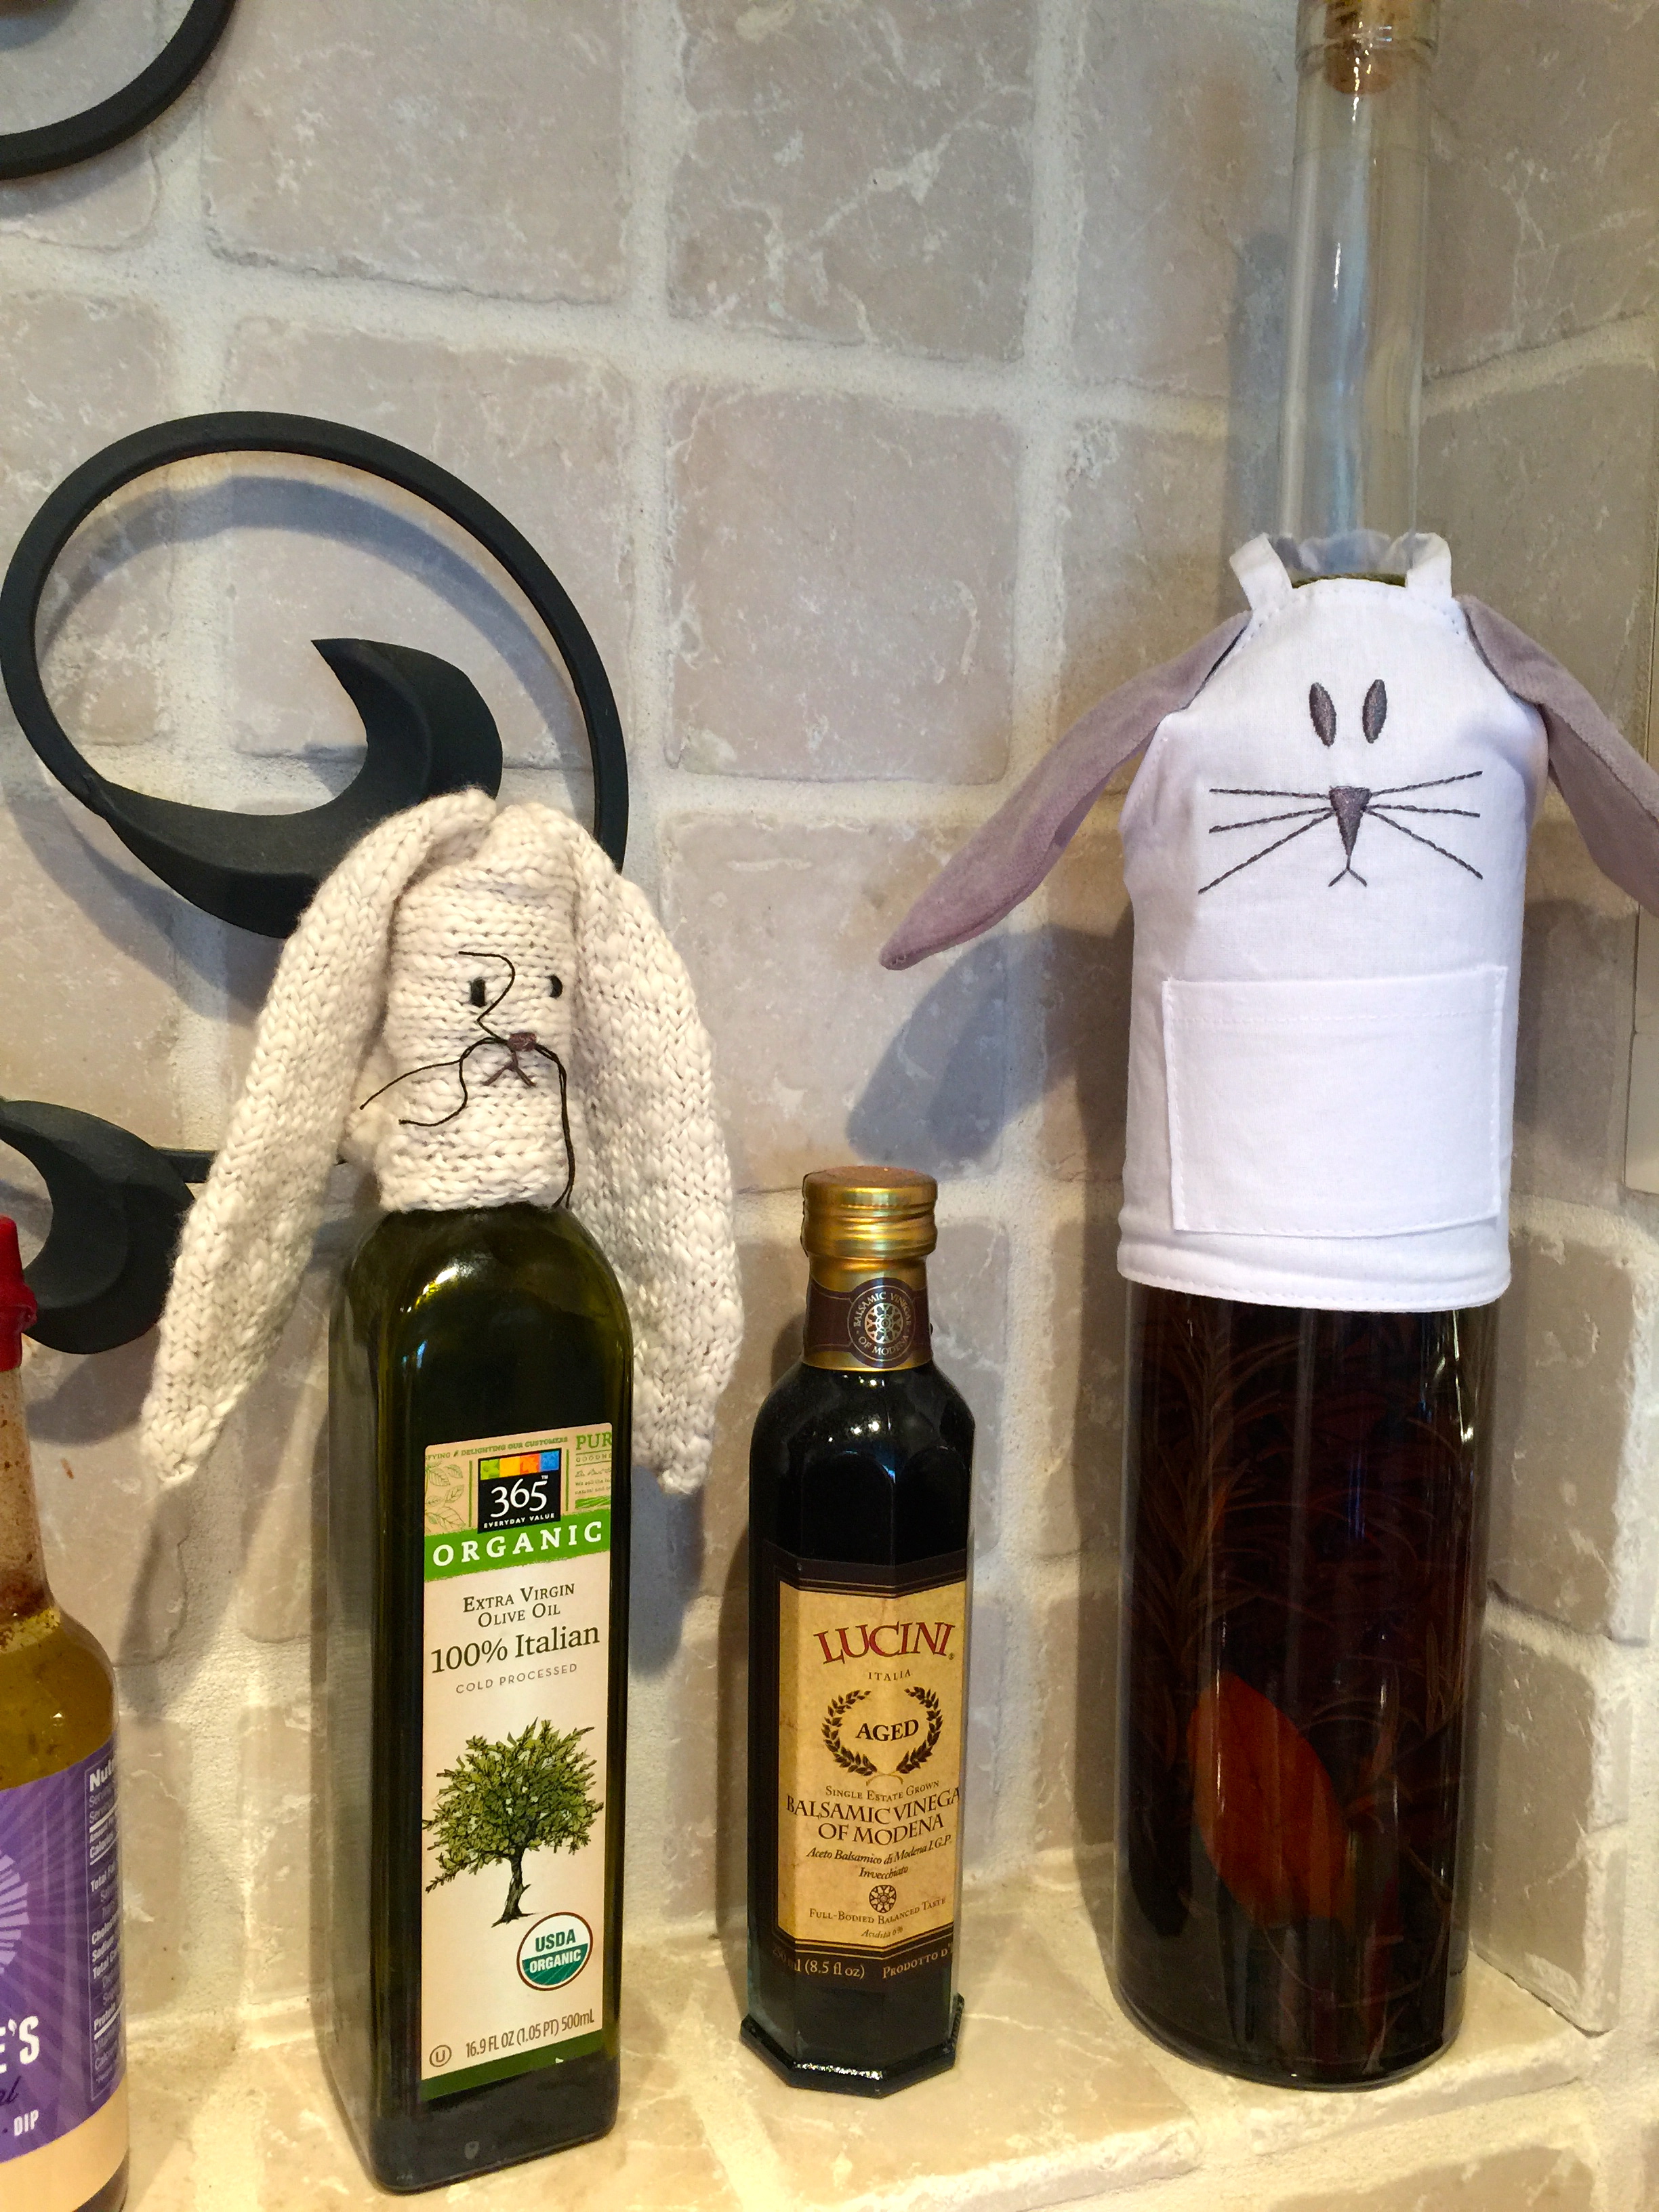
How cute are these bottle toppers?! They don’t take up any display space and are easy to store.
I originally saw this DIY blow up over Pinterest a few years ago and it’s hands down my favorite Easter decoration. This is one of the few Pinterest posts I’ve tried that actually turned out looking just like the pictures!
1. Using a pencil, outline your cookie cutter or stencil of choice on the paint chip. Carefully cut out the shape using a sharp pair of scissors and repeat with the remaining paper chips.
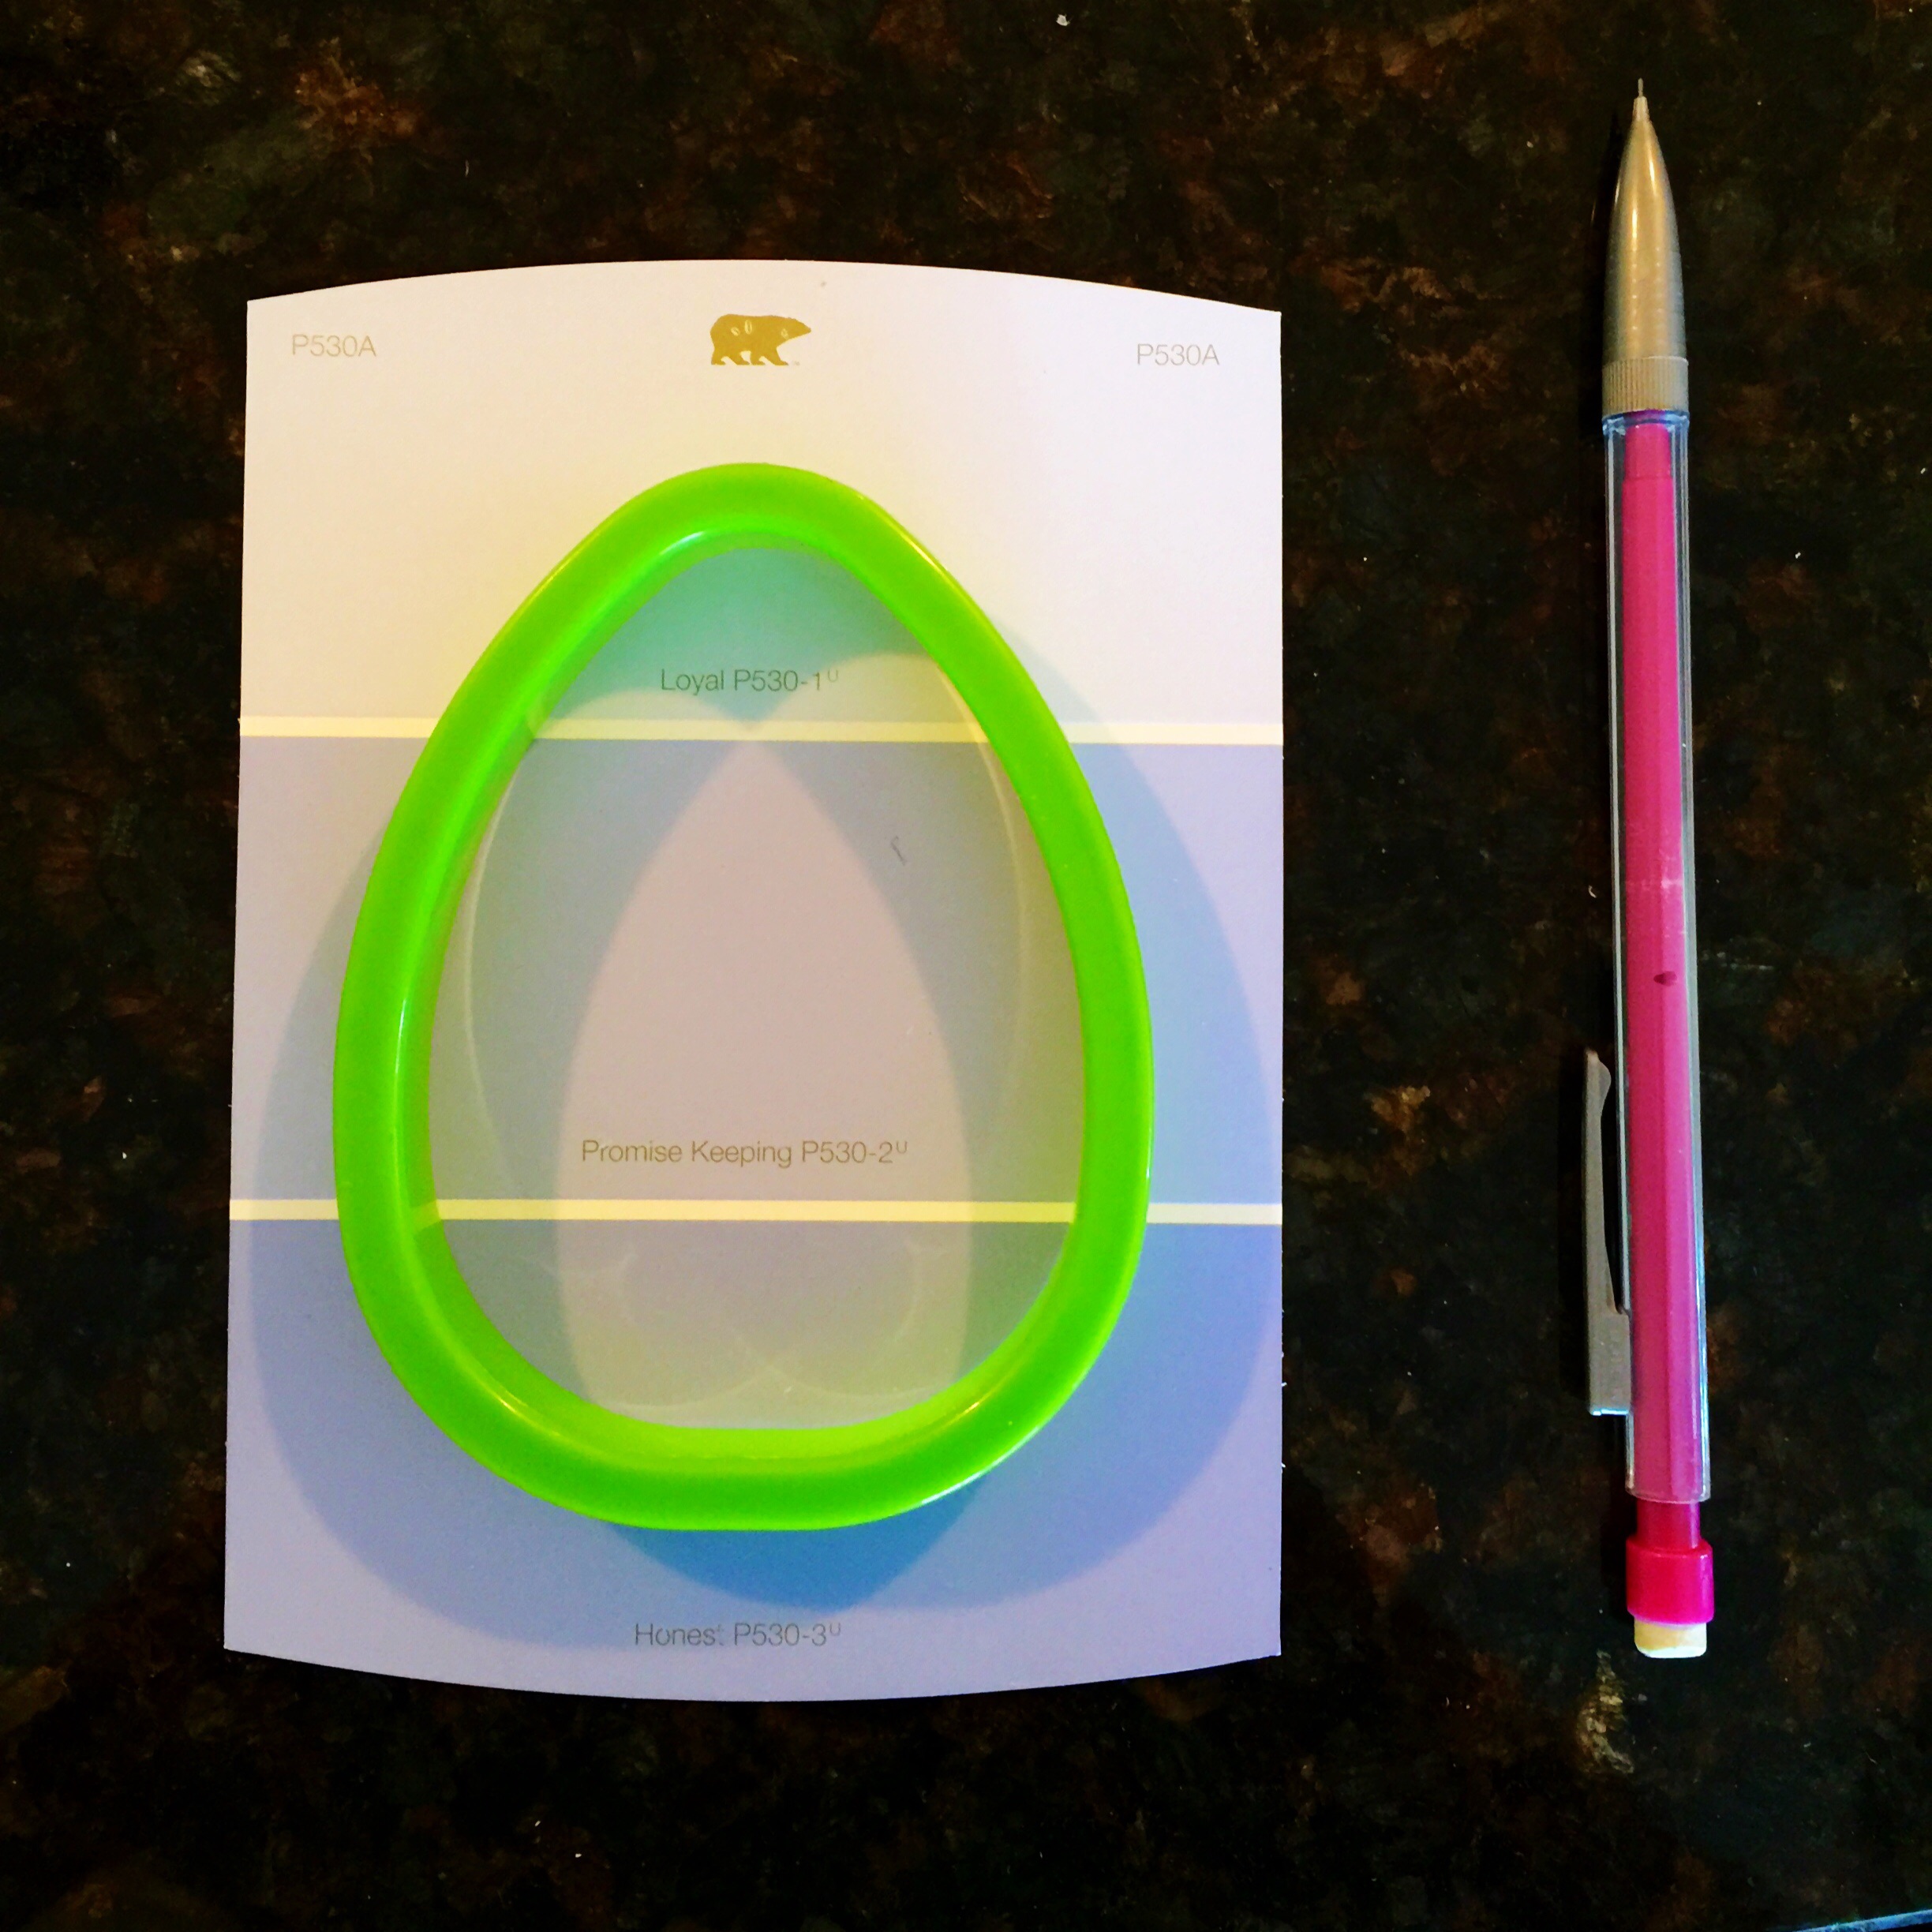
Hint: You can also tilt the stencil to make the white lines diagonal on the egg like the image below.
2. Once the shapes are cut out it’s time to make a hole for the string. I’ve made these 2 different ways and the first way was easier but not as sturdy.
Option 1: Use a mini hole punch to make a hole at the top of the egg. Thread a 2 inch piece of string through the hole. Tie the 2 inch string onto the garland in a knot to secure.
Options 2: To avoid the eggs all sliding to the middle when hung, I used a thick needle [instead of hole punch] to make a hole at the top of the egg. This way, the string wouldn’t have as much room to move around.
3. After all the holes are punched, place the eggs in order you would like them to hang. I threaded wax cotton string [from Walgreen’s] through the needle and one by one strung the eggs.
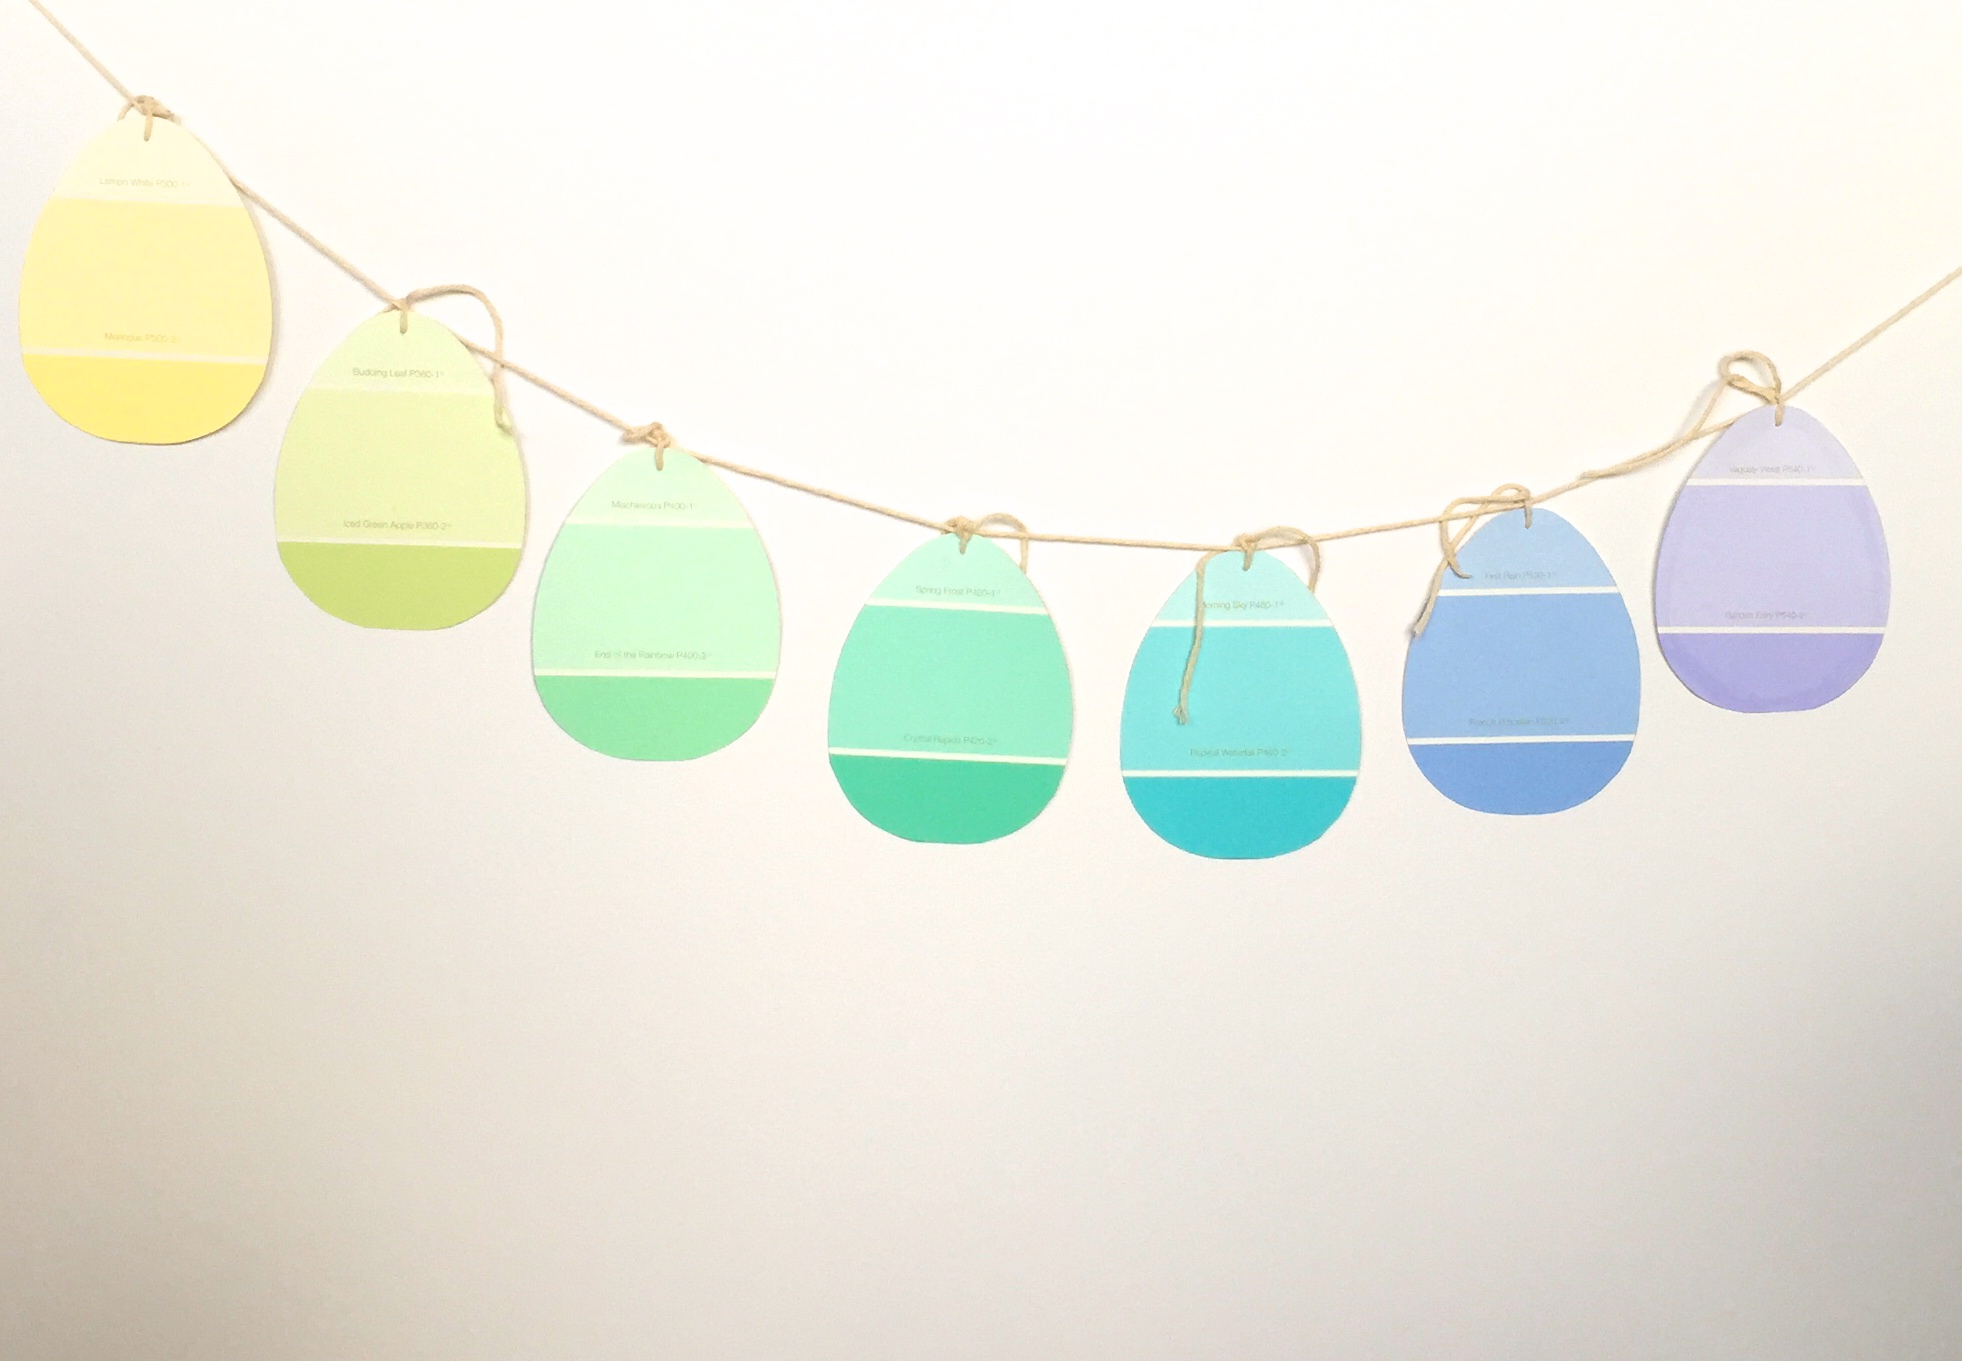
Now all you have to do is pick the perfect spot to display your work!
You will need:
– 8+ paper paint chips
– Egg shaped cookie cutter or paper stencil
– String (waxed cotton works best)
– Scissors
– Needle or hole punch
