Heart Strung Garland

IMG_0485This Valentine’s DIY is super cute and a budget friendly way to add color to any small space.  Very little brain power is required and it’s likely you already have the materials shoved in the back of your junk drawer.

IMG_0418

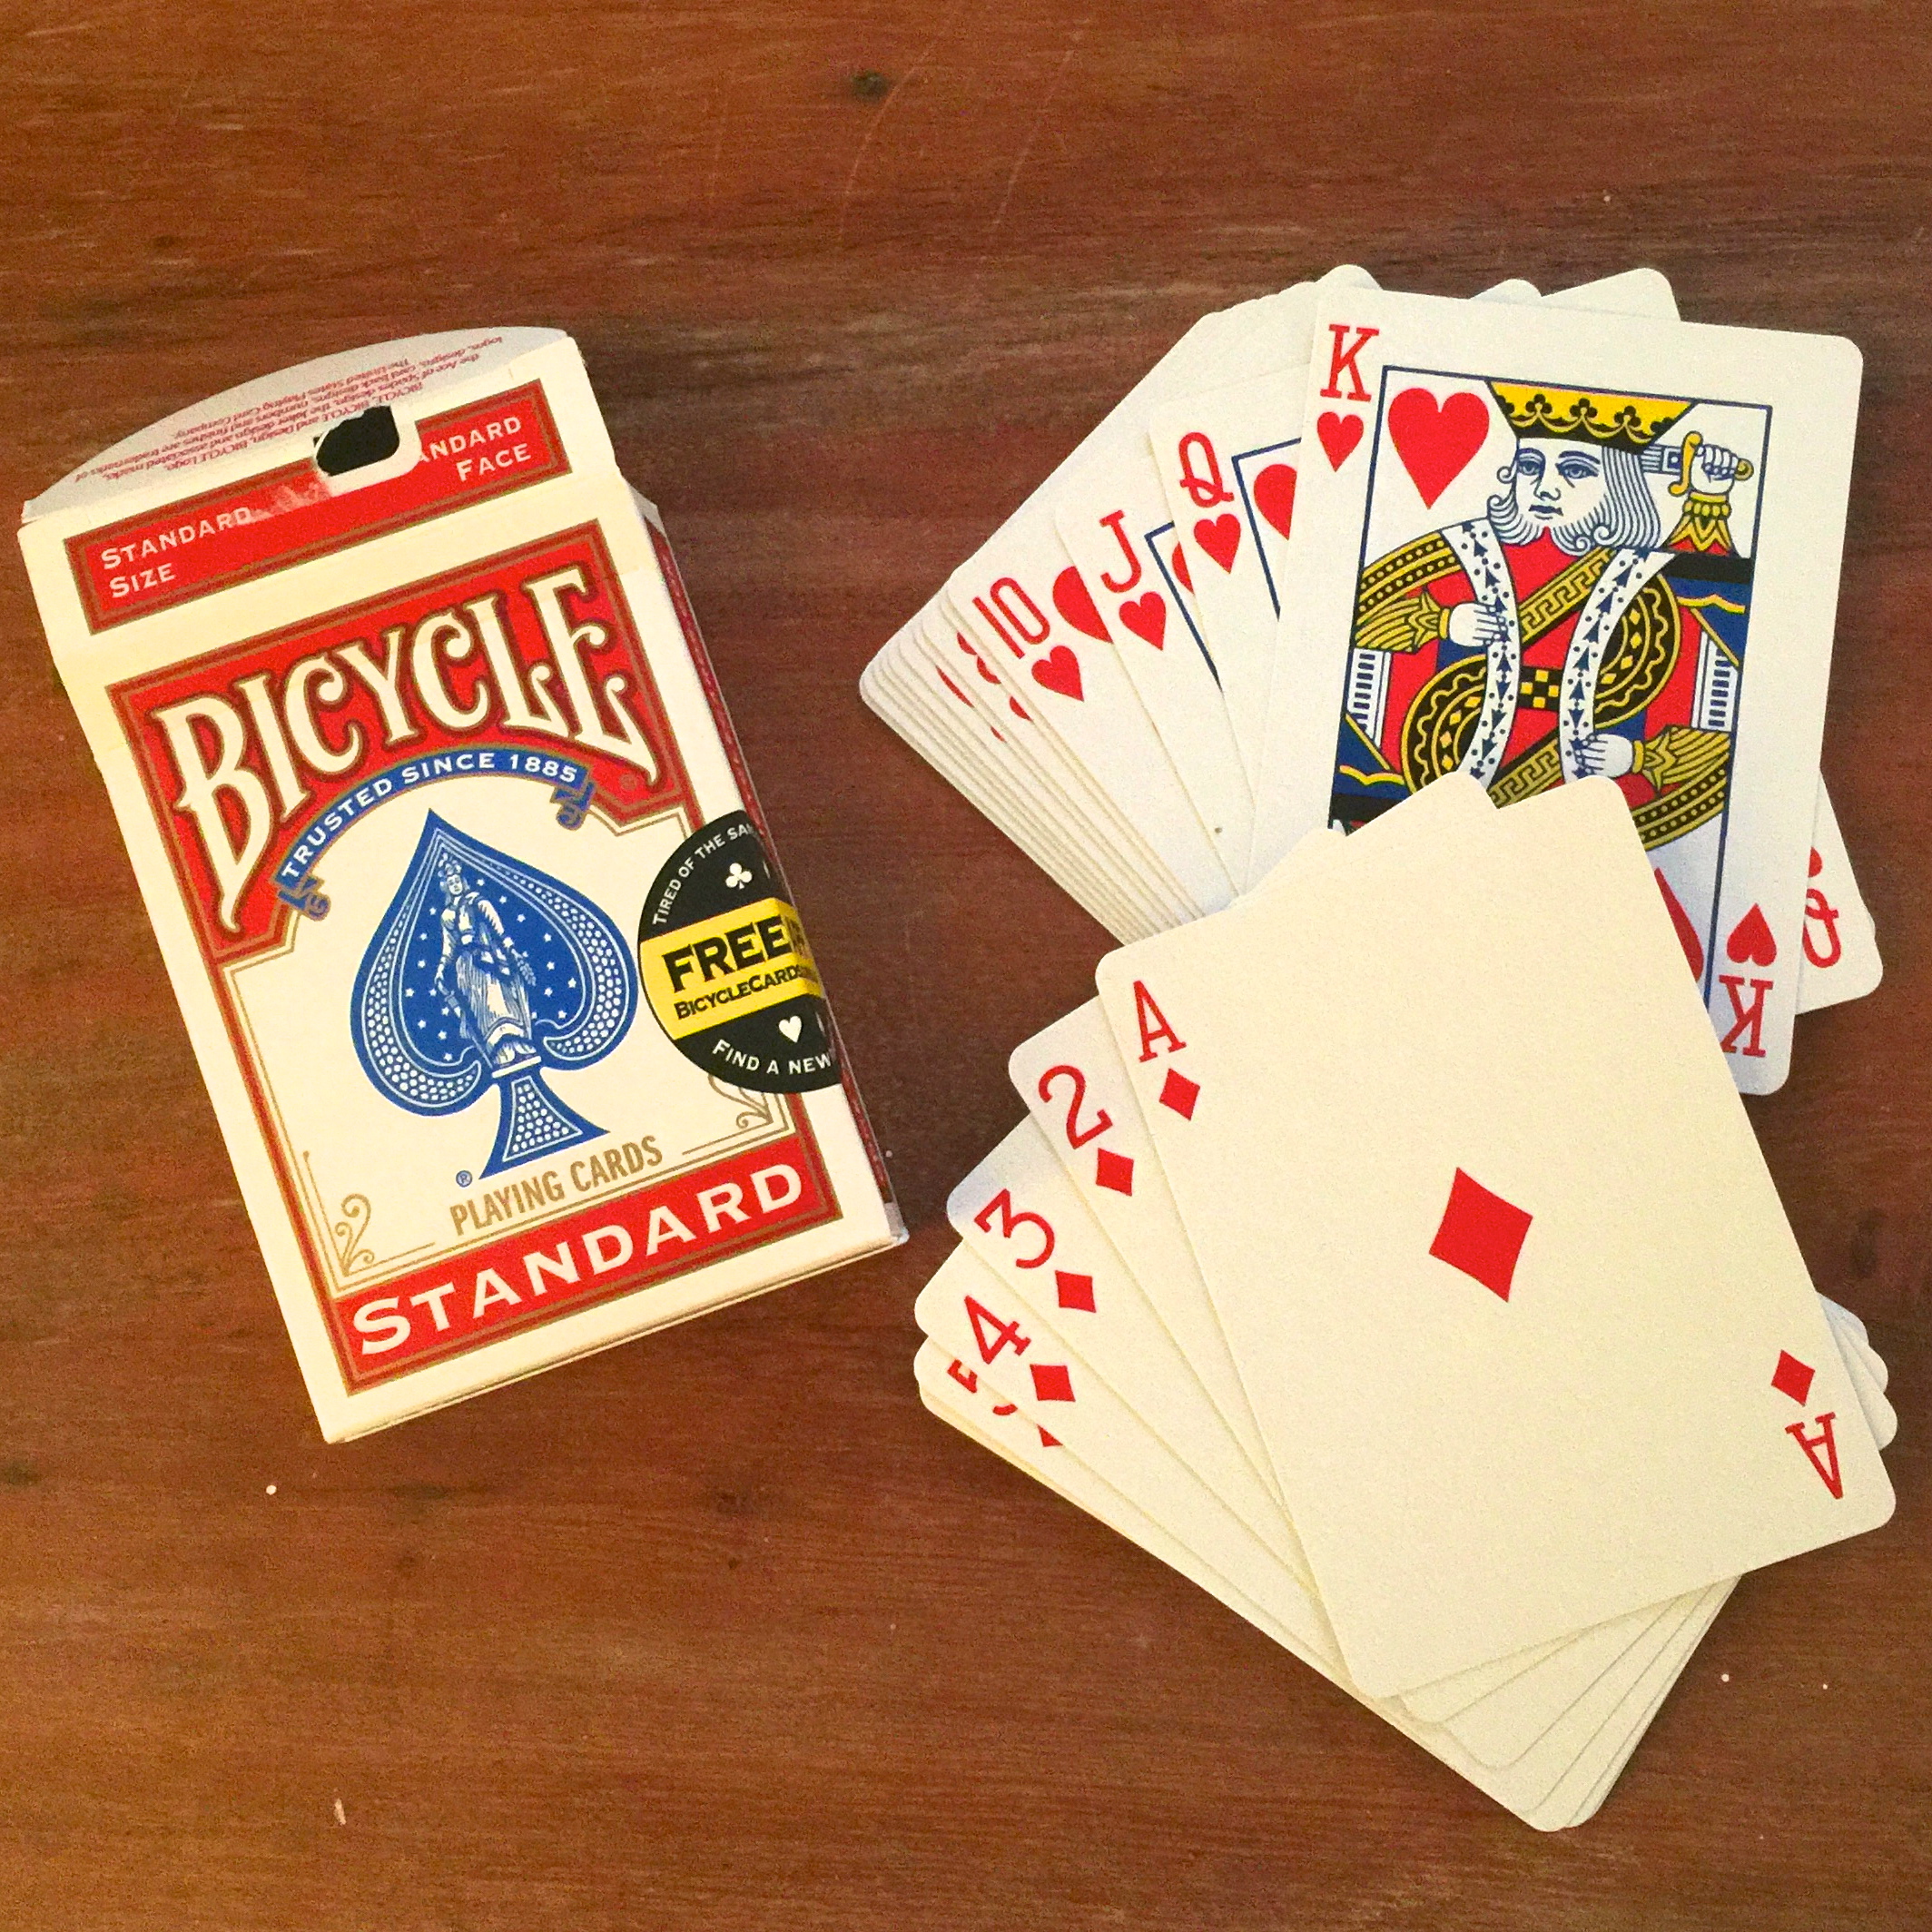
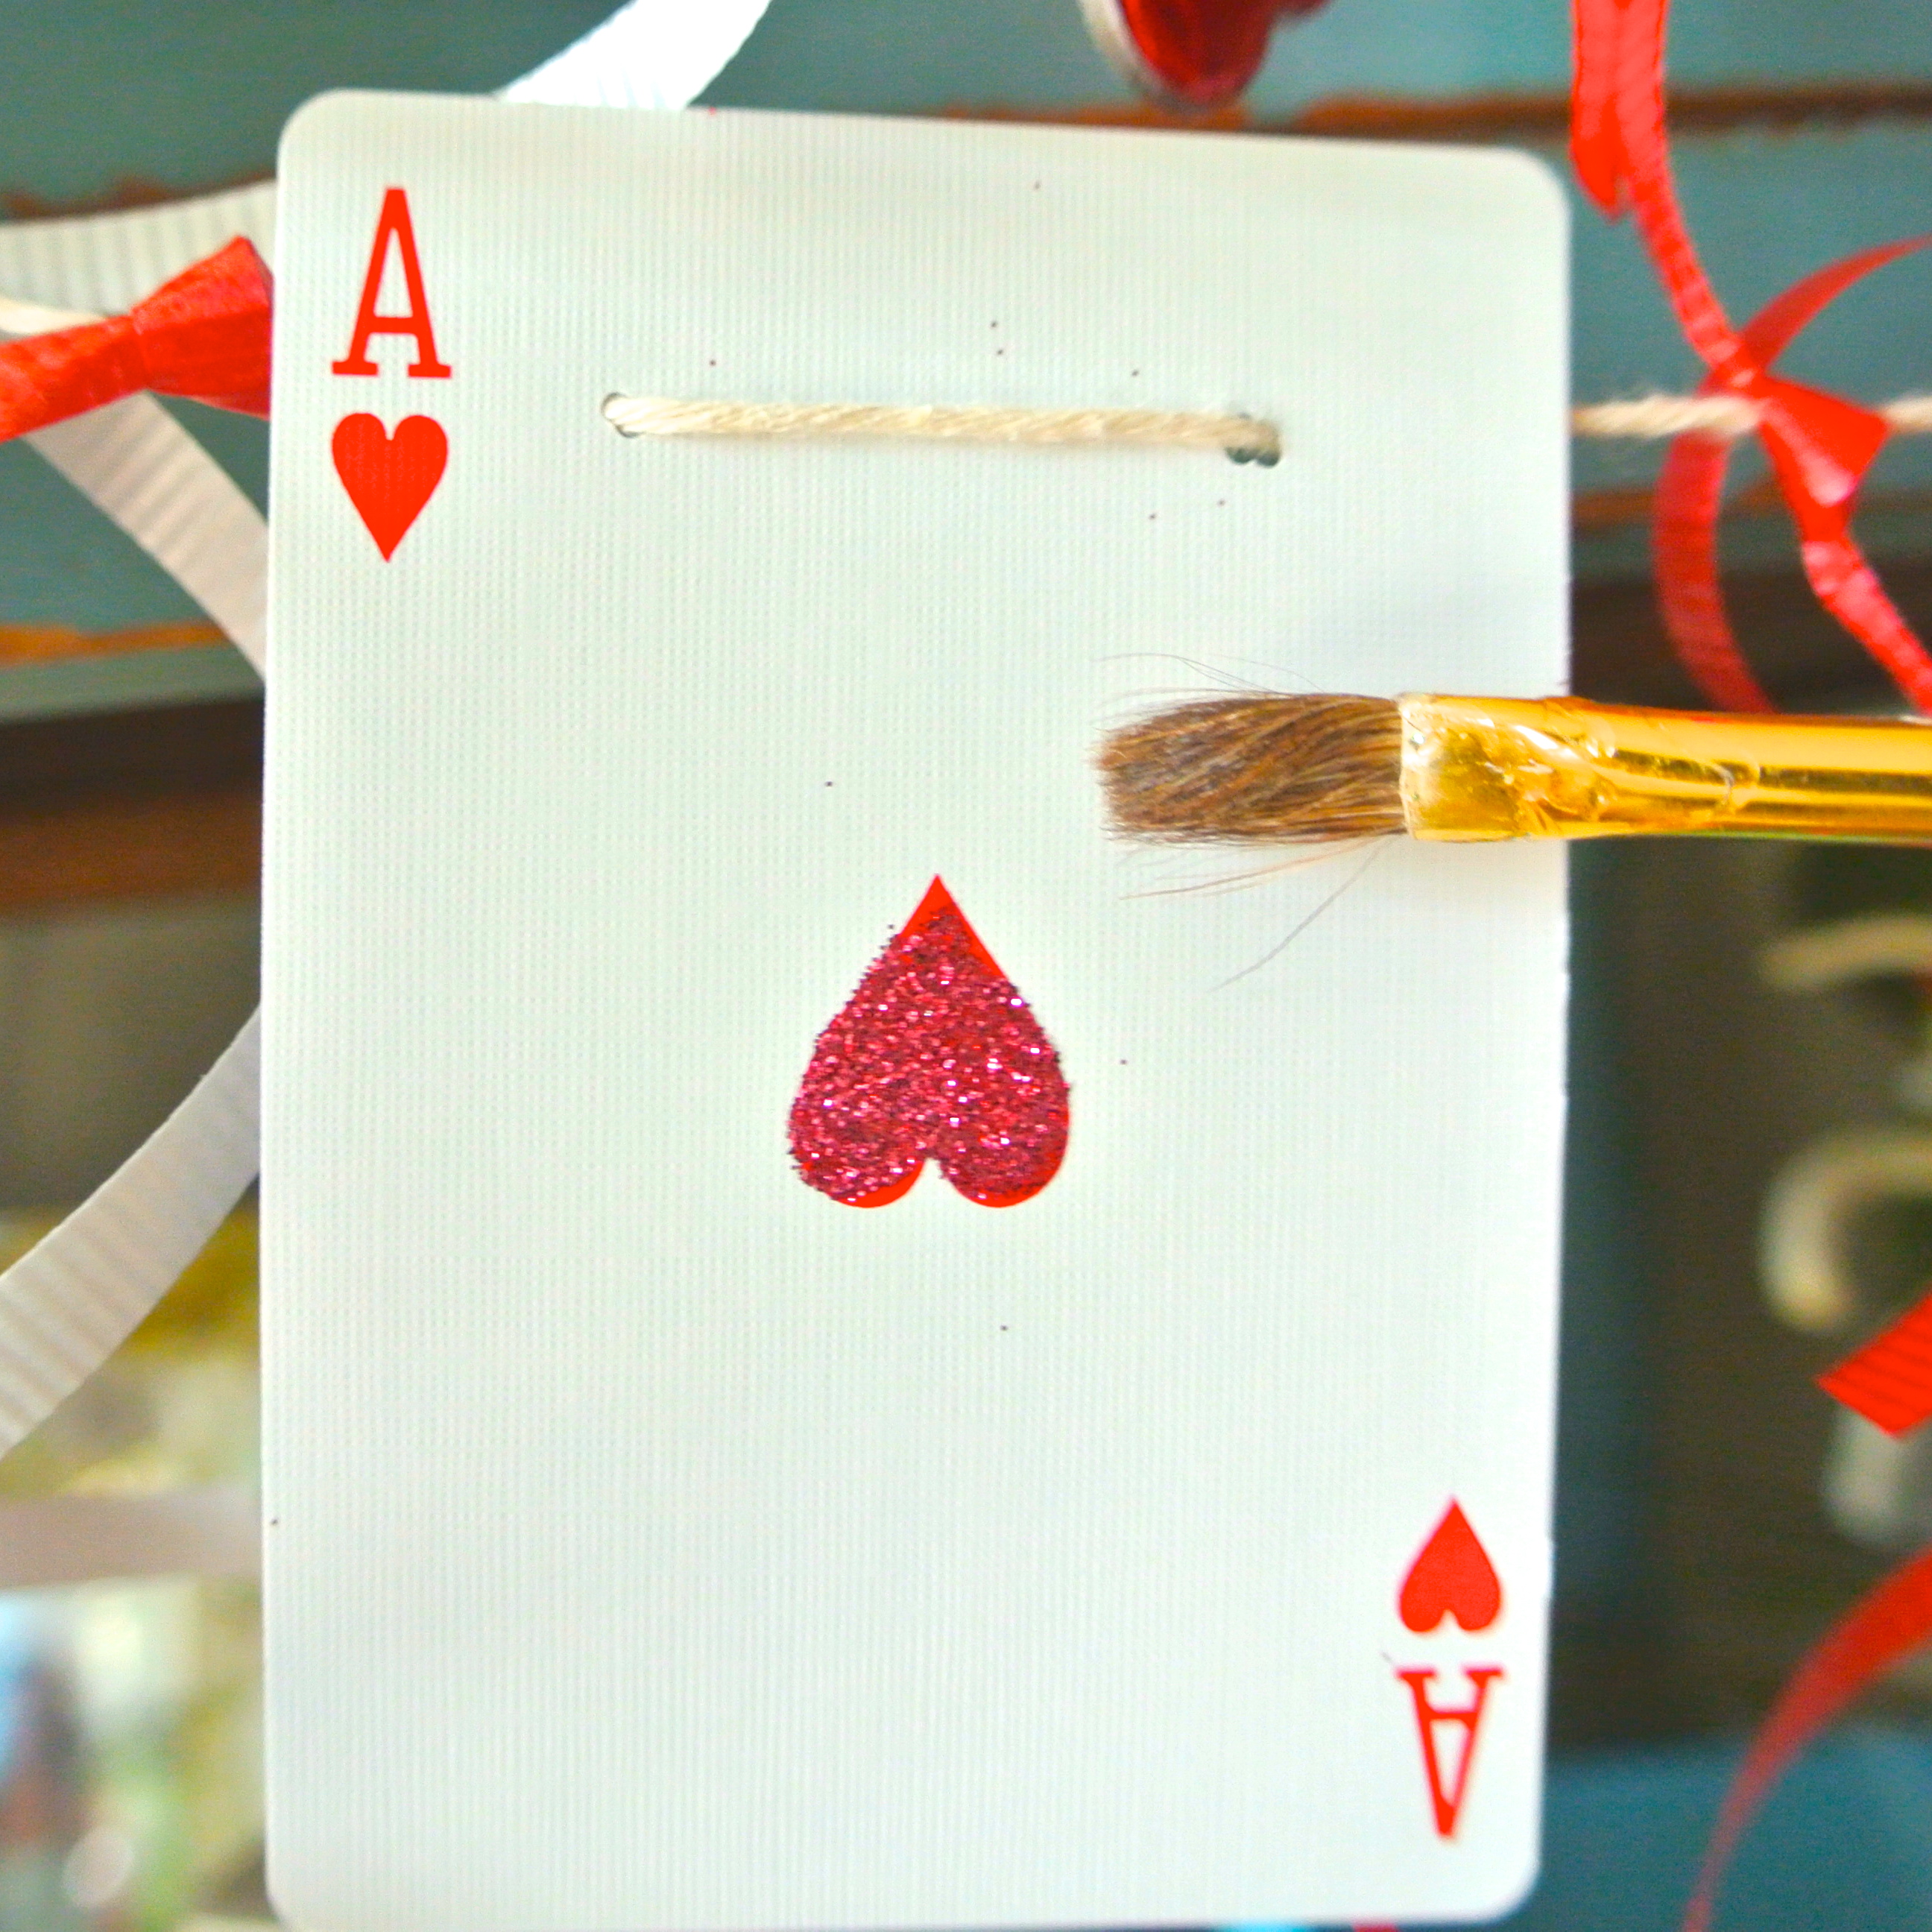
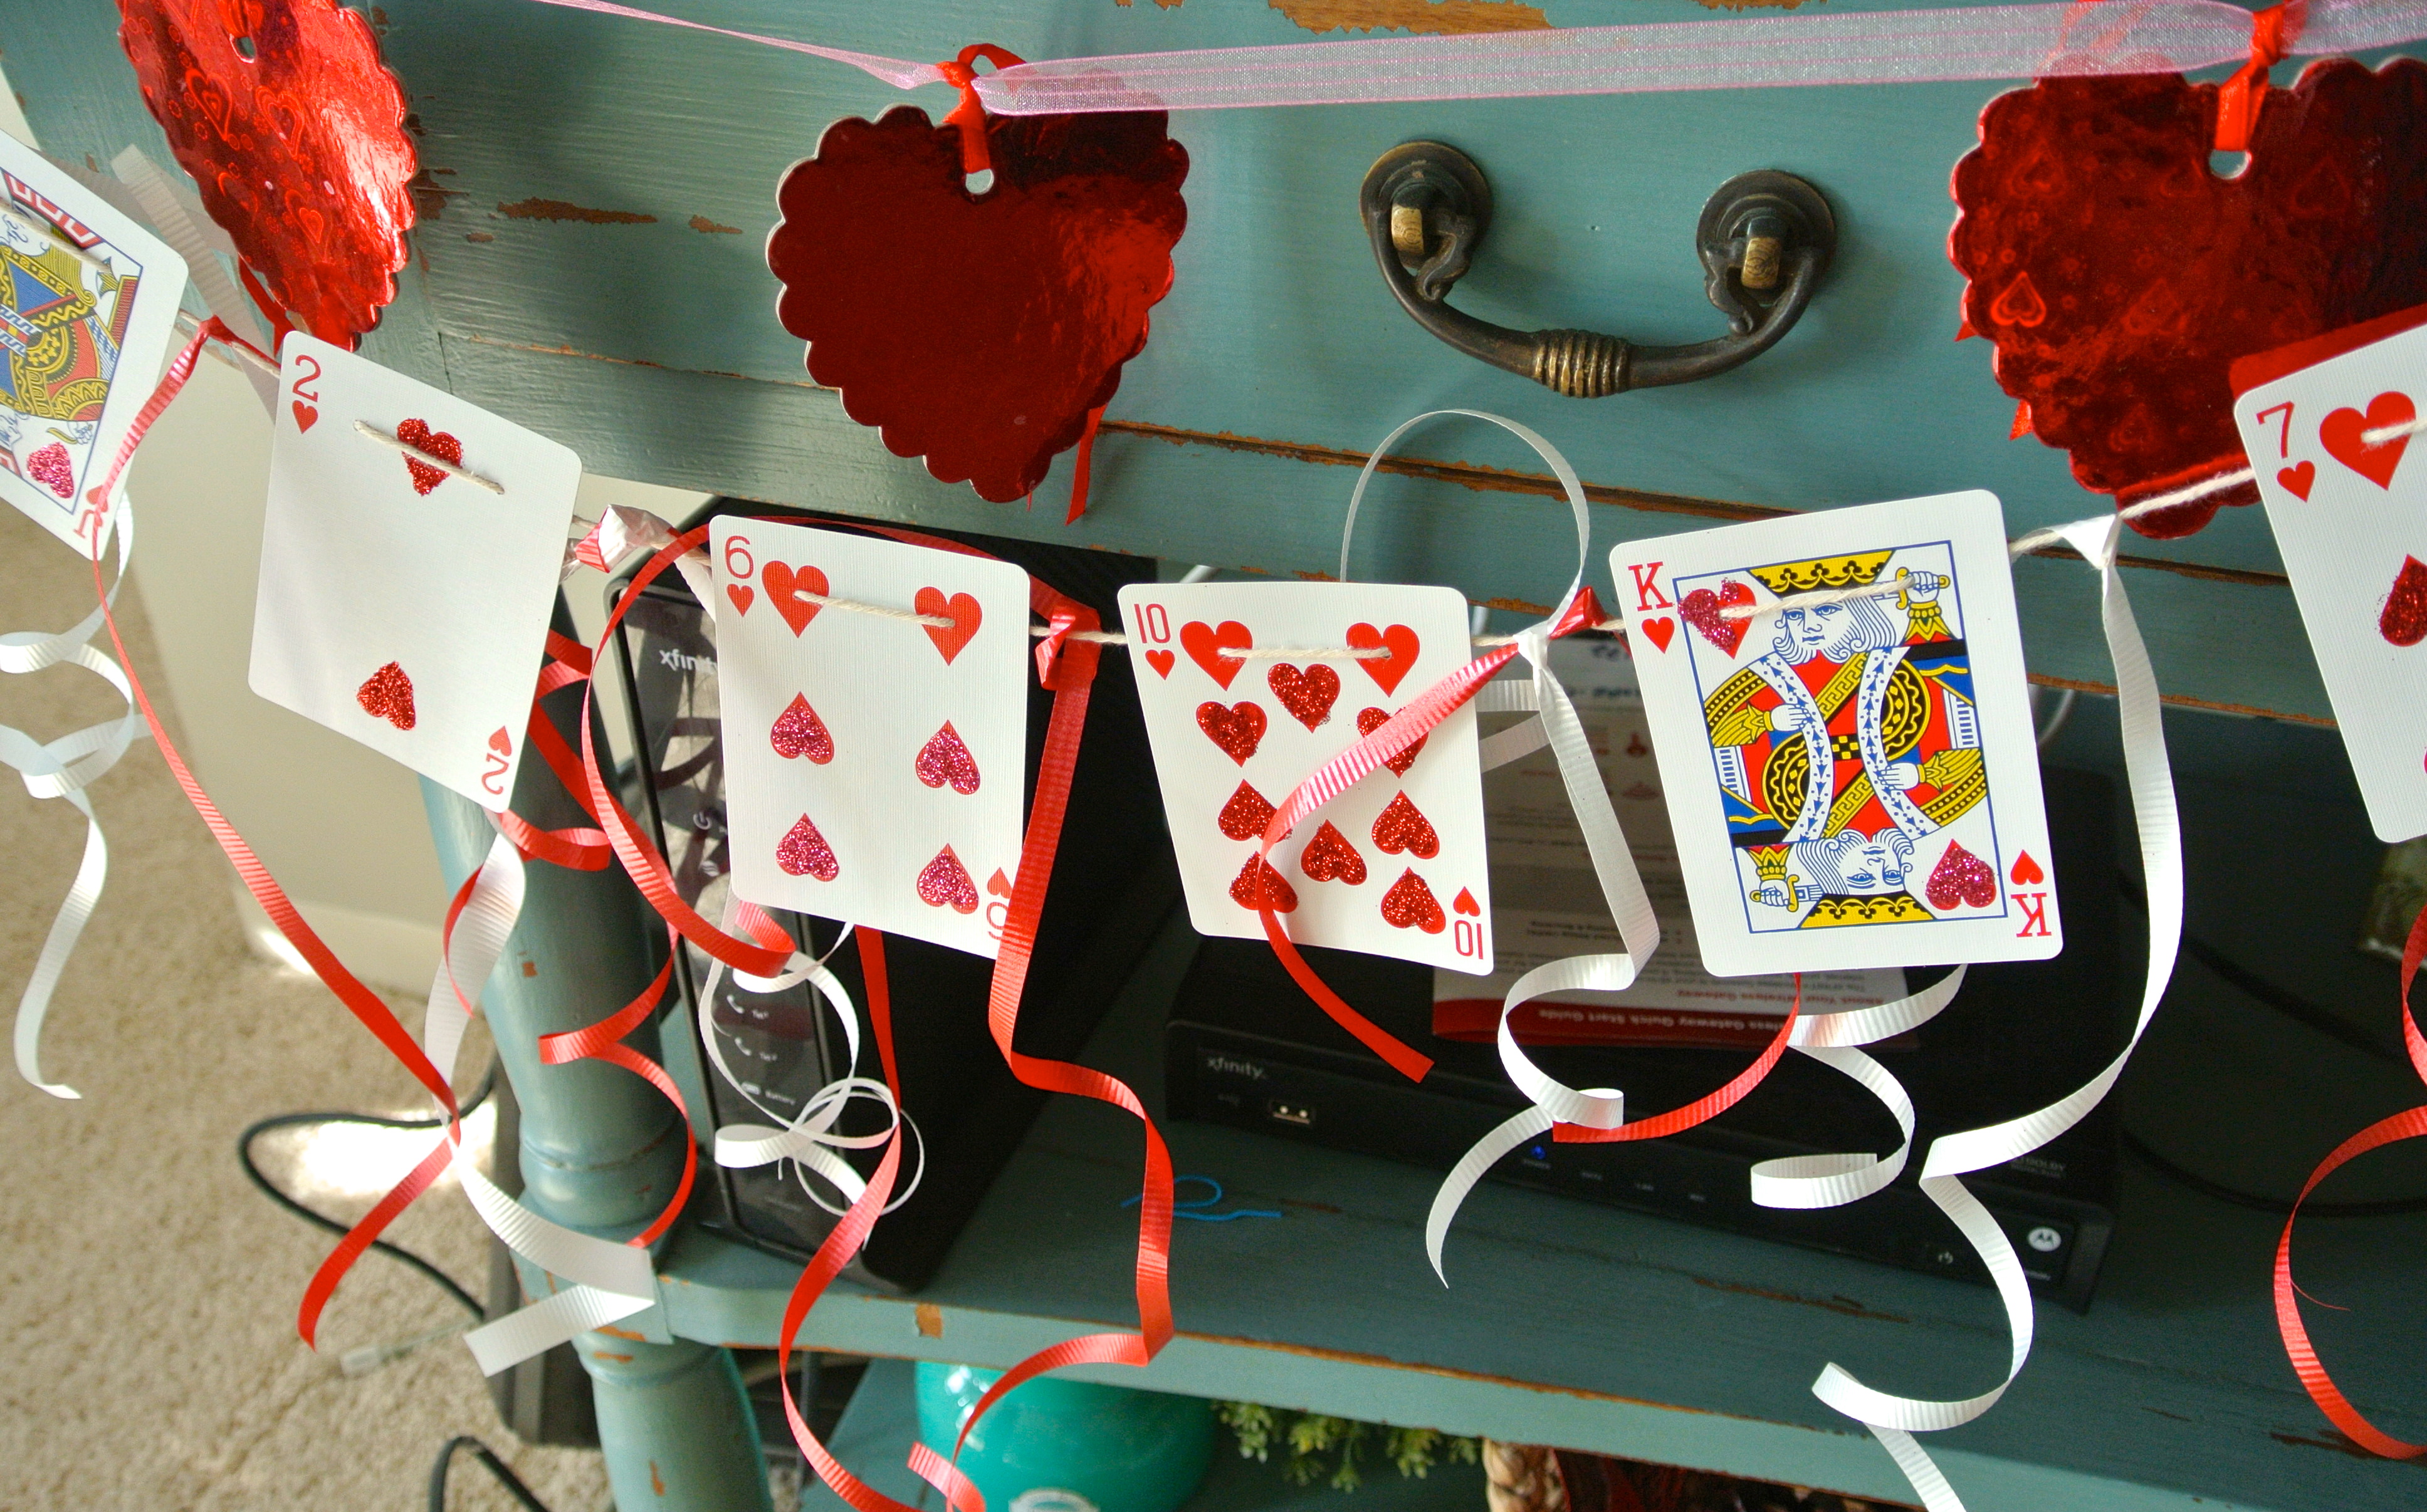
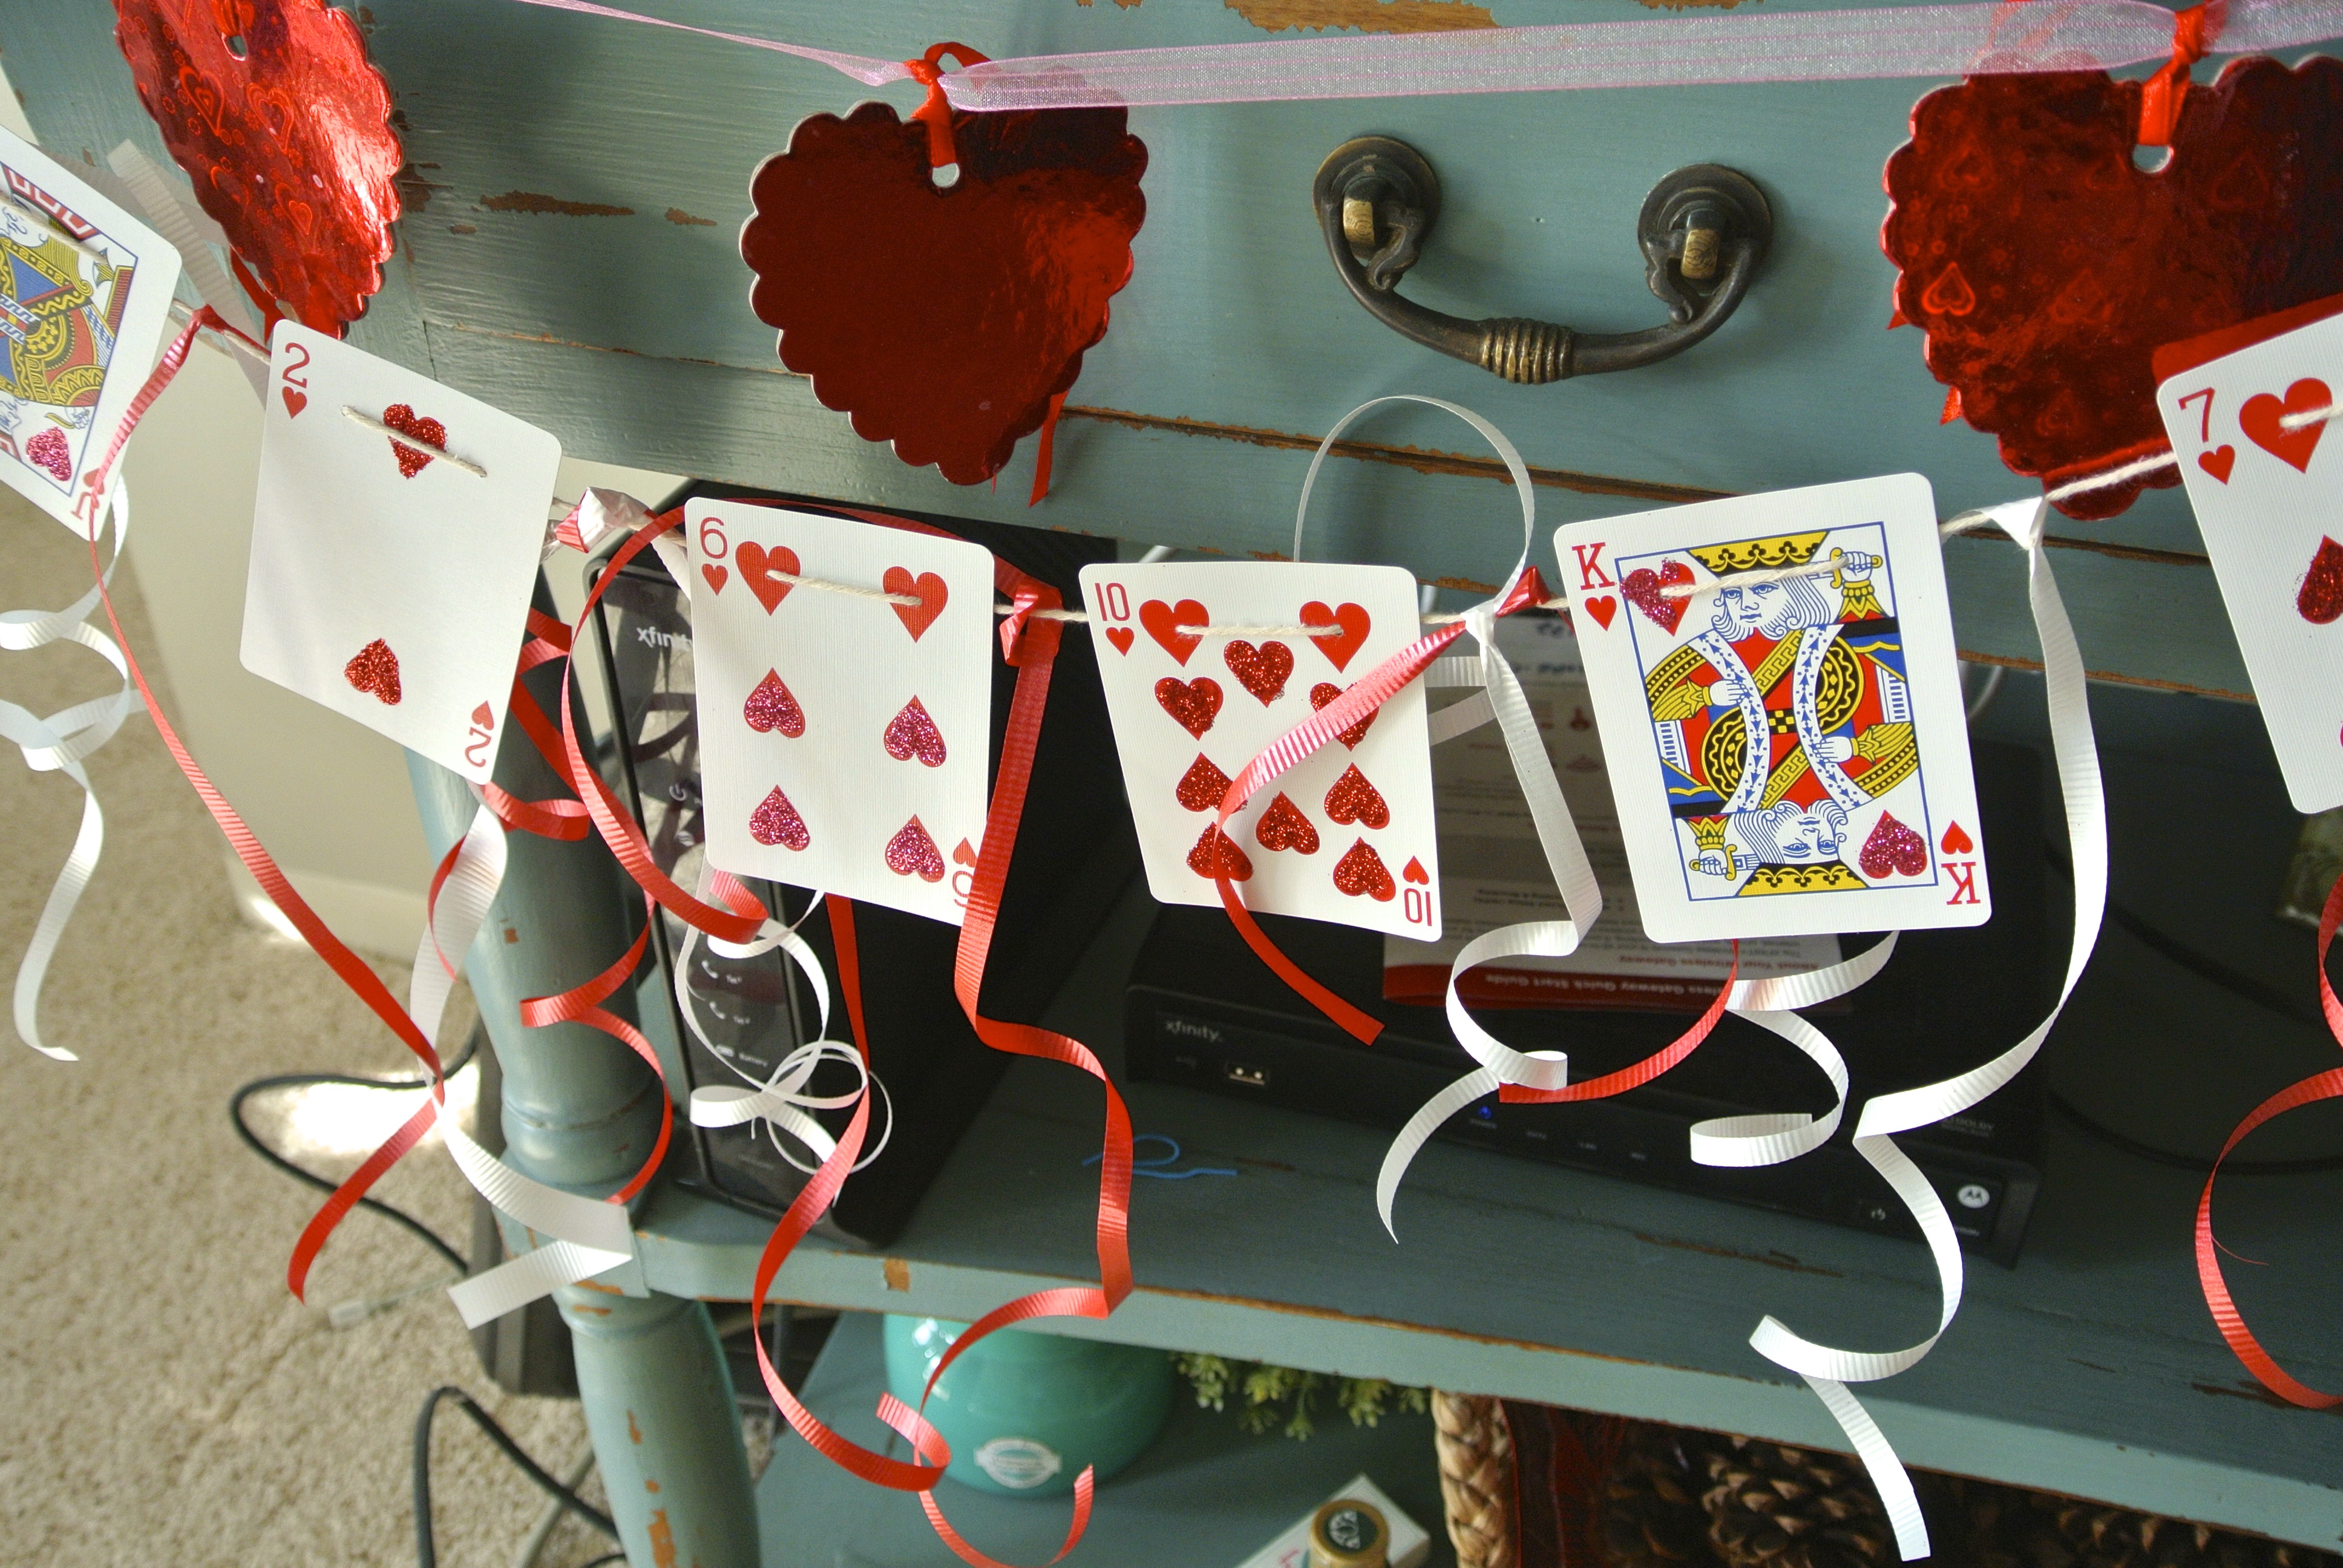
Start by separating the hearts and diamonds from the rest of the deck. Then use a hole punch or pin to poke 2 holes through the top corners of the cards. IMG_0420

Dip a paint brush in glue and brush over the hearts and diamonds. Make sure to leave room around the hole punches so the string can still get through. Use glitter of your choice to sprinkle over the glue.

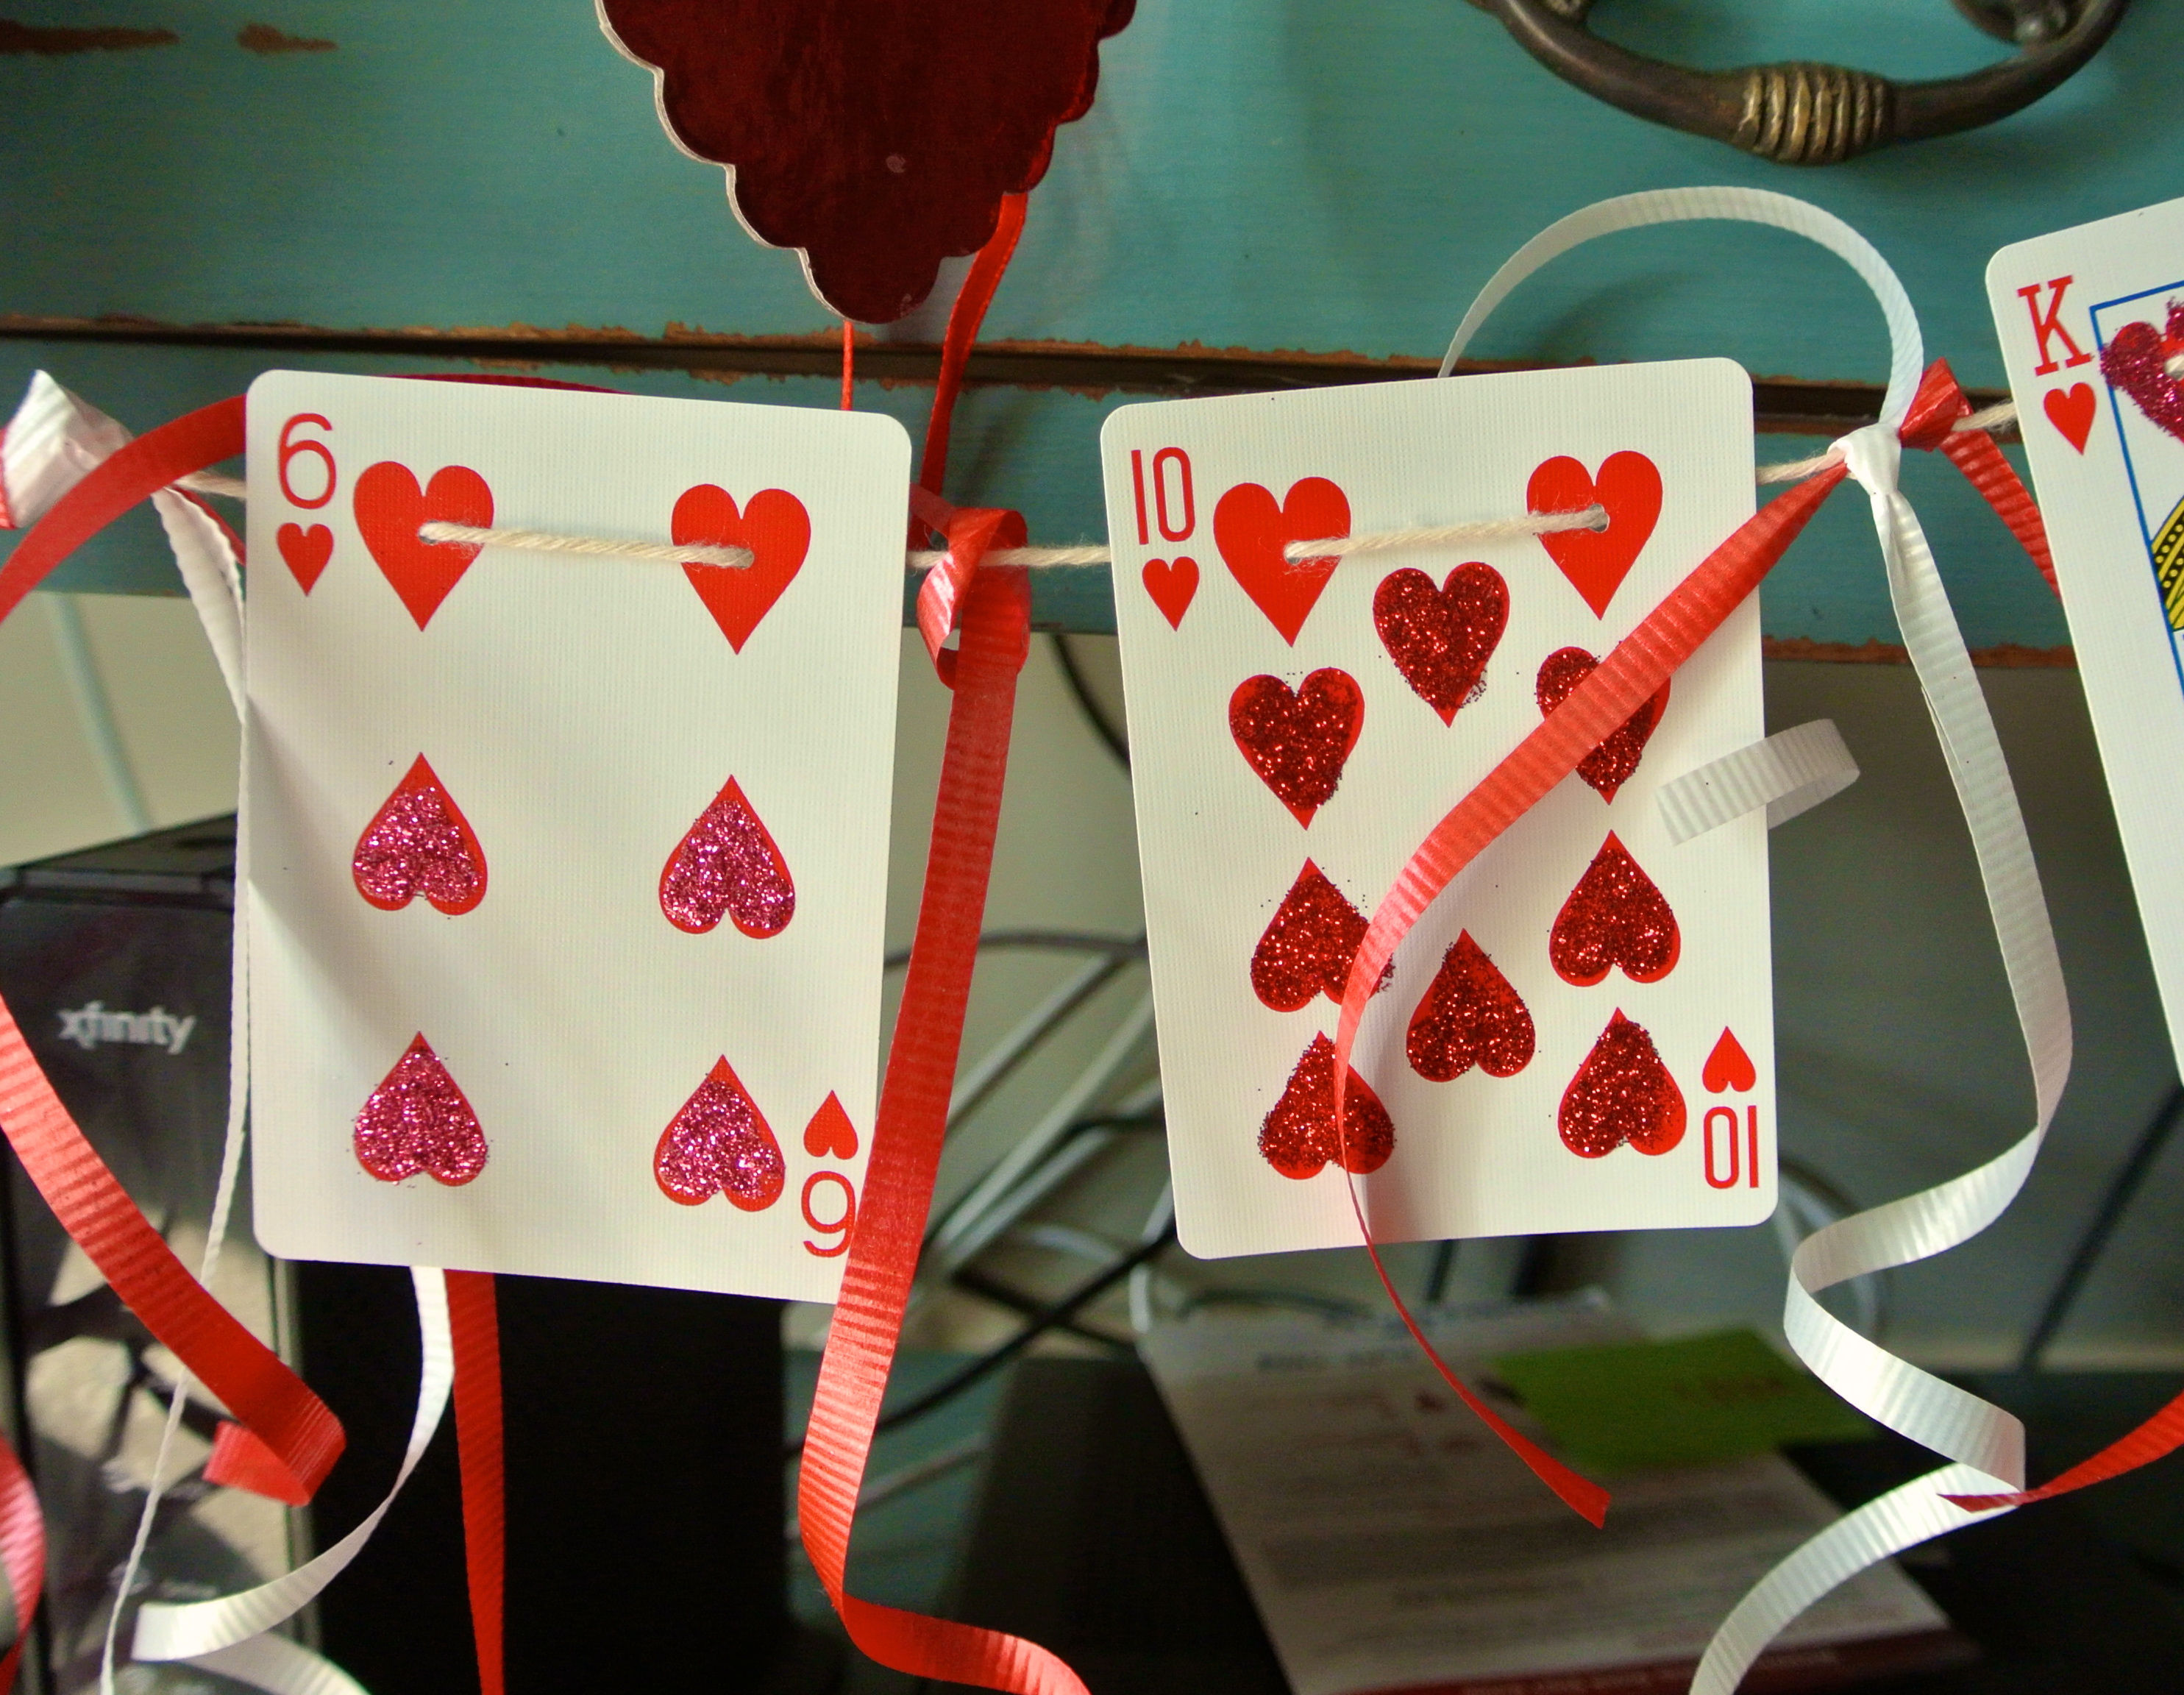
Let dry before stringing the cards together. The excess glitter will likely stick to the static on the card so I recommend using a dry paint brush to sweep it off the card.

DSC_3167

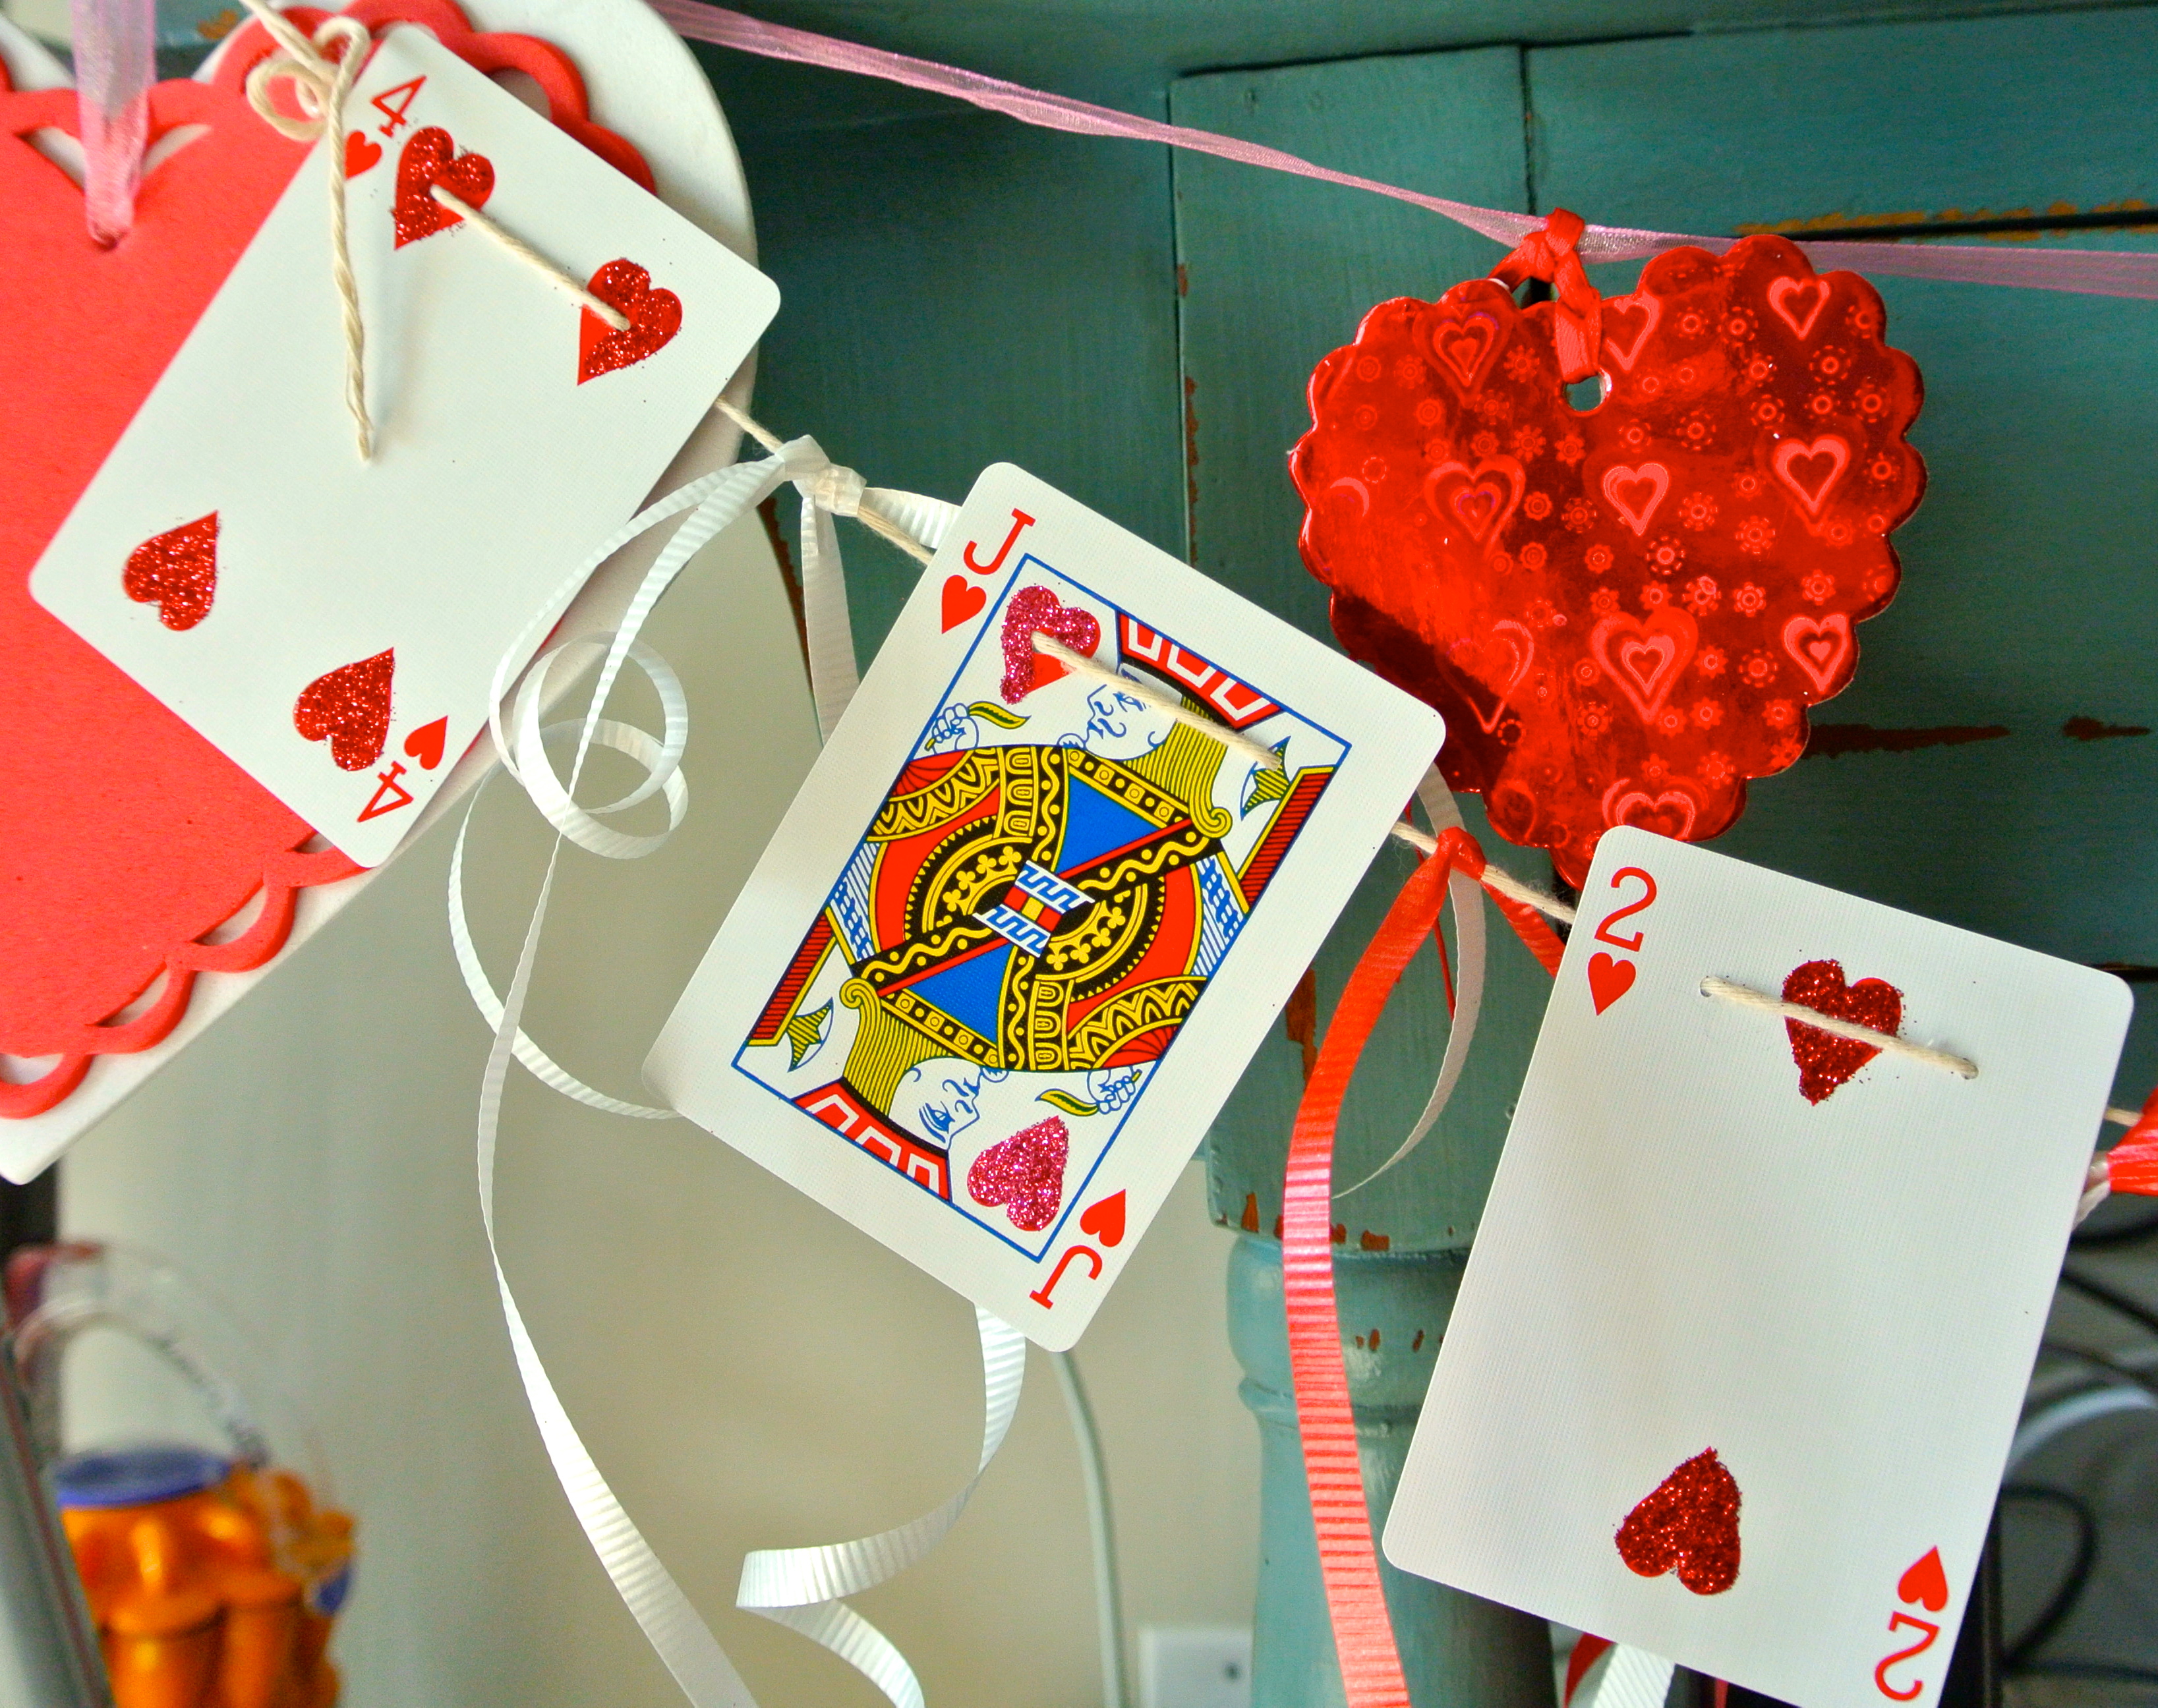
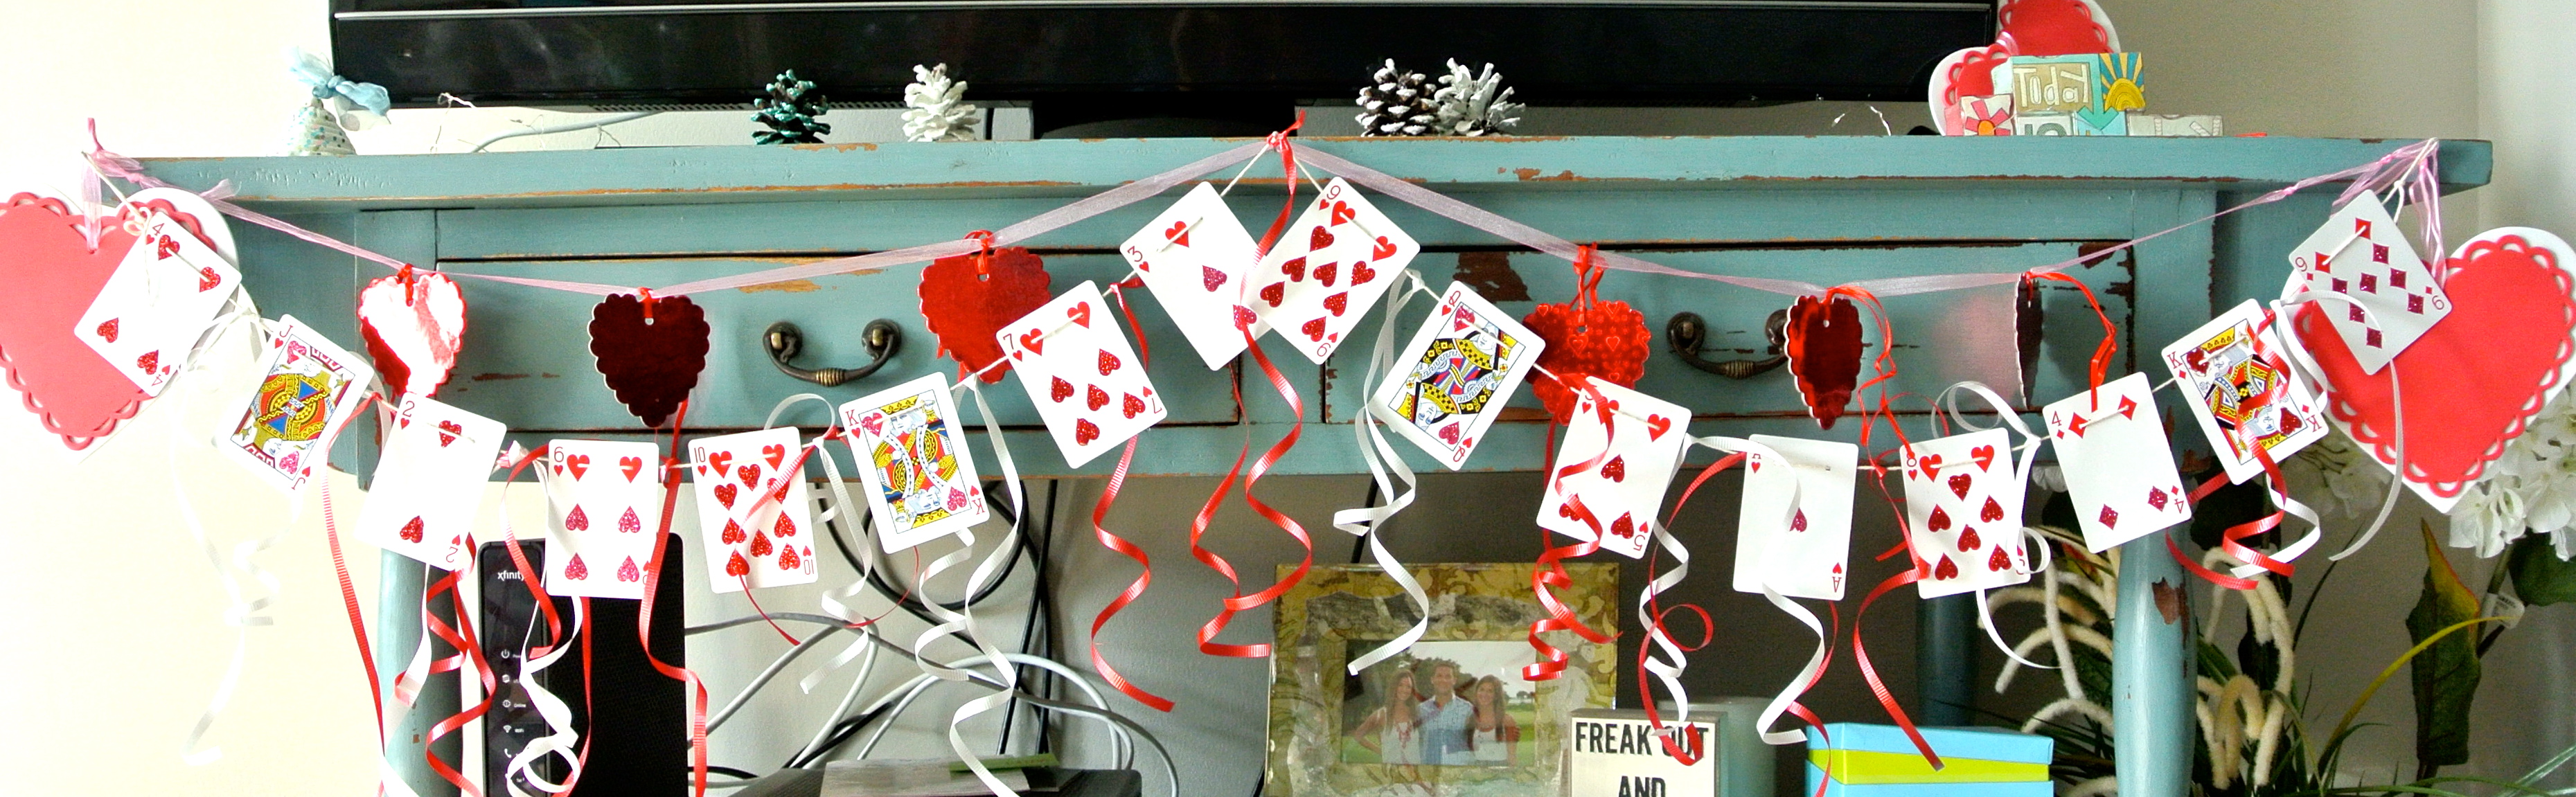
Take your thread/string/ribbon and weave it through the cards. Leave a little space between the cards so you can tie extra ribbon on the garland for more color and pazazz.

DSC_3161 DSC_3162

DSC_3168
DSC_3164

You will need:

– 1 deck of cards
– Hole punch or pin
– Glue
– Paintbrush
– Glitter
– String/ribbon

Cross Stitch Pegboard

Slide2

In the dead of winter in Chicago I needed something to brighten up my tiny apartment and this floral cross stitch idea was a surprisingly simple solution.

I loved making little cross stitch designs when I was still crafting with Lisa Frank products but unfortunately, they have been collecting dust in my closet over the years. (To be fair, they were not the most pleasing of patterns to begin with). I came across the pegboard cross stitch idea from another blog and am obsessed now because you can customize the colors to suit your home and even frame it to make it look elegant and expensive.

I found 2 x 4 ft white peg board at Home Depot. They cut it in half for me to fit my pattern but you can leave it larger if you’re doubling up on this pattern or using one of your own. Everything else was found in a quick trip to Michael’s (although I could easily spend hours in there).

You will need:

– 2 x 2 sq.ft pegboard (or 2 x 4 and cut in half)
– cross stitch pattern of choice (Rose pattern)
– paint (optional)
– yarn for background color
– yarn in 2 colors for leaves
– yarn in 4 shades for flowers
– plastic needles
– tape and hot glue gun

1. The board was already white but I painted over it so that I could cover the edges as well. I mixed a variety of patterns to create the one above. You can make your own on graph paper and adjust the pattern to the size of your board.

Slide1

2. The plastic needle makes the work much easier and I doubled up the yarn to make the stitches thicker and more visible.

3. I started threading with the background color because it was the most used and would help outline the shape of the flower but of course you can start with whichever you prefer. Next I filled in the leaves and proceeded to work inwards.

 Slide3

4. Depending on the amount of thread you cut you will have a good amount of loose ends hanging off the backside of the board. As a quick fix, I taped the ends to the board then later on I went back and hot glued the ends or looser pieces to secure them.

Slide2

5. And Voila!

Slide1