Italian daydreams

Today’s sunshine has me daydreaming of my favorite cobblestone city – Florence, Italy.

photo

It’s hard to believe it was only four years ago I was living in these Italian streets wandering from one gelato shop to the other while surrounded by ancient beauty. Among the thousands of pictures I took, this has always been one of my favorites.

I crossed off nearly every museum, cathedral and piazza (pizza too) in Florence. But in a city full of such stunning architecture and rich history, it was a pleasant surprise to find this picturesque scene buried between buildings.

I almost think it was hidden here for me to find : )

Decorate in a Day

Easter is one of my favorite holidays to decorate for. I love its jelly bean colors, pastel patterned eggs and handfuls of chocolates. However, all of a sudden Easter is less than 2 days away and I haven’t had as much as a single jelly bean!

Instead of turning your home into an explosion of Alice & Wonderland whimsy, choose to highlight a few areas that are most visible by guests (ie. kitchen counter).

IMG_0837

Put a spin on your every day flowers with this easy fix – snag a handful of carrots (stem included) and add them to your bouquet!

IMG_0840

IMG_0826


 My all time favorite Easter decoration is this paint chip garland. I love that you can customize the colors to brighten up your space! (Directions to make Easter garland)

DSC_3318


How cute are these bottle toppers?! They don’t take up any display space and are easy to store.

IMG_0838 IMG_0839

Greek Inspirations

Reminiscing on a trip to the stunning Greek Isle of Santorini. This well known “honeymoon spot” was already on the top of my bucket list but when I heard it hosts one of the best sunsets in the world, I immediately packed my bags.

Santorini did not disappoint. The scenery is remarkable with white washed houses and windmills overlooking the rich blue Aegean Sea.

DSC_2294 - Version 2Even the restaurants are picturesque tucked into the island cliffs. I’m obsessed with the detail inside this little outdoor nook. The drift wood flower pot and mirror reflecting the award winning sunset behind me – um can I go back now?

I might have interrupted a few dining couples to capture these beautiful pops of color but it was well worth it!

Cross Stitch Pegboard

Slide2

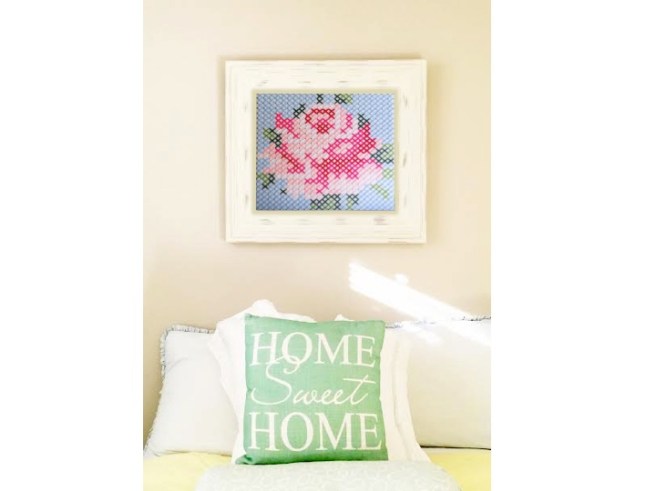
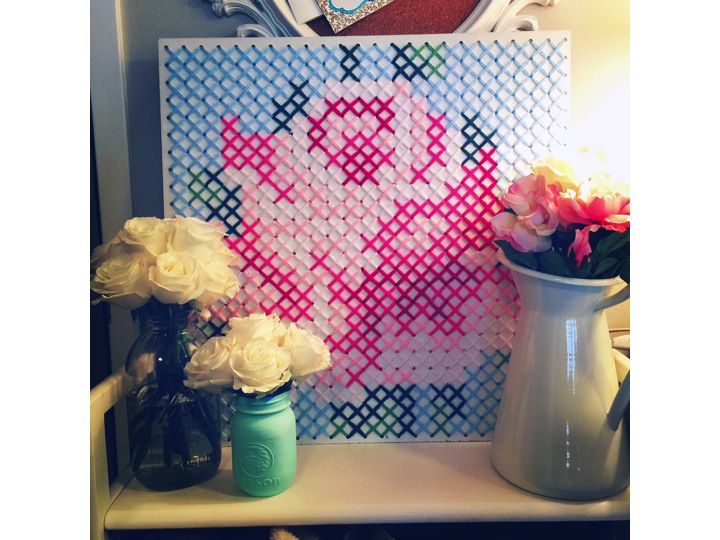
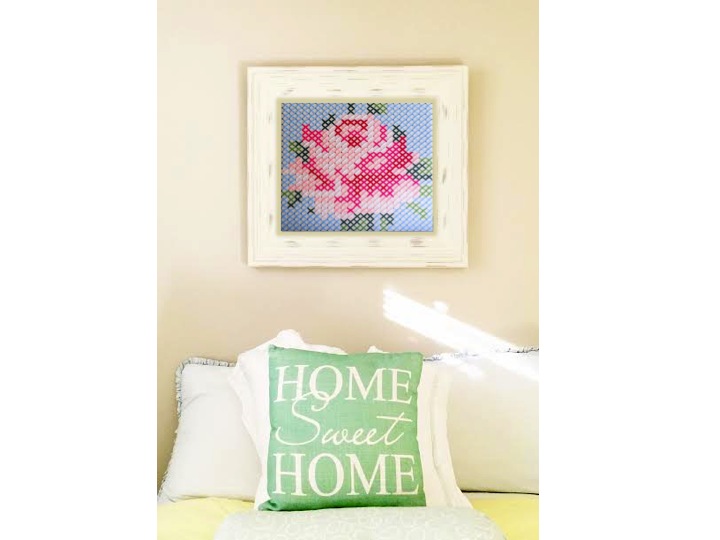
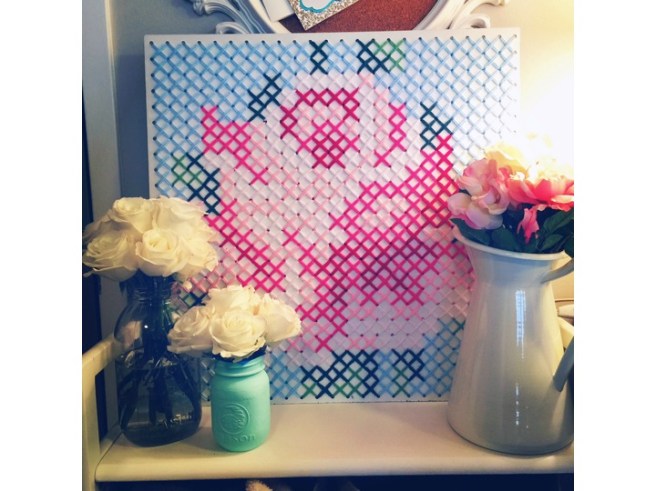
In the dead of winter in Chicago I needed something to brighten up my tiny apartment and this floral cross stitch idea was a surprisingly simple solution.

I loved making little cross stitch designs when I was still crafting with Lisa Frank products but unfortunately, they have been collecting dust in my closet over the years. (To be fair, they were not the most pleasing of patterns to begin with). I came across the pegboard cross stitch idea from another blog and am obsessed now because you can customize the colors to suit your home and even frame it to make it look elegant and expensive.

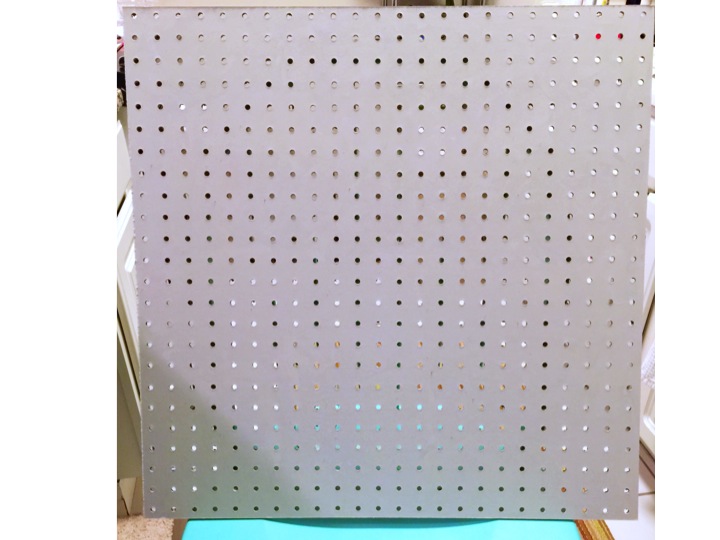
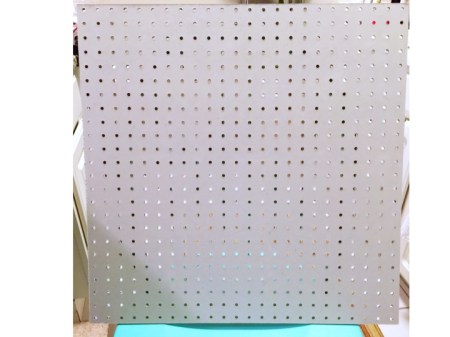
I found 2 x 4 ft white peg board at Home Depot. They cut it in half for me to fit my pattern but you can leave it larger if you’re doubling up on this pattern or using one of your own. Everything else was found in a quick trip to Michael’s (although I could easily spend hours in there).

You will need:

– 2 x 2 sq.ft pegboard (or 2 x 4 and cut in half)
– cross stitch pattern of choice (Rose pattern)
– paint (optional)
– yarn for background color
– yarn in 2 colors for leaves
– yarn in 4 shades for flowers
– plastic needles
– tape and hot glue gun

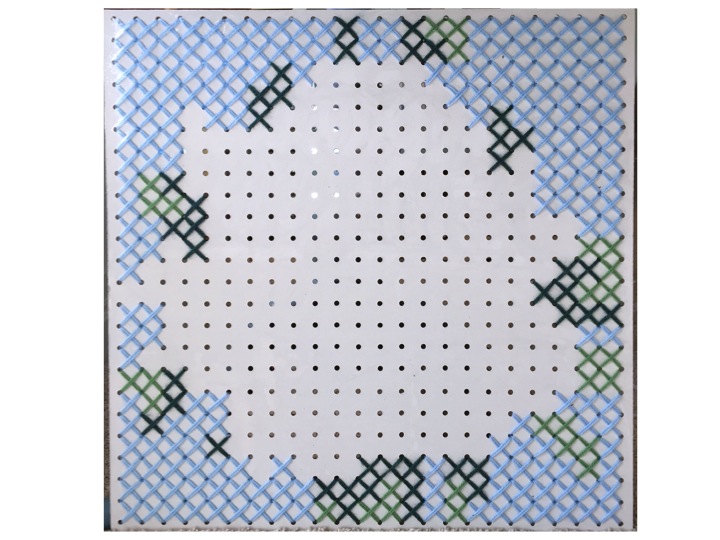
1. The board was already white but I painted over it so that I could cover the edges as well. I mixed a variety of patterns to create the one above. You can make your own on graph paper and adjust the pattern to the size of your board.

Slide1

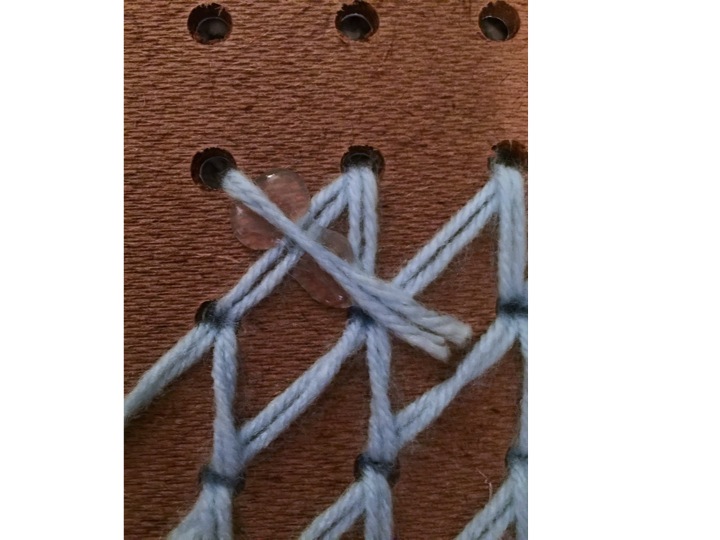
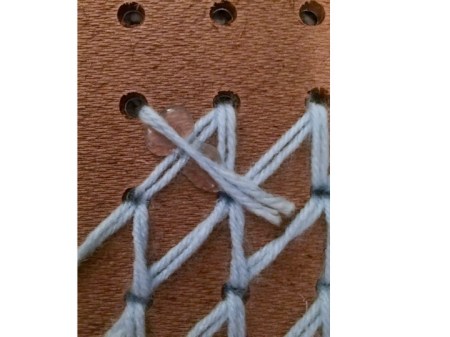
2. The plastic needle makes the work much easier and I doubled up the yarn to make the stitches thicker and more visible.

3. I started threading with the background color because it was the most used and would help outline the shape of the flower but of course you can start with whichever you prefer. Next I filled in the leaves and proceeded to work inwards.

 Slide3

4. Depending on the amount of thread you cut you will have a good amount of loose ends hanging off the backside of the board. As a quick fix, I taped the ends to the board then later on I went back and hot glued the ends or looser pieces to secure them.

Slide2

5. And Voila!

Slide1